You are now ready to use your vcr, Hookup 1: vcr setup, Hookup 1; vcr plu5+ channel setup – Sony SLV-420 User Manual
Page 9
Attention! The text in this document has been recognized automatically. To view the original document, you can use the "Original mode".
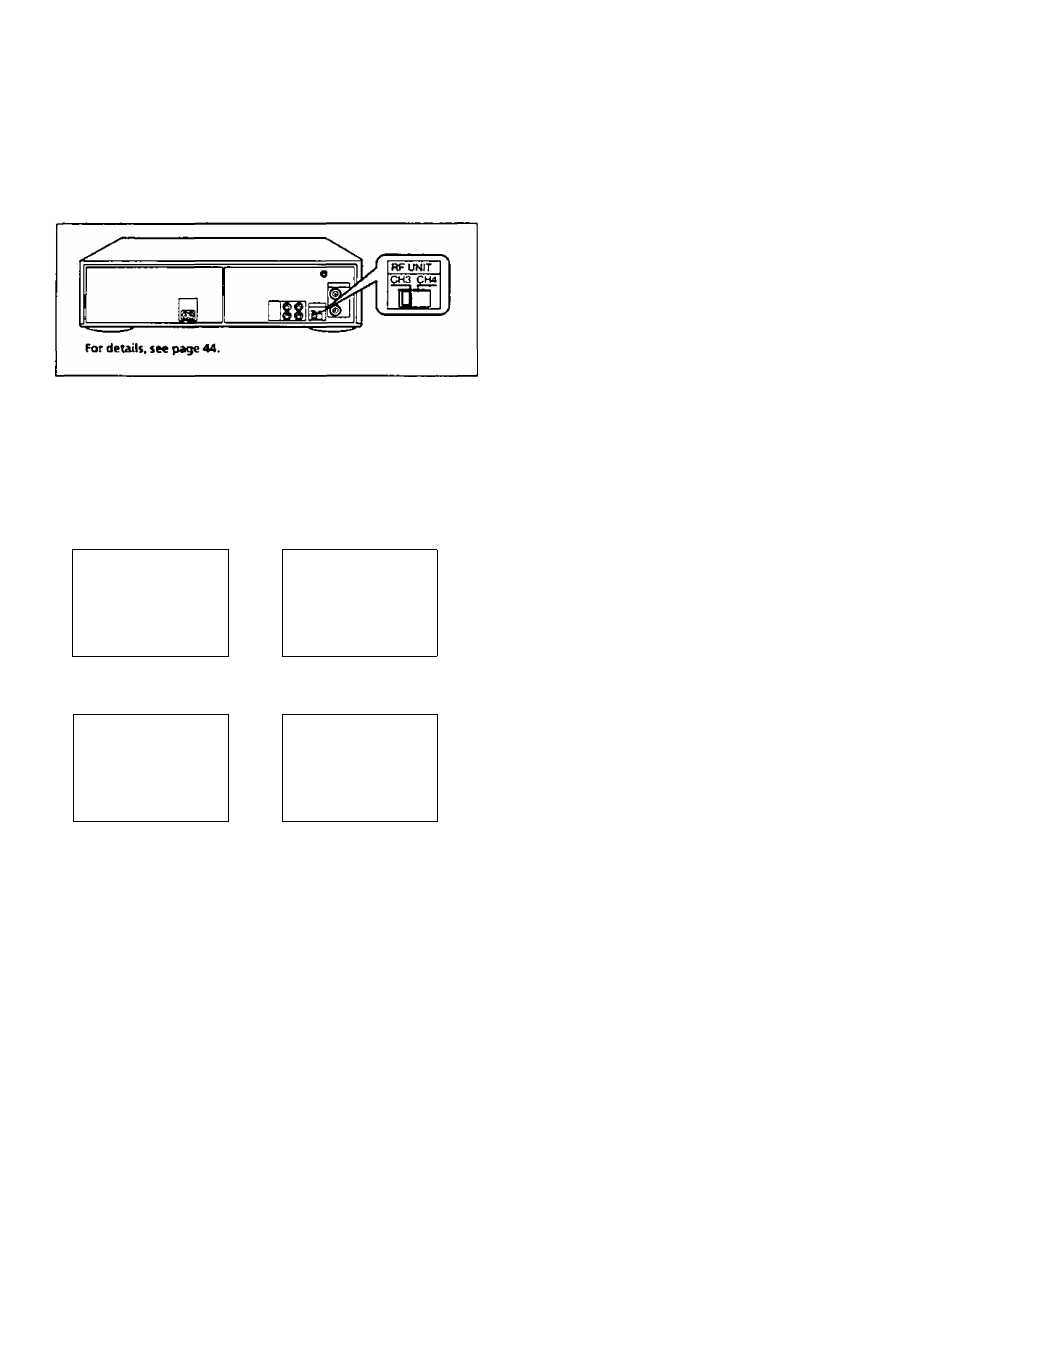
1 Set the RF UNIT switch to CH 3 or CH
4,
whichever
channel is not used in your area. If both are used, set
the switch to either channel.
If you made A/V connections (from page 7), you can
skip this step.
Hookup 1: VCR setup
2
Turn on your cable box.
3
Set CABLE BOX CONTROL to ON:
Press MENU and select
CABLE BOX CONTROL
Select ON and press
EXECUTE.
NCNU
CABLE BOX CONTROL
TWER SET/CMECK
TUNER PRESET
SET VCR Pka . CHANNELS
•ON OFF
»CABLE BOX CONTROL
CLOCK SET
USE TO
select
PUSH EXECUTE FOR FIRST
TIME SETUP
PUSH MENU TO OOrr
Enter your cable box code
Select ;
YOOR CABLE ^J^OOOE NO
YOUR CABLE BOX OUTPUT CH
~>y\
CH2
• CH3
ENTER YOUR CABLE BOX
CODE NO USINO G9 KEY5
CH4
UNEtUNE IN ON WCR)
REFER TO T>C OFERATING
USE F A TO safer CAiBf
UANUAL FOfl TME C00£
TMEN PUSH EXECUTÉ
BOX CH. THEN PUSH EXECUTE
For details, see page 23.
1
Rnd the VCR Plus+ Channel Listing in your program
guide. For details on the VCR PIus+ Channel Listing,
see page 26.
2
If the channels in the program guide are different
from the channels that you actually use on your TV,
set the chzinnels that eire different as follows:
Hookup 1; VCR Plu5+ channel setup
Press MENU and select
SET VCR Plus+
CHANNELS.
Enter the program guide
channel, then the channel
you use on your TV.
U£NU
TWER SETOfECX
TUNER PRESET
SET VCR PVn. CHANNELS
NCABU BOX CONTROL
CLOCK SET
SET VCR Ptu». CHANNELS
— GIADE CH TV CH------------
PUSH 0« KEVS TO SET
PROGRAM GUIDE CH
OR.RUSH EXECUTE TO SEE
VCR PktH CHANNEL UST
For details, see page 27.
Program guide channel
Your actual TV channel —
4
Press EXECUTE.
You are now ready to use your VCR
A Quick reference (back cover) to operations is
provided on the back cover to help you quickly enjoy
the basic functions. These procedures differ slightly
depending on the hookup used. Make a note of which
hookup you used (Hookup 1) so that you can always
follow the correct instructions.
Getting Started