Dell workgroup laser printer s2500 – Dell Workgroup Laser Printer S2500/S2500n User Manual
Page 86
8 6
C o n f i g u r e p a p e r t r a y s
w
w
w
.
d
e
ll.
co
m/
su
p
p
l
i
e
s |
su
p
p
o
r
t
.
d
e
l
l.c
o
m
Dell Workgroup Laser Printer S2500
1
Launch the Dell Local Printer Setup Utility (Start
→
Programs
→
Dell Printers
→
Dell
Laser Printer S2500
→
Dell Local Printer Setup Utility).
2
Select your Dell Laser Printer S2500.
3
Click OK.
4
In the left column, click Paper.
5
In the right column, go to the Tray 1 section. Specify what size and type of media you
loaded into tray 1.
6
In the right column, go to the Tray 2 section. Specify what size and type of media you
loaded into tray 2.
7
On the Menu Bar, click Actions
→
Apply Settings.
8
Close the utility.
NOTE: If you change the size or type of media loaded into either tray, use the Local Printer
Setup Utility to reconfigure the tray.
9
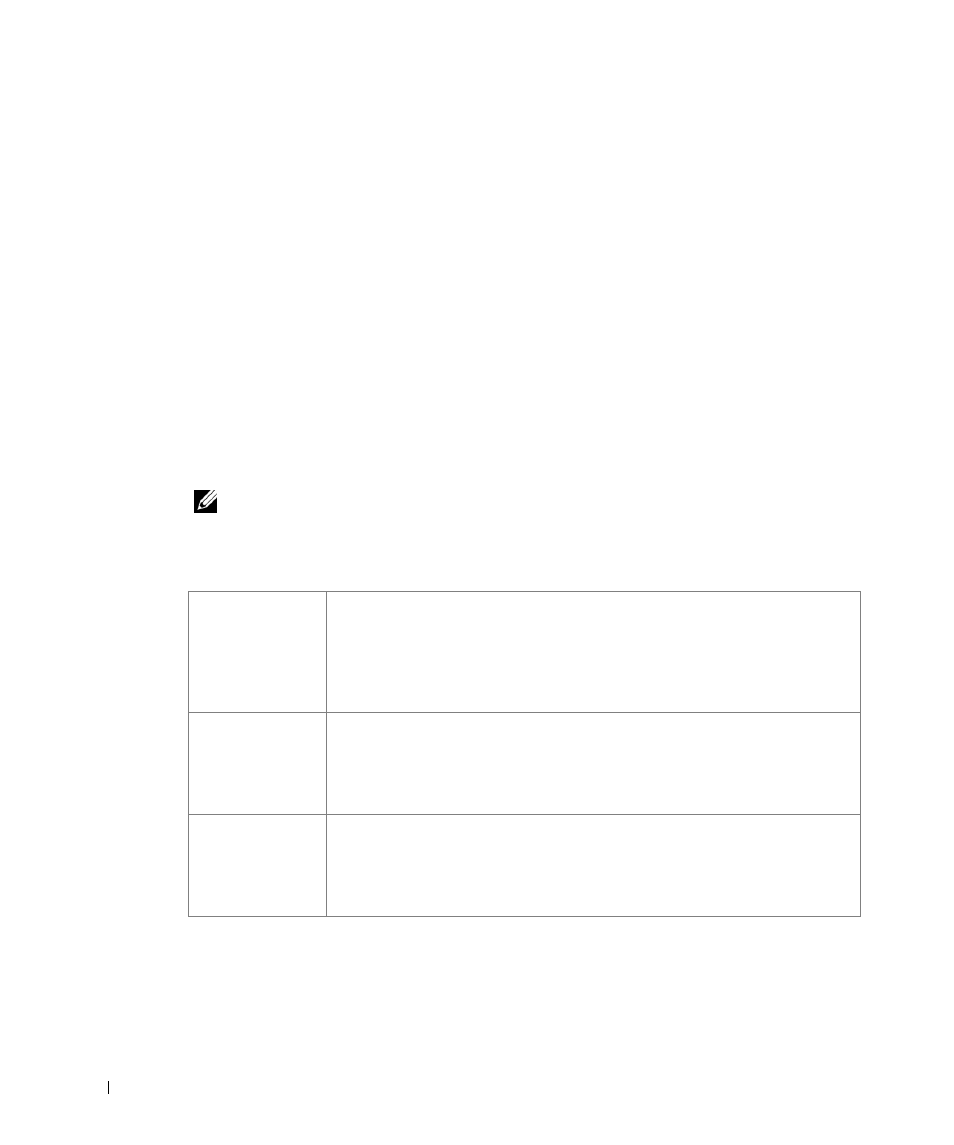
Update your driver by following the instructions in the table.
If Update is unavailable, follow these steps:
a
In the Available Options list, click 250-sheet tray or 500-sheet tray.
Windows XP
1
Click Start
→
Control Panel
→
Printers and Other Hardware
→
Printers
and Faxes.
2
Right-click the Dell Laser Printer S2500 icon.
3
Click Properties
→
Device (or Options)
→
Update (or Update Now).
4
Click
OK
→
OK. Close the Printers folder.
Windows 2000
Windows NT 4.0
1
Click Start
→
Settings
→
Printers.
2
Right-click the Dell Laser Printer S2500 icon.
3
Click Properties
→
Device (or Options)
→
Update (or Update Now).
4
Click OK
→
OK. Close the Printers folder.
Windows Me
Windows 95/98
1
Click Start
→
Settings
→
Printers.
2
Right-click the Dell Laser Printer S2500 icon.
3
Click Properties
→
Device (or Features)
→
Update (or Update Now).
4
Click OK
→
OK. Close the Printers folder.