Removing the display assembly bezel, Removing the display panel – Dell Inspiron 2500 User Manual
Page 26
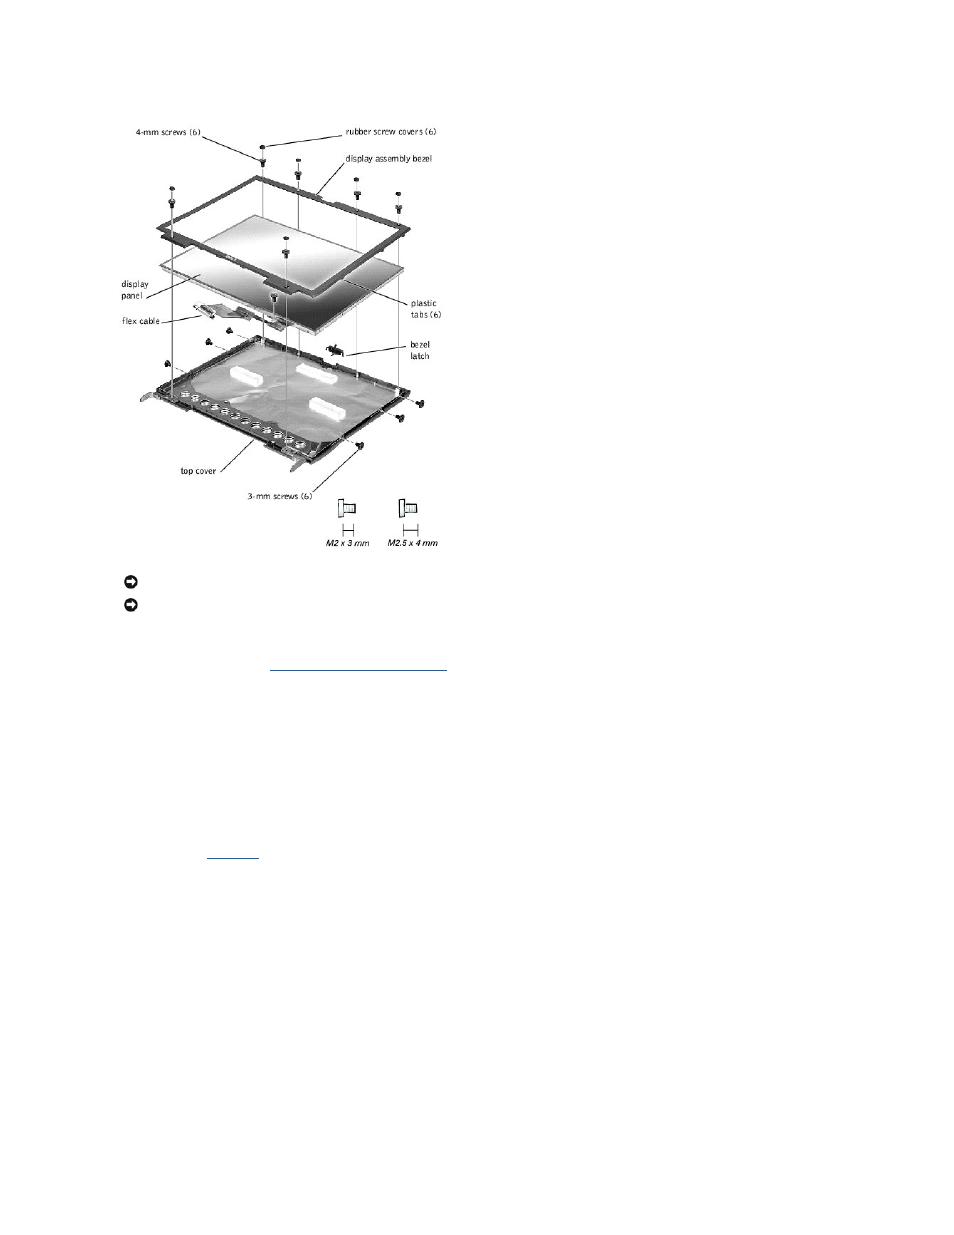
Removing the Display Assembly Bezel
1.
Follow the instructions in "
Preparing to Work Inside the Computer
."
2.
Use a scribe to pry loose the four rubber screw covers located across the top of the bezel.
3.
Remove the four 4-mm screws located across the top of the bezel.
4.
Use a scribe at the indentations to pry loose the two rubber screw covers located at the bottom of the bezel.
5.
Remove the two 4-mm screws located at the bottom of the bezel.
6.
Separate the bezel from the display-assembly top cover.
The bezel is secured to the display assembly top cover with plastic tabs around the sides. Use a plastic scribe to help separate the bezel from the top
cover.
Removing the Display Panel
1.
Remove the
2.
Remove the screw securing the flex cable to its strain relief, and then use the pull loop to remove the flex cable from the system board.
NOTICE:
Disconnect the computer and attached devices from electrical outlets and remove any installed battery.
NOTICE:
To avoid ESD, ground yourself by using a wrist grounding strap or by periodically touching an unpainted metal surface on the computer.