Replacing the heat sink, Removing the heat sink, Installing the heat sink – Dell Studio Hybrid D140G (Mid 2008) User Manual
Page 30
Back to Contents Page
Replacing the Heat Sink
Dell™ Studio Hybrid Service Manual
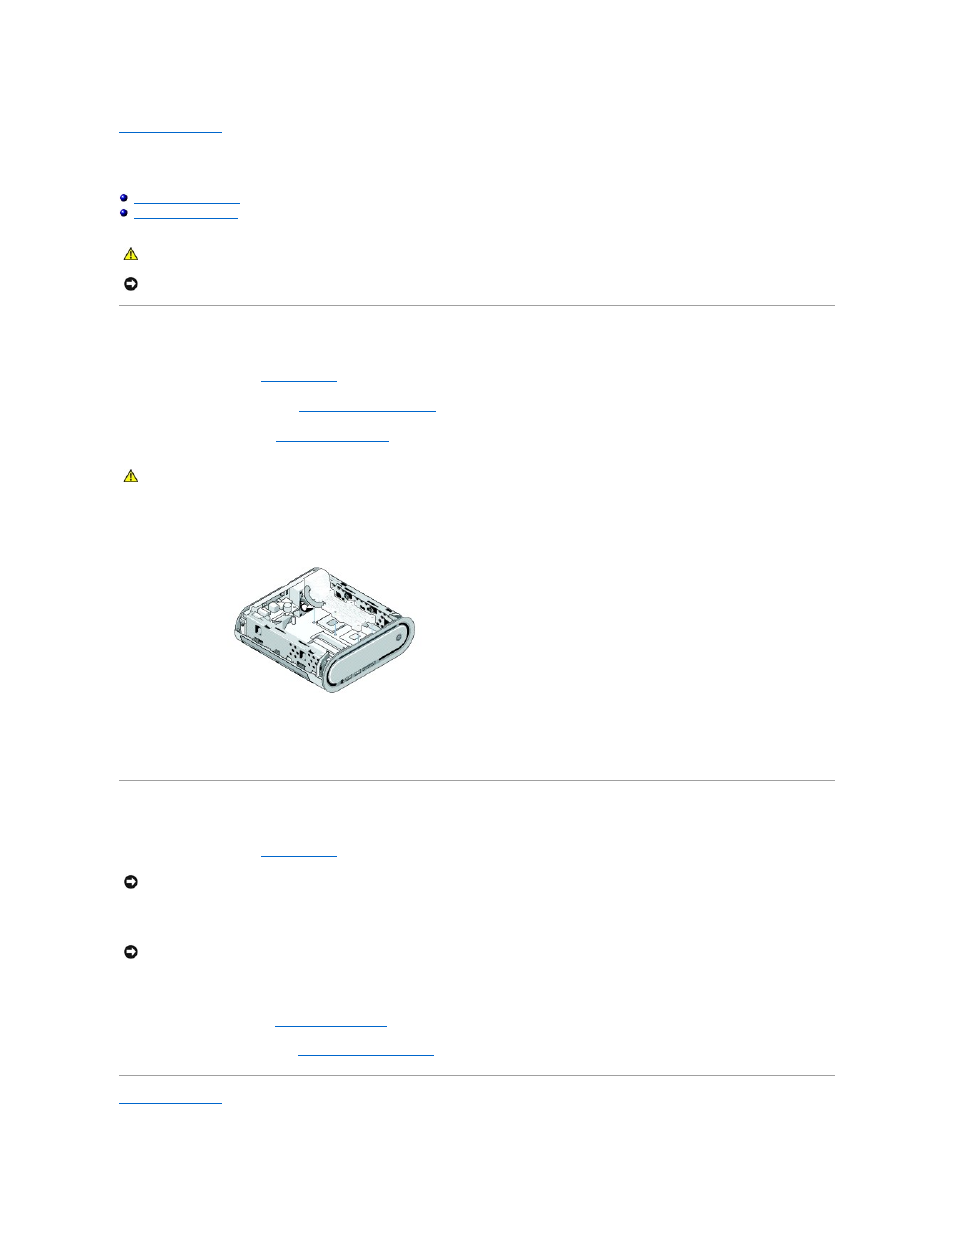
Removing the Heat Sink
1.
Follow the procedures in
Before You Begin
.
2.
Remove the computer cover (see
Removing the Computer Cover
).
3.
Remove the drive cage (see
Removing the Drive Cage
).
4.
Use the marked sequence on the heat sink, to loosen the six captive screws securing the heat sink to the system board.
5.
Lift the processor heat sink away from the system board.
Installing the Heat Sink
1.
Follow the procedures in
Before You Begin
.
2.
Align the six captive screws on the processor heat sink with the holes on the system board.
3.
Use the marked sequence on the processor heat sink to tighten the six captive screws.
4.
Replace the drive cage (see
Installing the Drive Cage
).
5.
Replace the computer cover (see
Installing the Computer Cover
).
Back to Contents Page
CAUTION:
Before working inside your computer, read the safety information that shipped with your computer. For additional safety best
practices information, see the Regulatory Compliance Homepage at www.dell.com/regulatory_compliance.
NOTICE:
Do not perform the following steps unless you are familiar with hardware removal and replacement. Performing these steps incorrectly could
damage your system board. For technical service, see "Contacting Dell" in your Setup Guide.
CAUTION:
The heat sink can get very hot during normal operation. Be sure that the heat sink has had sufficient time to cool before you touch it.
NOTICE:
Incorrect alignment of the processor heat sink can cause damage to the system board and processor.
NOTICE:
To prevent damage to the processor follow the marked sequence, this ensures equal pressure on the processor at all times.