Step 8 – Dell OptiPlex SX280 User Manual
Page 53
8.
Attach the data and power cables to the hard drive connectors, ensuring that the connectors are properly oriented before connecting them.
9.
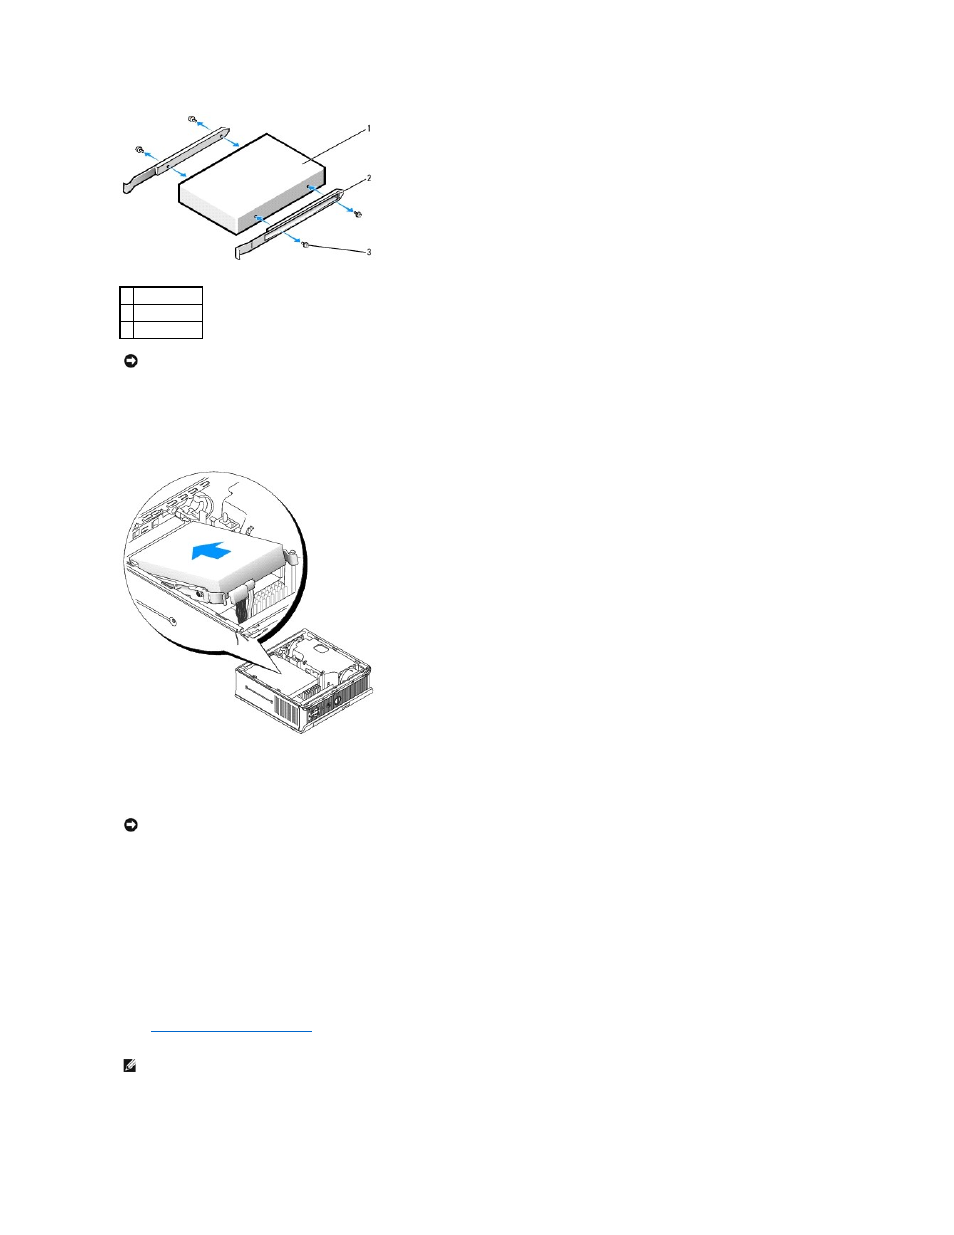
Slide the hard drive into the bracket.
10.
Replace the cover.
11.
Replace the cable cover, if used.
12.
Connect your computer to the power adapter and devices to their electrical outlets, and turn them on.
See the documentation that came with the drive for instructions on installing any software required for drive operation.
13.
Reboot the computer.
14.
After you replace the cover, the chassis intrusion detector, if enabled, causes the following message to appear on the screen at the next computer
start-up:
ALERT! Cover was previously removed.
15.
Reset the chassis intrusion detector
by changing Chassis Intrusion to On or On-Silent.
16.
Partition and logically format your drive before you proceed to the next step.
1 drive
2 drive rails (2)
3 screws (4)
NOTICE:
Serial ATA data and power connectors are keyed for correct insertion; that is, a notch or a missing pin on one connector matches a tab or a
filled-in hole on the other connector. When connecting cables to a drive, ensure that the connectors are oriented properly before you attach the cables
to the drive.
NOTICE:
To connect a network cable, first plug the cable into the network wall jack, and then plug it into the computer.
NOTE:
If an admin password has been assigned by someone else, contact your network administrator for information on resetting the chassis intrusion
detector.