Hitching, Electrical connections, Hitching electrical connections – Great Plains 800 Operator Manual User Manual
Page 17
Great Plains Manufacturing, Inc.
Preparation and Setup
13
2011-10-25
175-057M
Hitching
1.
Slowly back the tractor toward the drill. When within
a few yards of the drill, stop and park the tractor.
Crushing Hazard:
You may be severely injured or killed by being crushed
between the tractor and drill. Do not stand or place any part of
your body between machines being hitched. Stop tractor
engine and set park brake before installing hitch pin.
2.
Crank the drill jack until the drill hitch matches the
tractor drawbar height.
3.
Continue backing the tractor until the drawbar and
hitch are aligned. Stop and park the tractor. Adjust
the drill-tongue height until you can install the hitch
pin.
4.
Install a hitch pin. Install a retaining clip to keep the
pin from working out of the hitch.
5.
Secure the drill safety chain to an anchor on the
tractor capable of pulling the drill.
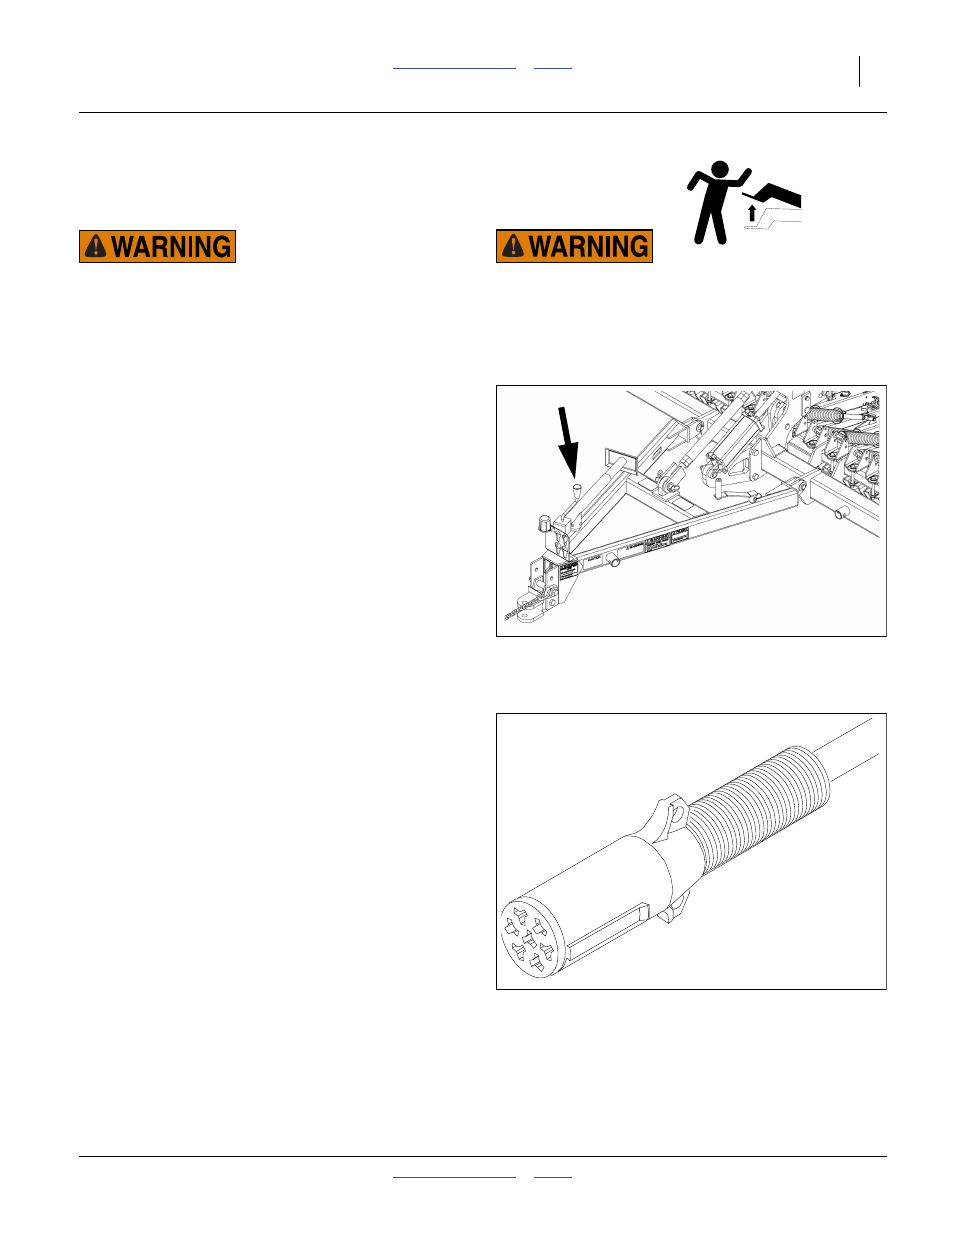
Refer to Figure 4
6.
Use crank to raise jack foot. Remove pin and jack.
Store jack on top of tongue.
Electrical Connections
Refer to Figure 5
7.
Plug drill electrical lead into tractor seven-pin
connector. If your tractor is not equipped with a
seven-pin connector, contact your dealer for
installation.
Figure 4
Jack on Storage Stob
32600
Negative Tongue Weight Hazard:
This drill can have positive and negative tongue weight, which
can work the hitch pin loose during transport. To avoid serious
injury or death due to a road accident, always check that the
drill is hitched before raising the openers. Lower the openers
before unhitching.
Figure 5
Lighting Connector
26467