Installation of peek bushings – Viking Pump TSM270.2: RL 16 and 25 High Pressure User Manual
Page 9
SECTION TSM
270.2
ISSUE
A
PAGE 8 OF 12
SECTION TSM
270.2
ISSUE
A
PAGE 9 OF 12
check the arrows again to make sure they are positioned
as shown in Figure 9.
9. Remove the pump head.
10.Adjust the bearing housing assembly to position the
lobes slightly extended (approximately 1/8 inch )beyond
the front face of the casing. Place a wooden block or
brass bar in between the lobes to block rotation. Install
lockwashers and locknuts and tighten with the spanner
wrench. Locknuts must be tightened to 200 ft-lbs torque.
This torque is required to obtain the proper bearing
preload and ensure the bearing/timing gear assembly
is locked securely on the shaft. This torque can be
simulated by applying approximately 200 pounds of
weight with a one foot wrench or 100 pounds of weight
with a two foot wrench.
11. Set the end clearance; refer to End Clearance
Adjustment on page 8.
12. Inspect the lipseal in the gear case and replace if needed.
Put the o-ring in place, then install the gear case by
visually centering the lipseal over the shaft. Install the
capscrews, and torque evenly. Fill with gear oil to the
bottom of the fill hole, approximately 15 ounces.
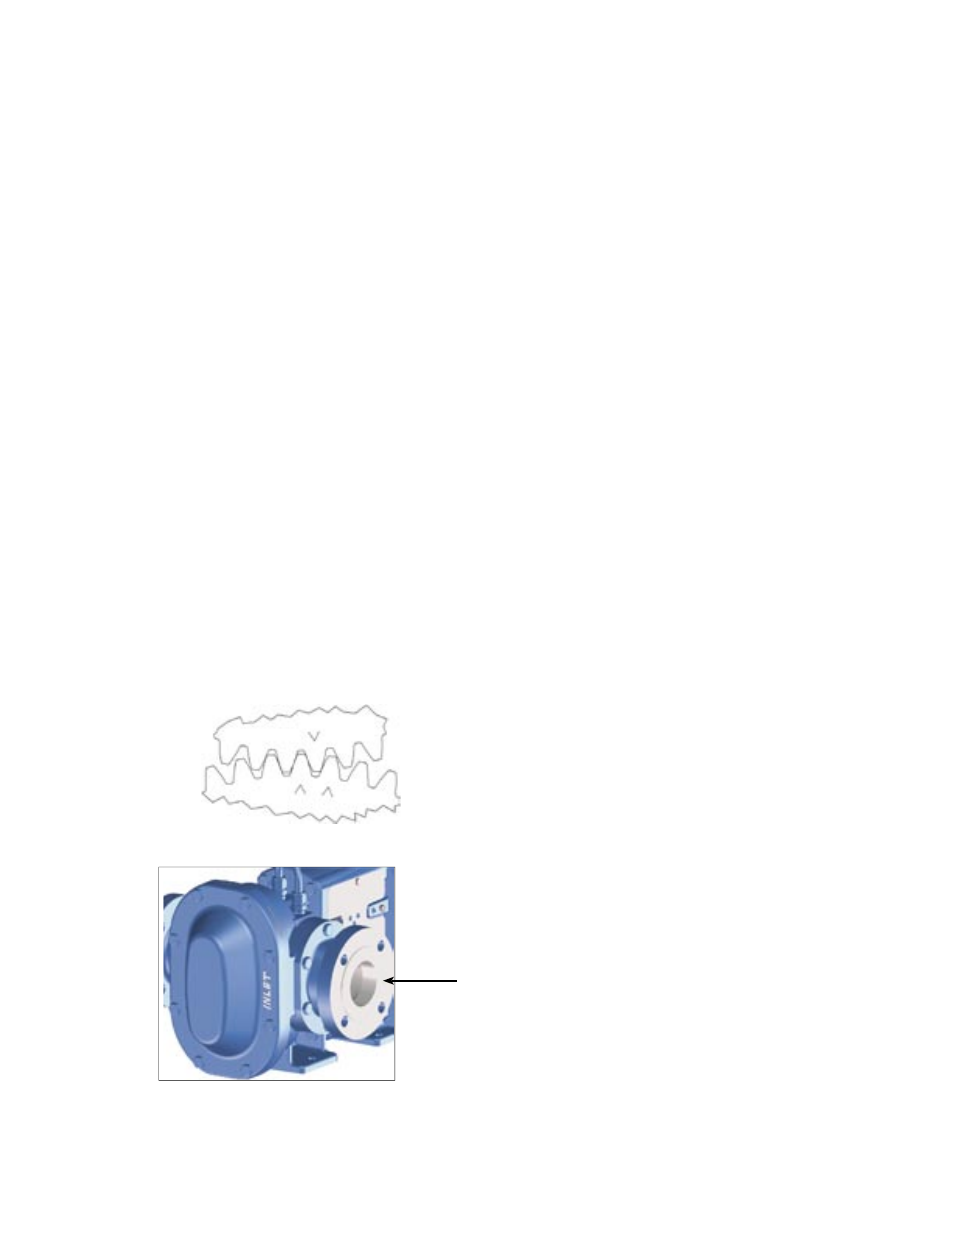
13. Place the o-ring and reinstall the head. The word INLET
cast into the head must be placed on the suction port side
of the pump (Figure 10). Torque the head capscrews per
Table 2.
14. Tighten the setscrews in each seal.
15. Replace the coverplate.
FIGURE 9
FIGURE 10
INLET PORT
*
PEEK
®
is a trademark of Victrex PLC
Installation Of Peek Bushings*
When installing the bushings, extreme care must be taken
to prevent breaking. The additional precautions listed below
must be followed for proper installation:
• A press must be used for installation.
• Use Loctite® #4203 or #411 on the outside of the bushing
to hold the bushing in the housing.
• Be certain that the bushing is straight. The groove in the
bushing should line up with the groove in the casing.
• Do not stop the pressing operation until the bushing is in
the proper position; starting and stopping may result in a
cracked bushing.
• Check the bushing for damage after installation.
Loctite® is a trademark of Henkel Consumer Adhesives, Inc.