English, First steps, Peripheral connections [only interface edition – Reloop DIGITAL JOCKEY 2 IE User Manual
Page 16
ENGLISH
16
1. FIrSt StEpS
Remove the Digital Jockey 2 from its packaging. In order to protect the Digital Jockey 2 the device
has been supplied with a protective foil. Please remove this foil before initial operation. Please
connect the provided USB cord to the controller and a free USB port of your computer. Turn on the
device via the On/Off button -B43-. The Load A and Load B buttons should light up.
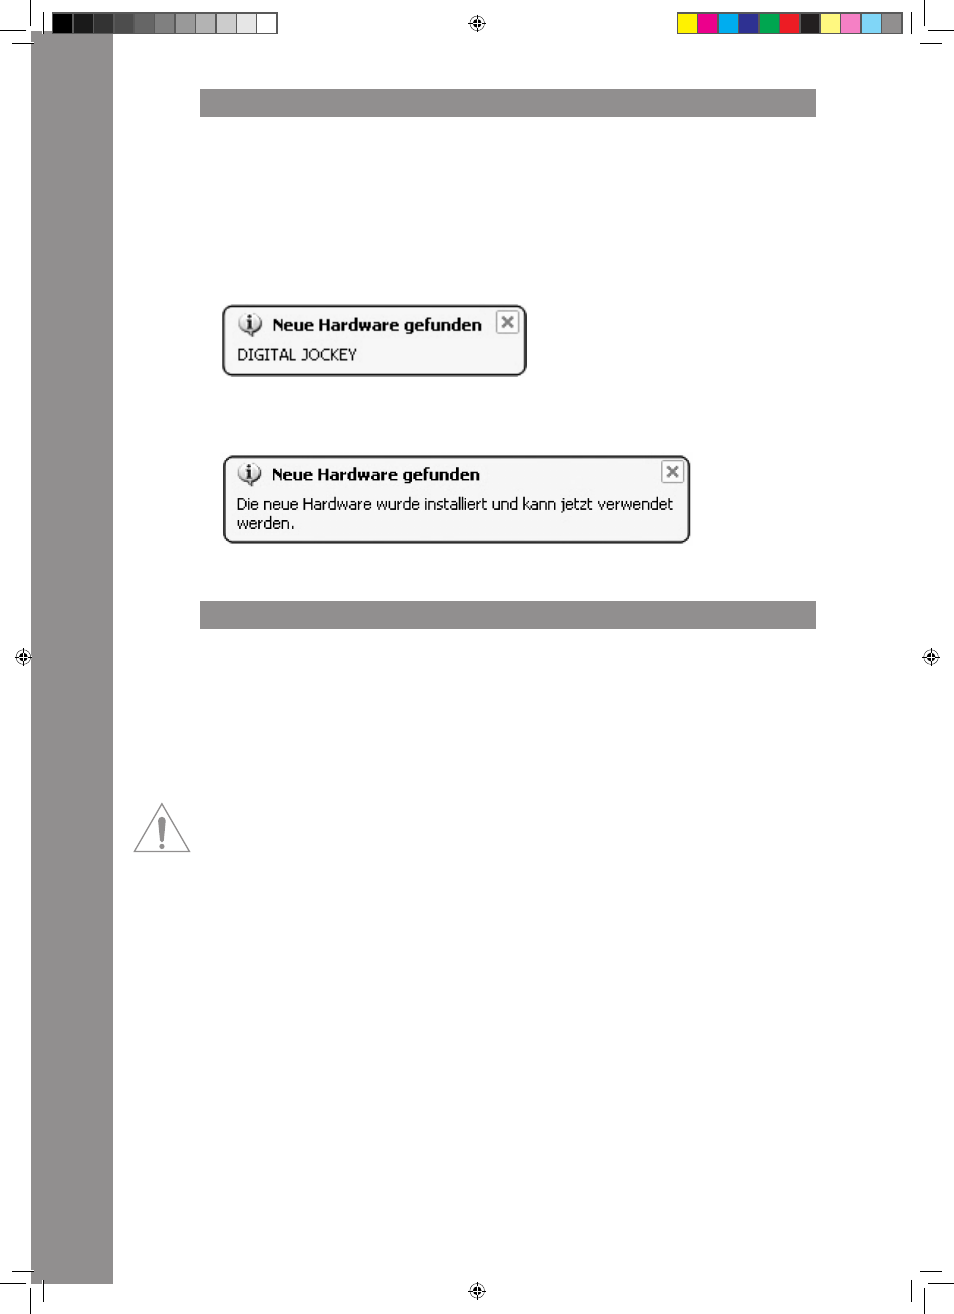
When connecting the Digital Jockey 2 for the first time the following message should appear on your
monitor, as seen under Windows.
a) New hardware found –
Digital Jockey
The last message on your monitor should be the following.
b) New hardware found -
Your new hardware is installed and ready to use.
The controller will automatically be recognised under Windows XP, Vista and Mac OSX without the
need for special drivers. Now your hardware is appropriately installed.
2. pErIpHEraL CONNECtIONS [ONLY INtErFaCE EDItION]
Your Digital Jockey 2 Interface Edition features an integrated professional audio interface. Therefo-
re an additional external or integrated PC sound card is not necessary. Below you can find a list of
all possible connections.
a) Output Connection (rear panel) -B45-
Here you can plug in your main stereo system, for example an amplifier or active speakers.
b) Input Connection (rear panel) -B46-
You can connect a playback device to this input, like a turntable or a CD player, for example, in order
to integrate external players in your setup.
NOtE!
Next to the input there is a phono/Line switch -B47- that has to be adjusted according to the
connected source.
please also observe the item B48 phono/Line routing Switch – via this it is possible to determine
the input routing.
c) Microphone input (front panel) -B35-
Here you can plug in a regular dynamic microphone. The microphone signal is routed directly to the
master output and this way it can also be used in stand-alone mode.
d) Headphones input (front panel) -B38-
Connect your headphones to this jack. Via the headphones equalizer -B39- it is posible to adjust the
headphones‘ sound characteristics.
IM_Digital_Jockey_2_Interface_Edition_US_GB.indd 16
10.12.2010 11:09:21