E-flite Piper L-4 Grasshopper 250 ARF User Manual
Page 12
12
E-flite Piper L-4 Grasshopper ARF Assembly Manual
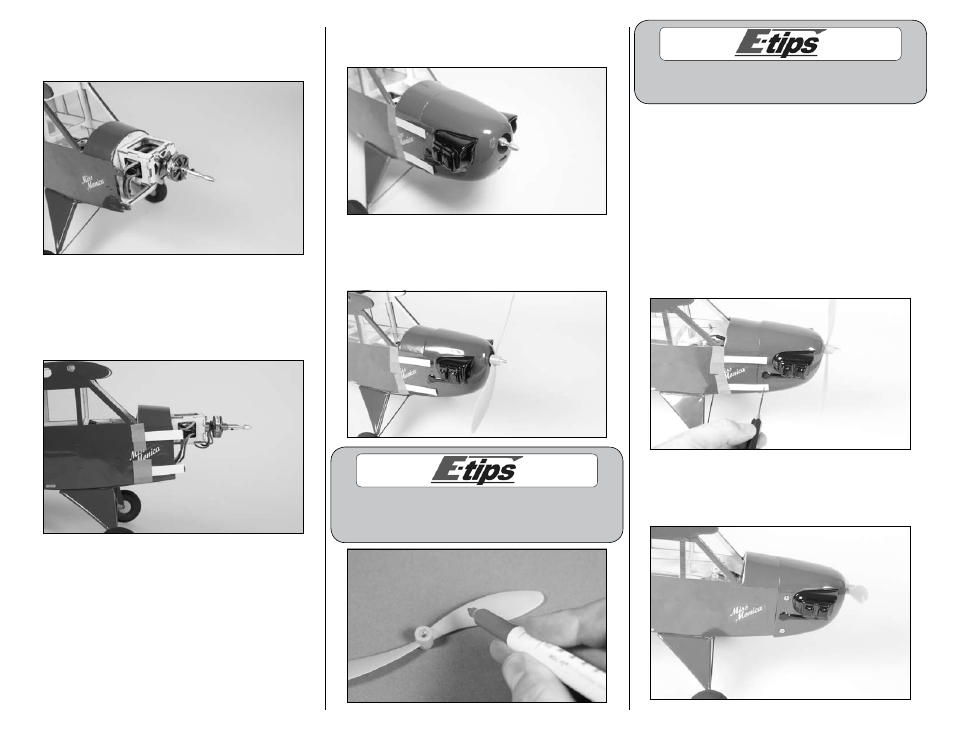
6. Slide the propeller adapter on the motor and use
a .050-inch hex wrench to tighten the setscrew that
secures the adapter to the motor shaft.
7. Use hobby scissors to cut four pieces of
cardstock that are 1/4-inch x 2-inch (6mm x
50mm). Use low-tack tape to attach them on the
fuselage so they align with the cowl mounting tabs
on the fuselage.
8. Slide the cowling in position, making sure the
cardstock is on the outside of the cowling.
9. Install the propeller on the adapter. Follow the
instructions provided with the motor to tighten the
adapter to secure the propeller.
Use a brown sharpie marker to go over the
orange prop in a smooth curved pattern to get
a simulated wood finish on the propeller.
Use low-tack tape to keep the cowl in
position while drilling the holes.
10. Position the cowling so the adapter is centered
in the opening of the cowl and that the propeller
does not rub against the cowl. The cowling should
be slid just far enough back that it does not cover
the battery tray on the bottom of the plane. If the
cowling needs to be located farther back than
this the motor will need to be slid forward in the
mount. Sight the cowling from the front and the
side to make sure that it is aligned correctly to the
fuselage. Use a pin vise and 1/16-inch (1.5mm)
drill bit to drill the four holes for the cowl mounting
screws.
11. Use a #0 Phillips screwdriver to install the four
1.5mm x 7mm sheet metal screws that secure the
cowl to the fuselage.