Fusing a fitting, Notice, Equipment setup & usage instructions – Watts TRCU-M1 User Manual
Page 16: Continued), Activate fuser, Prepare fitting for fusion, Step 2 step 3
14
Fusing a Fitting
(continued)
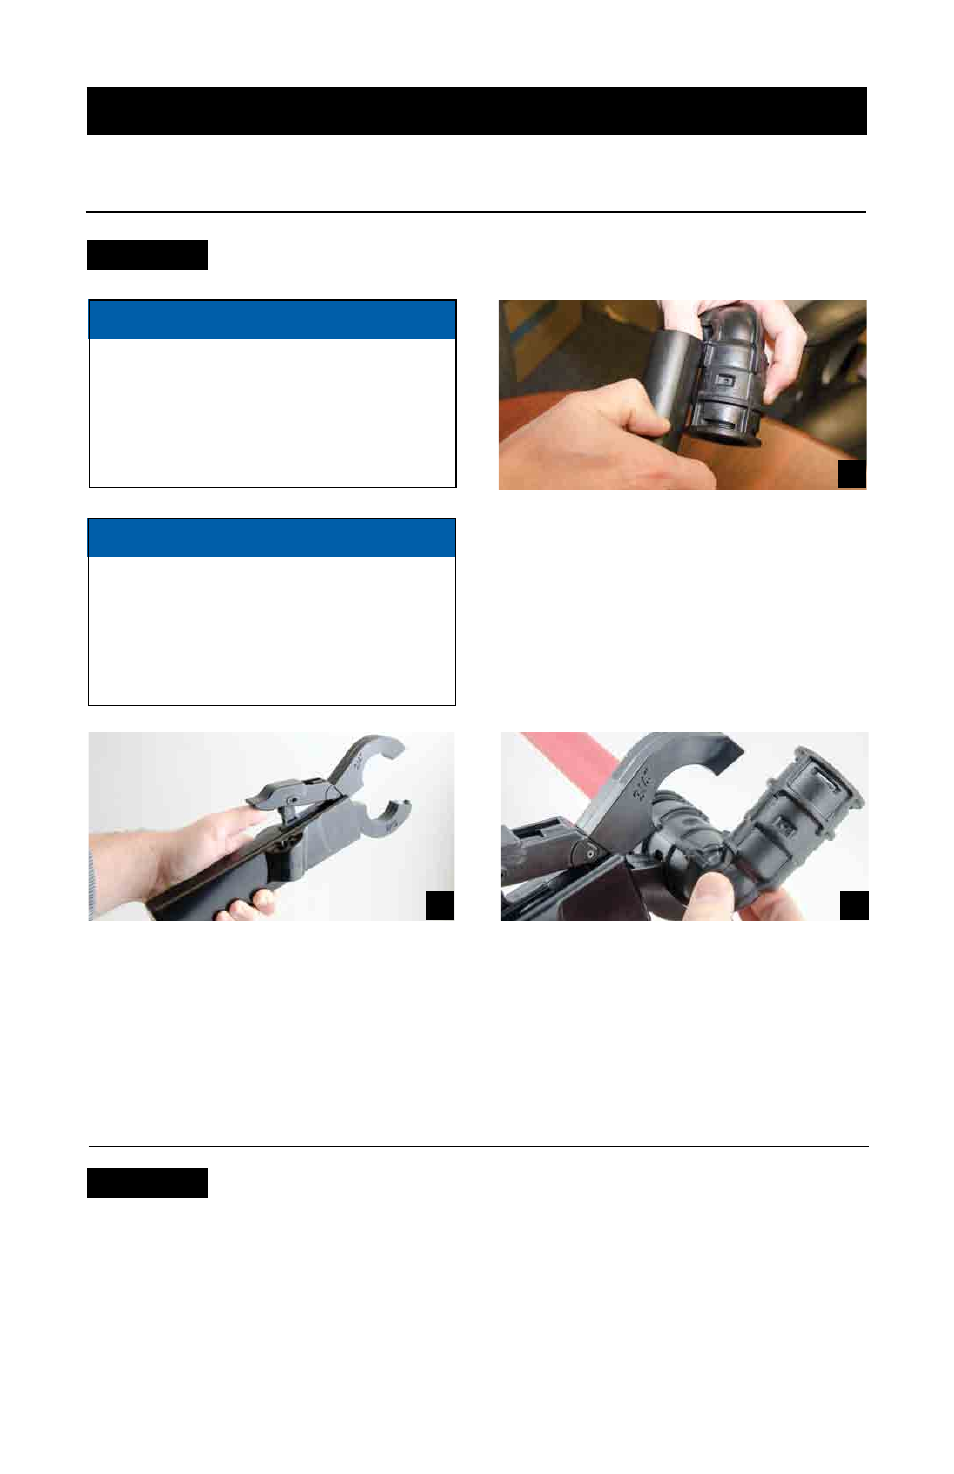
• Place pipe against TRITON Fitting mea-
surement guide (located on each Fitting)
and make small scratch using thumbnail
or line with pencil to mark for insertion
depth as shown (B) . Orient Fitting (as
needed) and insert pipe into Fitting to
required depth .
Activate Fuser
• Lock the Fuser jaws around the assembly
by depressing the lever tongue .
• Depress Fuser button for 2 seconds and
release to initiate fusing process .
B
C
D
Note: The Control Unit automatically senses ambient temperature and will
automatically adjust the fusion time as necessary.
Note: Each Fitting is designed so that the Fuser jaws will only fit on the assembly
and close in the correct position on the weld zone.
• Invert Fuser position as necessary to
accommodate for tight spaces .
Failure to insert pipe into Fitting
to required depth will produce an
improper joint which can result in
leaks. Such leaks may even exist
after pressure testing, possibly
causing property damage.
Unpack Fitting carefully and check
for any shipping or transportation
damage. Do not use Fitting if any
damage is found—repackage Fitting
and return it to purchase place for
repair or replacement.
• Open jaws on Fuser by sliding thumb
under lever tongue (C) and pushing
upwards .
• Attach Fuser to Fitting as shown (D) with
jaws properly positioned in weld zone .
NOTICE
NOTICE
Prepare Fitting for Fusion
Equipment Setup & Usage Instructions
STEP 2
STEP 3