Tank valve installation - plastic tank, Connect blue tube from ro module to the tank, Check air pressure in the tank – Watts PWRO5MAN User Manual
Page 7: Connect blue tube from faucet to ro module, Step 9 step 10, Step 8, Step 11
7
Step A – Make sure the O-ring is
located at the bottom of the
recess for the tank connec-
tion .
Step B – Thread the plastic valve onto
the tank fitting . Do not over-
tighten or the valve could
crack. Do not use Teflon
®
tape.
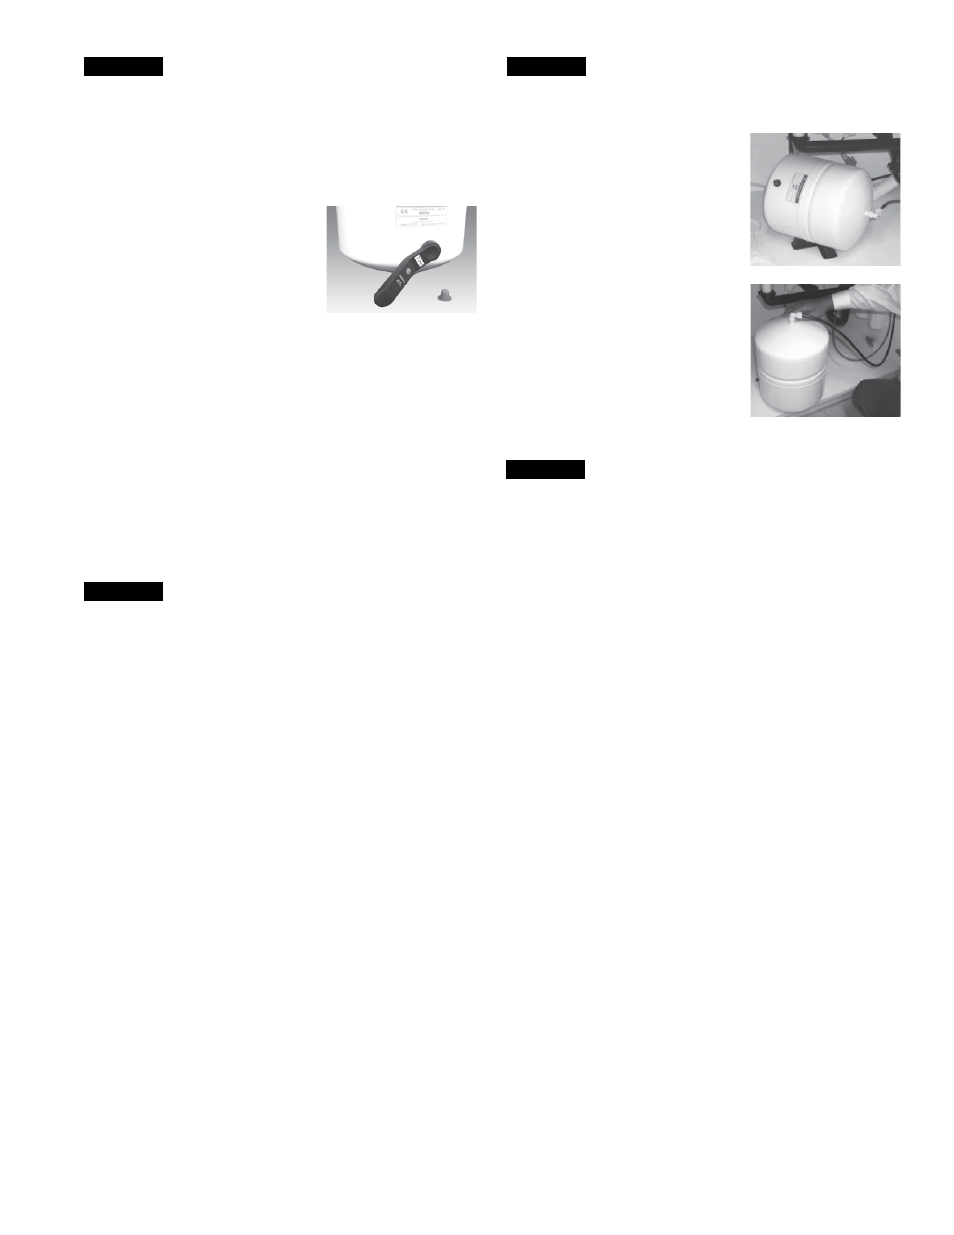
Tank Valve Installation - Plastic Tank
STEP 9
STEP 10
Step A – Position tank in desired loca-
tion . Stand it upright or lay it
on its side (using the black
plastic stand) . Measure the
blue tube from the RO mod-
ule port marked TANK over to
the tank and cut it to desired
length .
Step B – Insert the
3
⁄
8
" blue tube into
the Ball Valve quick-connect
fitting making sure that the
tube is pushed in all the way
to the tube stop .
Connect Blue Tube from
RO Module to the Tank
STEP 8
Check Air Pressure in the Tank
Note: Check air pressure when tank is empty of water!
Check air pressure in the storage tank when you notice a de-
crease in available water from the RO system. Air can be added
with a bicycle pump using the schrader valve that is located on
the lower side of the tank behind the blue plastic cap.
Step A – Turn off the incoming water
supply to the RO by turning the
knob on the Adapt-A-Valve™
clockwise until it stops . (Follow
the green tube away from the
RO system to find the Adapt-A-
Valve™) .
Step B – Open the RO Faucet and allow
water to drain from the tank until it is completely empty .
Tip: When water from the RO faucet slows to a trickle with the
faucet still in the open position, you may add air to the tank to
purge any left over water. This will
ensure that the tank is completely
empty.
Step C – Once all water in the tank is
purged, check air pressure
using an air pressure gauge . It
should read between 5 - 7psi .
(Digital air pressure gauge is
recommended)
Step D – Follow Startup Instructions on Page 8 .
Teflon
®
is a registered trademark of E .I . Dupont de Nemours & Company .
Step A – Locate the
3
⁄
8
" blue tube connected to the RO faucet .
Step B – Insert the
3
⁄
8
" blue tube attached to the faucet into the
RO model port labeled faucet . Make sure that the tube is
pushed in all the way to the tube stop .
Connect Blue Tube from Faucet to
RO Module
STEP 11