Chapter 2 installation, Sensor connection, Rf line connection – Bird Technologies 4421 User Manual
Page 17: Panel mounting the 4421 power meter
5
Chapter 2
Installation
This chapter provides information about preparing the Bird 4421 for use.
Sensor Connection
1. Turn OFF the ON/OFF rocker switch on the meter’s rear panel.
2. Align the latch on the cable with the notch of the “Power Sensor” socket on
the power meters rear panel.
3. Insert the cable until it clicks into place.
4. Connect the other end of the sensor cable to the sensor.
RF Line Connection
Connect the end of the power sensor labeled “SOURCE” to the RF source. Con-
nect the end labeled “LOAD” to the load or antenna. Reversing these connec-
tions will cause measurement errors.
Panel Mounting the 4421 Power Meter
You can install the 4421 Power Meter in an equipment rack if you have the
optional panel mount kit (refer to Optional Accessories, page 1). The panel
mount kit includes complete installation instructions. Figure shows the over-
all dimensions and mounting points for a 4421 Power Meter installed in a
panel mount kit.
Note:
The power supply interrupt switch for the 4421 Power Meter
is located on the rear panel. When you install a unit in a panel mount
kit, you need to provide a means to interrupt the power supply that is
easily accessible to the user (such as a switch mounted in the panel).
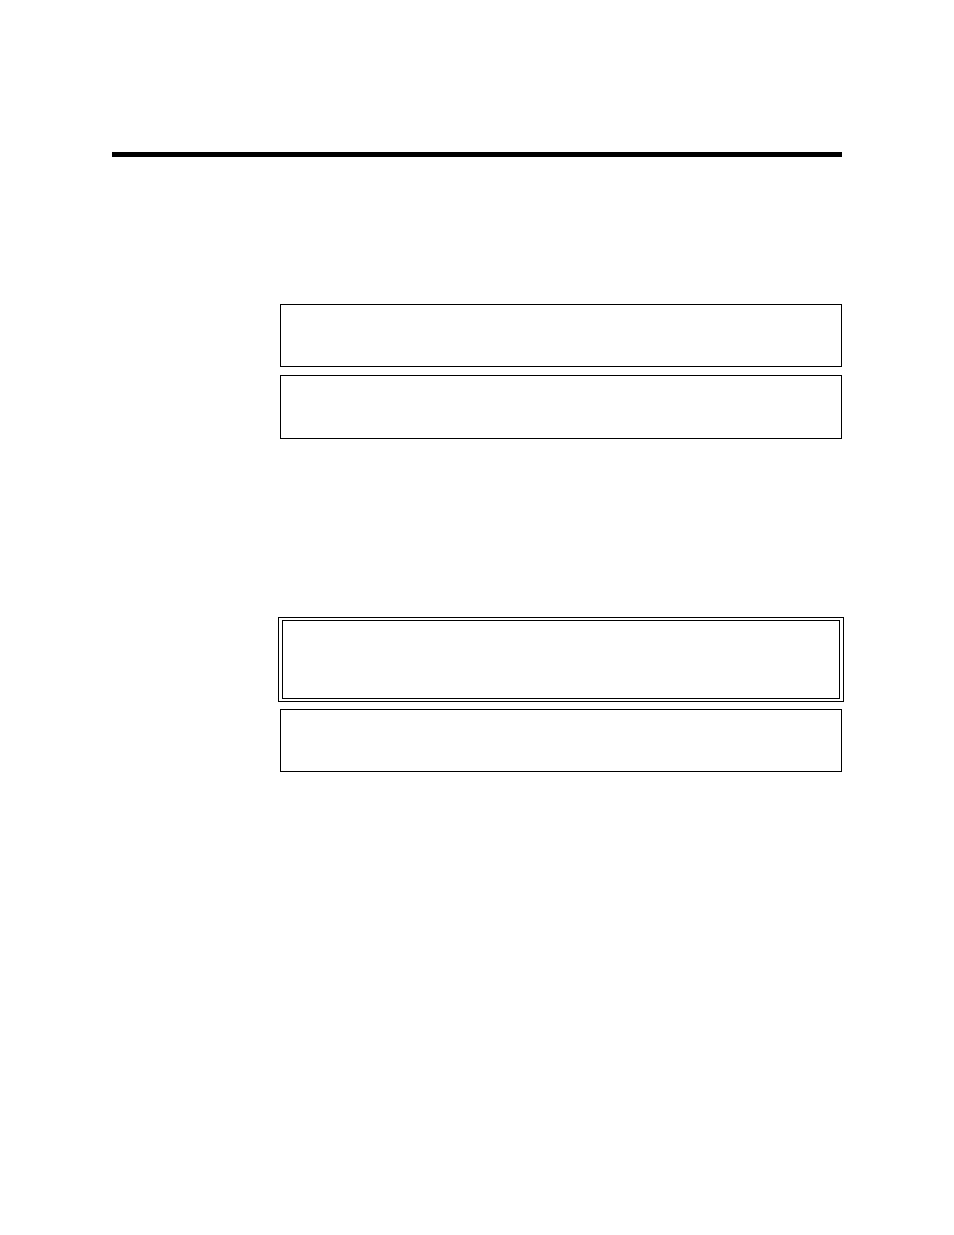
CAUTION
Changing the sensor’s connectors will invalidate calibration data, and may
reduce the maximum power rating of the unit.
CAUTION
The Bird 4421 must be powered off when connecting or disconnecting the
power sensor from the power meter.
WARNING
Never attempt to connect or disconnect RF equipment from the transmission
line while RF power is being applied.
Leaking RF energy is a potential health hazard.
CAUTION
Do not use the power sensor with a load VSWR greater then 2:1. Damage to
the power meter, power sensor, or the RF power source could occur.