Install the replacement slinger – Rockwell Automation VPS-B1653D-PJ12DF Kinetix VP Stainless-steel Servo Motor with 130...165 mm Frame Size Install User Manual
Page 16
16 Kinetix VP Stainless-steel Servo Motor with 130 mm and 165 mm Frame Size
Rockwell Automation Publication VPS-IN002A-EN-P - April 2013
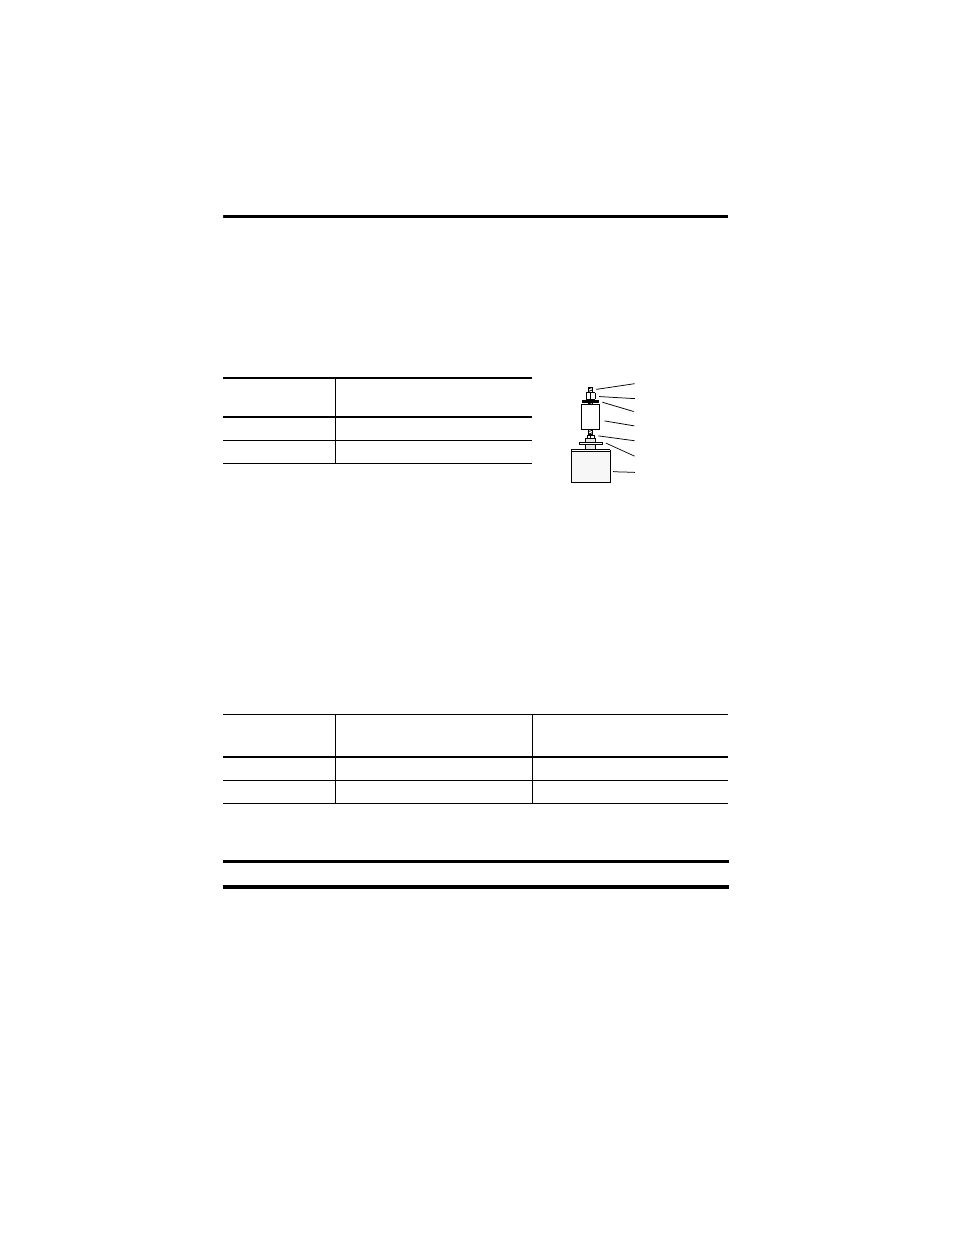
Install the Replacement Slinger
1. Install a threaded rod and nut in the shaft alignment hole.
The table below lists the diameter and threading of alignment holes, and a recommended
rod length for each motor.
2. Tighten the nut on the threaded rod against the end of the motor shaft.
This prevents the threaded rod from backing out of the motor shaft during this
removal/installation procedure.
3. Position the slinger squarely on the end of the motor shaft.
4. Place a deep well socket, a larger washer, and a nut on the threaded rod.
Use a socket larger than the shaft diameter to provide sufficient clearance between the
inside surface of the socket and the motor shaft. The table below lists shaft diameters for
various motor sizes.
5. Tighten the nut to force the washer, socket, and slinger down the shaft.
If additional travel is required to seat the slinger, add a section of hollow pipe or a similar
item behind the socket.
6. Stop moving the slinger down the shaft approximately 3 mm (0.125 in.) before the
slinger contacts the mounting surface of the motor.
Hex Nut and Threaded Rod Sizing
Motor
Threaded Rod Size with Recommended
Length in mm (in.)
VPS-B1304D-PJ12DF
M8 x 1.25 thread size x 203 (8.0)
VPS-B1653D-PJ12DF
M10 x 1.5 thread size x 216 (8.5)
Motor Shaft and Slinger Diameters
Motor
Motor Shaft Diameter
mm (in.)
Slinger Outside Diameter
mm (in.)
VPS-B1304D-PJ12DF
24.0 (0.94)
70.0 (2.75)
VPS-B1653D-PJ12DF
28.0 (1.10)
82.6 (3.25)
IMPORTANT
Grasp the slinger tightly by hand to prevent shaft and slinger rotation in the next steps.
Motor
Slinger
Lock Nut
Socket
Washer
Adjustment Nut
Threaded Shaft