Replacing the heatpipe assembly – Rockwell Automation 2361 Armature Heatpipe Assembly Repl. (T-Frame) User Manual
Page 5
Armature Heatpipe Assembly Replacement (for 3000A 1395 Drives)
5
Replacing the Heatpipe Assembly
1.
Ensure that the assembly is arranged for the proper polarity.
Positive leg assemblies (with the large side of the SCR to the
back) are to be installed on top, and negative leg assemblies
(with the large side of the SCR to the front) are to be installed
on the bottom.
2.
Attach the armature-pulse transformer board connectors to
the SCR leads. (SD3100 drives will need to have pulse-gate
amplifier board connectors crimped onto the SCR leads).
3.
Lift the assembly into the drive and set it onto the support
pegs. Take care not to damage the assembly.
4.
Replace the two bolts to the top of the assembly, mounting
the Glastic to the drive.
5.
Connect the three thermal switch couplings and clip the wires
into the brackets.
6.
Screw in the two bolts which connect the center heatpipe to
the incoming AC busbar. Torque to 25 lb-ft.
7.
Screw in the two bolts which connect the assembly to the out-
put busbar. Torque to 25 lb-ft.
8.
Mount the armature-pulse transformer board panel, securing
with the black latches on the left and right sides of the panel.
9.
Connect all the SCR leads to the respective armature-pulse
transformer boards. (For SD3100 drives, connect all the SCR
leads to the pulse-gate amplifier boards.)
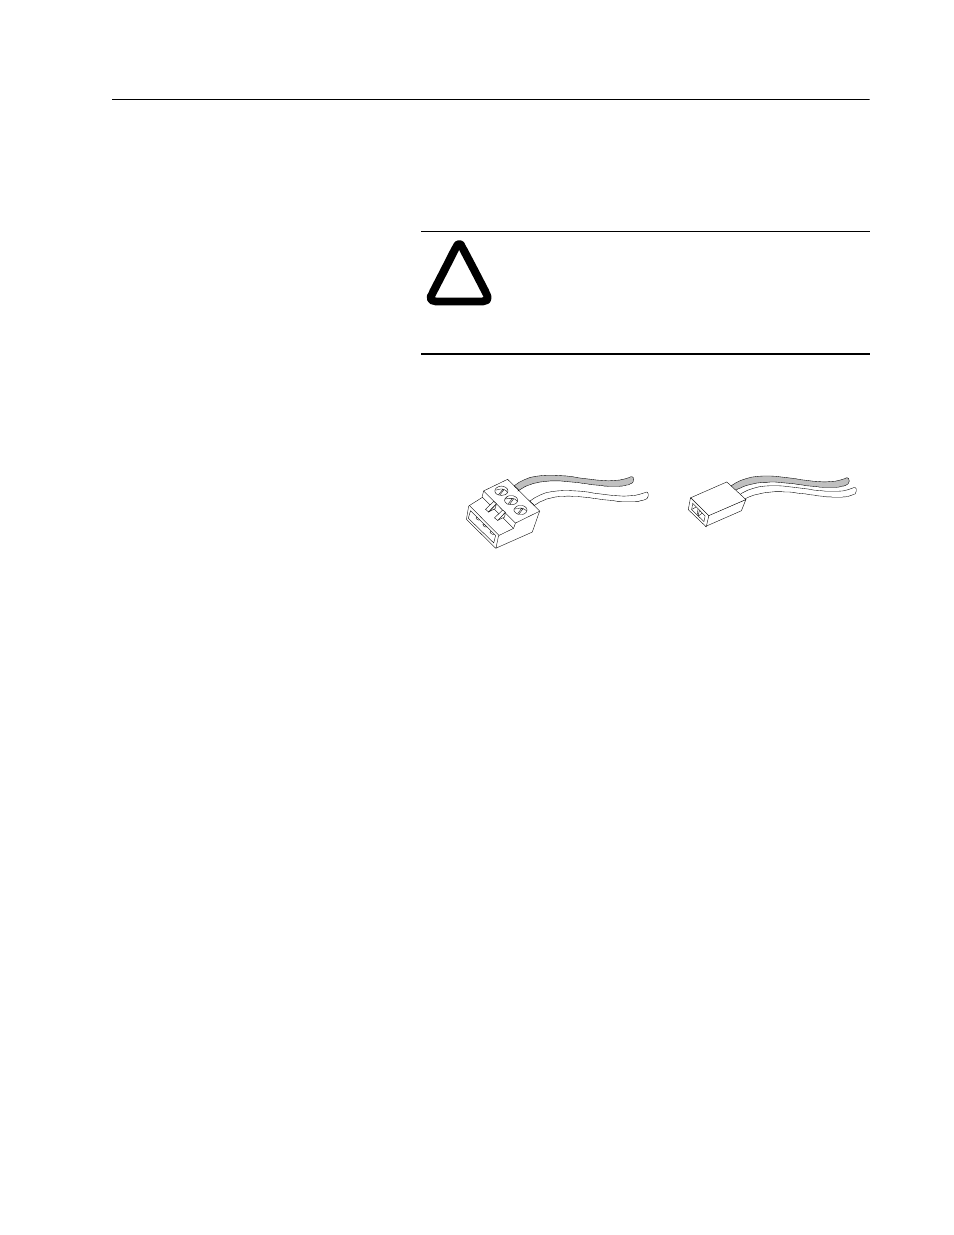
10. Verify that the SCRs are connected to the proper boards. Red
leads connect to terminals labeled R, and white leads connect
to terminals labeled W.
!
ATTENTION: The heatpipe assembly weighs
about 75 pounds. Take appropriate measures
(adhere to your company’s procedures for material
handling) when installing the assembly to prevent
personal injury and equipment damage.
Red
White
1395 Drives
SD3100 Drives