Figure 2 locating the ul mark on the fuse label – Rockwell Automation 1394 Shunt Modules Fuse Replacement Kit User Manual
Page 2
1394 Shunt Modules Fuse Replacement Kit
Publication 1394-6.6 March 1999
3.
Remove the fuse from the fuse holder with the fuse puller tool.
4.
Insert the new Bussmann 700V 40A fuse (FWP40A14F) or equivalent
into the 1394-SR10A fuse holder.
5.
Apply power to your system.
Replacing the 1394-SR9A,
-SR9AF, -SR36A, and -
SR36AF Fuse and Label
To replace the 1394-SR9A, -SR9AF, -SR36A, and -SR36AF shunt module
fuse and label:
1.
Remove power from your system including the shunt module.
2.
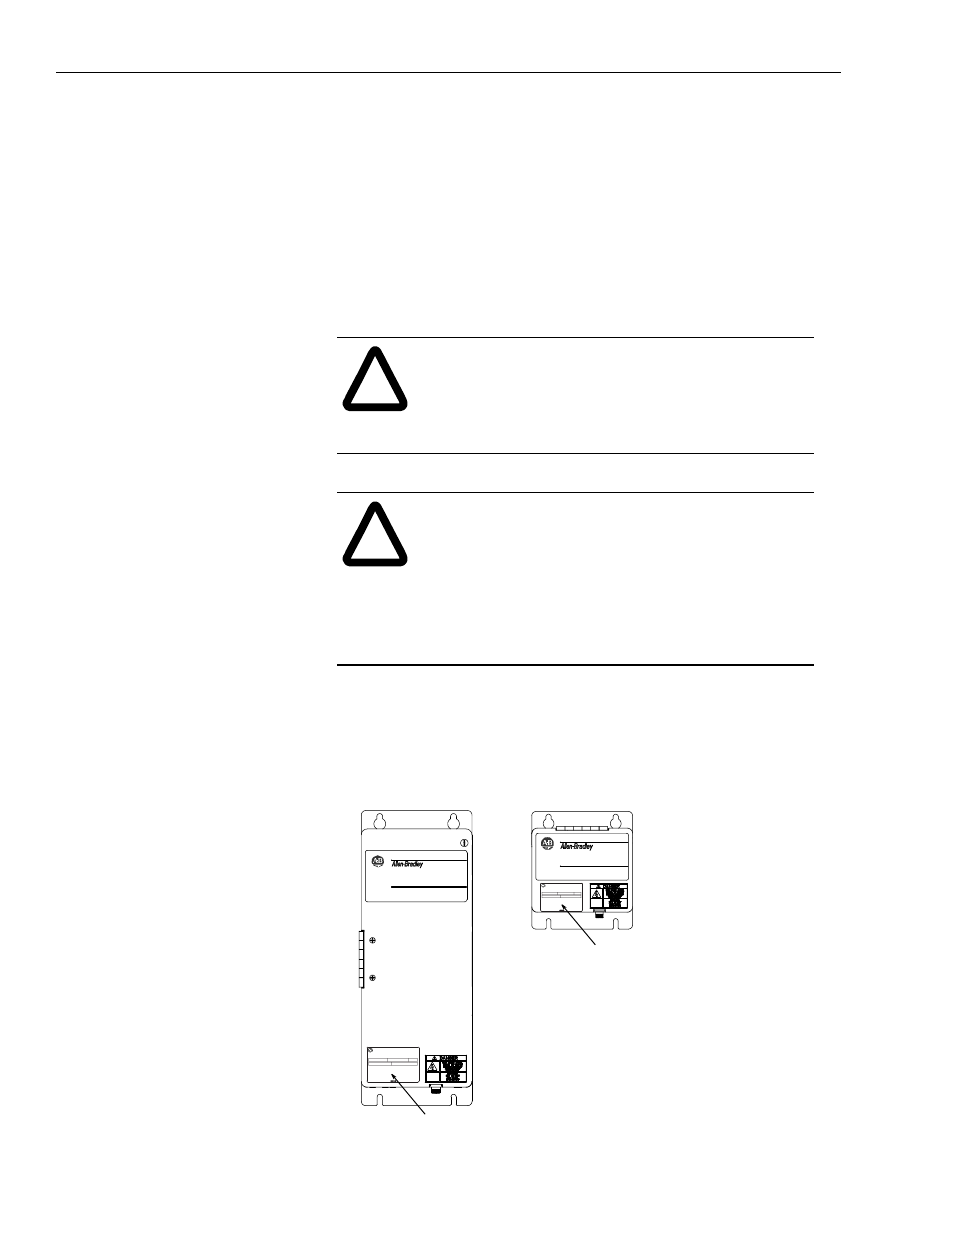
Examine the fuse label for the UL mark.
Figure 2
Locating the UL Mark on the Fuse Label
!
ATTENTION: This system may have multiple
sources of power. More than one disconnect switch
may be required to de-energize the system. To avoid
shock hazard or personal injury, verify that all power
has been removed before proceeding.
!
ATTENTION: This product contains stored energy
devices. To avoid hazard of electrical shock, verify that
all voltage on the capacitors has been discharged before
attempting to service, repair, or remove this unit. You
should only attempt the procedures in this document if
you are qualified to do so and familiar with solid-state
control equipment and the safety procedures in
publication NFPA 70E.
1394-SR36A/36AF
1394 Digital Servo Controller
3600W Shunt Module
1394-SR9A/9AF
1394 Digital Servo Controller
300W Shunt Module
BULLETIN 1394 3600W SHUNT MODULE
ALLEN-BRADLEY
FOR USE WITH 1394-SJT22-X SYSTEM MODULE
CAT.
PART
SER.
INPUT DC
INPUT AC
BULLETIN 1394 300W SHUNT MODULE
ALLEN-BRADLEY
FOR USE WITH 1394-SJT22-X SYSTEM MODULE
CAT.
PART
SER.
INPUT DC
INPUT AC
Fuse Label
Fuse Label