Step 6: installing the new control board, Step 7: installing the light pipes – Rockwell Automation 20L-LL PowerFlex 700L Liquid-to-Liquid Heat Exchanger Control Board Replacement User Manual
Page 5
PowerFlex® 700L Liquid-to-Liquid Heat Exchanger Control Board Replacement
5
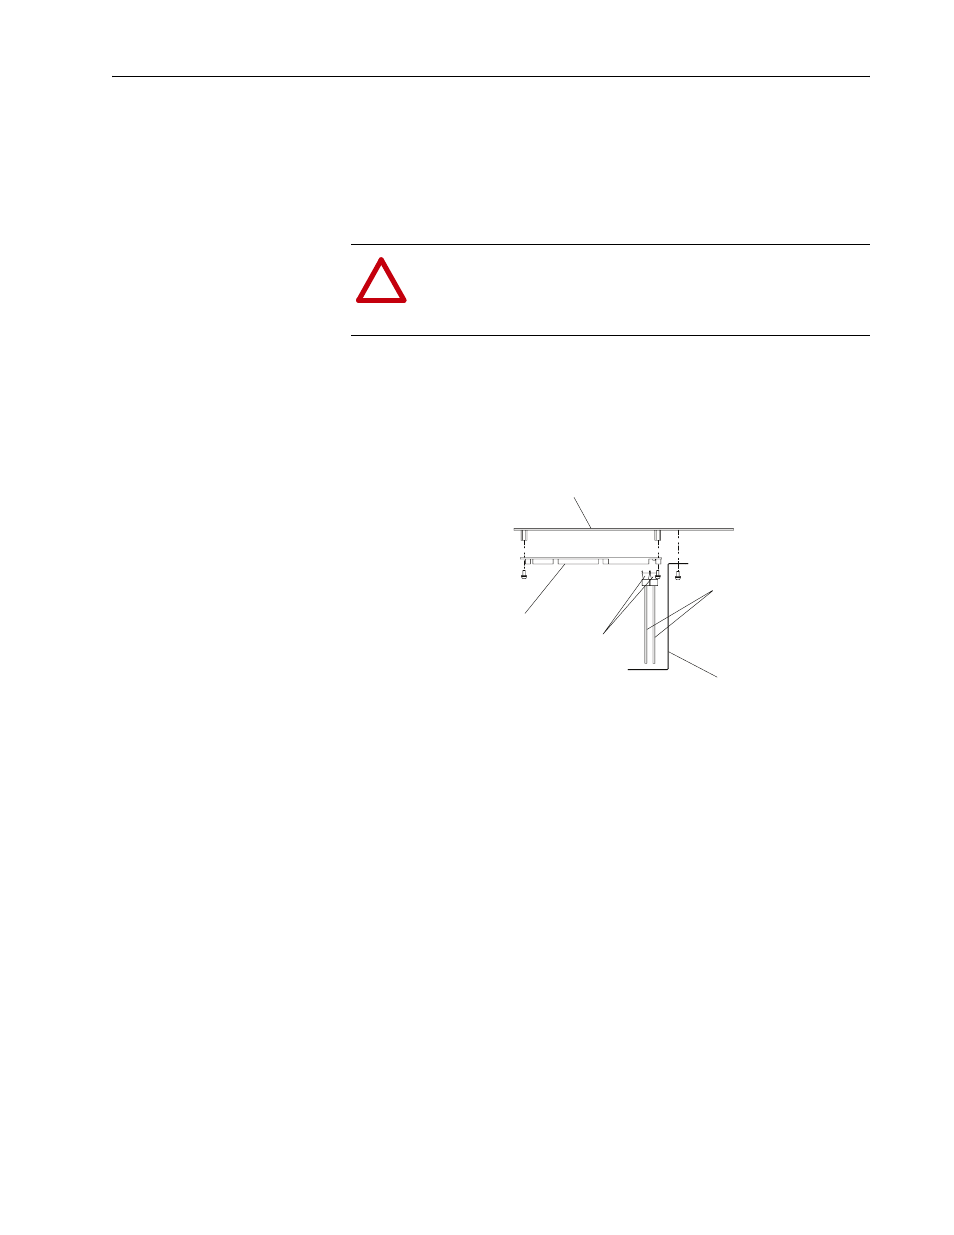
C. On the control board, pull out the removable terminal block connectors
from J1, J5, J6, J7, and J8.
D. Hold the control board in place while unscrewing the (4) mounting
screws from the corners of the control board. Save the screws for
installation of the new control board.
E. Remove the old control board.
F. Remove each control board connector for each light pipe by pushing in
its tabs on the back of the board and gently pulling the connector out
from the front.
Step 6: Installing the New
Control Board
Install the new control board in reverse order of Step 5. Be sure to set the J2
voltage jumper and S1 and S2 dip switch settings as noted during removal
of the old control board.
Step 7: Installing the Light
Pipes
Install the light pipes in reverse order of Step 4.
!
ATTENTION: HOT surfaces can cause severe burns. Do not
touch the surface of the power transformer on the control board
while removing the control board. After disconnecting power to
the heat exchanger, allow time for cooling.
Light Pipe
Bracket
Mounting Plate
Control Board
Connectors
Light Pipes