Informations, Information, Informationen – Sulky VISION 2 DPB User Manual
Page 77
77
FR
GB
DE
Informations
/
Information
/
Informationen
Z
WEI
L
ÖSUNGEN
VON
DIESER
A
NSICHT
AUS
:
1 – Sie können nun die gewünschten Daten eingeben
(z. B. Name des Schlepperfahrers, Düngerart,
Temperatur usw.) für jede „
FUNC
“ sind 9 Zeichen
möglich, insgesamt können 12 „
FUNC
“ eingegeben
werden.
2 –
wählen. Nun ist der Ladevorgang der
Empfehlungskarte beendet und die gegenüber
stehenden Ansichten werden angezeigt.
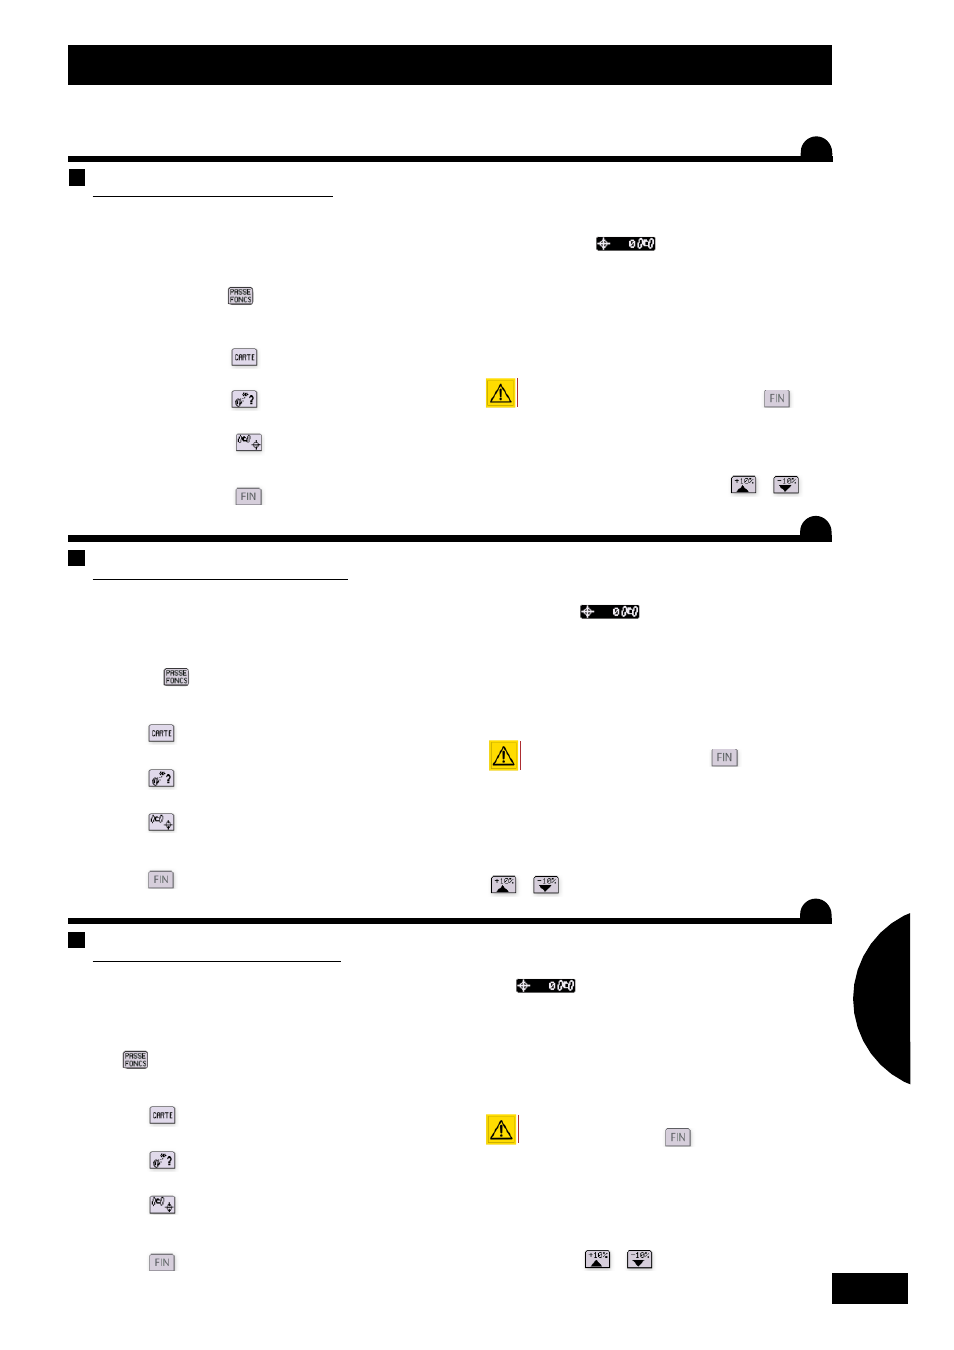
Das
Piktogramm zeigt die Ortsveränderung
des Schleppers beim Düngerstreuen an.
Das
Piktogramm zeigt den GPS-Empfang
an.
Das
Piktogramm zeigt die mittlere
Hektardosierung des zu streuenden Düngers (mit
Bgrid ist die Dosis immer gleich 1) an
Das
Piktogramm wird benutzt, wenn die
Streuung der Parzelle beendet ist.
Von hier an sind Sie startklar, wählen Sie das EPAN-
Menü, und Sie sehen die hier gegenüber angezeigte Seite
Das
Piktogramm bestätigt, dass Sie sich in
GPS-Modulation befinden
Die angezeigte Dosierung soll 0 kg/ha angeben, wenn
der Düngerstreuer nicht auf der richtigen Parzelle arbeitet.
Wenn Sie in der richtigen Parzelle sind, entspricht die
angezeigte Dosis der georteten Position
Am Parzellenende in das „INFO“ Menü
zurückgehen und die
Ikone wählen
Das Gerät generiert eine Datei mit einer Karte, die die
geleistete Ausbringungsarbeit anzeigt.
Wenn Sie beim Düngerstreuen die empfohlene Dosierung
ändern wollen, brauchen Sie nur die dem Piktogramm
entsprechenden
Tasten zu drücken. Um
zur empfohlenen Streumenge zurückzukehren, "100 %“
wählen.
T
HERE
ARE
TWO
OPTIONS
FROM
THIS
SCREEN
:
1 – You can enter the information that you consider to
be of use (e.g. the driver’s name, the variety, the
temperature etc) for each “
FUNCT
” you can enter
9 characters and it is possible to enter 12 “
FUNCT
”
in total.
2 – Select
as soon as the recommendation
chart has loaded and you see the screens
opposite.
The
pictogram enables you to see the
movement of the tractor during spreading.
The
pictogram enables you to see the GPS
reception.
The
pictogram enables you to see the
average fertiliser application rate per Ha (with
Bgrid it is always 1).
The
pictogram is for using when you have
finished spreading in the plot.
When you are ready to start spreading, select the
“EPAN” (spread) menu and you will see the screen
opposite
This pictogram
confirms that you are in
GPS adjustment mode
The rate displayed should be 0 kg / ha when the
spreader is not positioned in the plot where the
fertiliser is going to be spread.
When you are in the correct plot, then the rate
displayed corresponds to the geo-referenced position.
At the end of the plot you must return to the
"INFO" menu and select the
icon.
The unit then generates a file where you will find a
chart corresponding to the fertiliser application that
has just been carried out.
If when spreading you wish to modify the recommended
application rate, all you need to do is use the
keys corresponding to the pictogram;
to return to the recommended rate select “100 %”.
B
B
B
1
4
D
EUX
SOLUTIONS
À
PARTIR
DE
CET
ECRAN
:
1 -
Vous pouvez alors entrer des informations que
vous jugé utiles
( exemple le nom du conducteur, la variété, la
température … )
pour chaque «
FUNC
» 9 caractères sont
possibles et on peut saisir 12 «
FUNC
» au total.
2 -
On sélectionne
Désormais le chargement
de la carte de préconisation est terminé et on
visualise les écrans ci-contre.
Le pictogramme
vous permet de visualiser
le déplacement du tracteur lors de l’épandage.
Le pictogramme
vous permet de visualiser
la réception GPS.
Le pictogramme
vous permet de visualiser
la dose moyenne par Ha d’engrais à épandre
(avec Bgrid elle est toujours à 1 )
Le pictogramme
sera à utiliser quand
vous aurez terminé l’épandage dans la parcelle .
A partir de là vous êtes prêt à épandre, vous
sélectionner le menu « EPAN » et vous visualisez la
page ci-contre
Ce pictogramme
confirme que vous êtes
en modulation GPS
La dose Affichée doit correspondre à 0 Kg / ha quand
l’épandeur d’engrais n’est pas positionné dans la
parcelle à épandre.
Quand vous êtes dans la parcelle à épandre alors la
dose affichée correspond à la position géo-référencée
A la fin de la parcelle il faut retourner dans le
menu « INFO » et sélectionner l’icône
Alors la console génère un fichier ou on trouve une
carte correspondant à l’épandage réalisé.
Si lors de l’épandage vous souhaité modifier la dose
préconisée, il suffit d’utiliser les touches
correspondantes au pictogramme pour retourner à
la dose préconisée il faut sélectionner « 100 % »