Installing the printer driver, Windwos, Ready – Brother HL-4070CDW User Manual
Page 29: Select ab or ok machine info, Select ab or ok lan, Lan wired, Lan wlan, Wlan setup wlan, Setup wlan setup wizard, Setup wlan secureeasysetup
Installing the Printer Driver
27
Windwos
®
W
indwos
®
Wir
ele
ss
Network
7
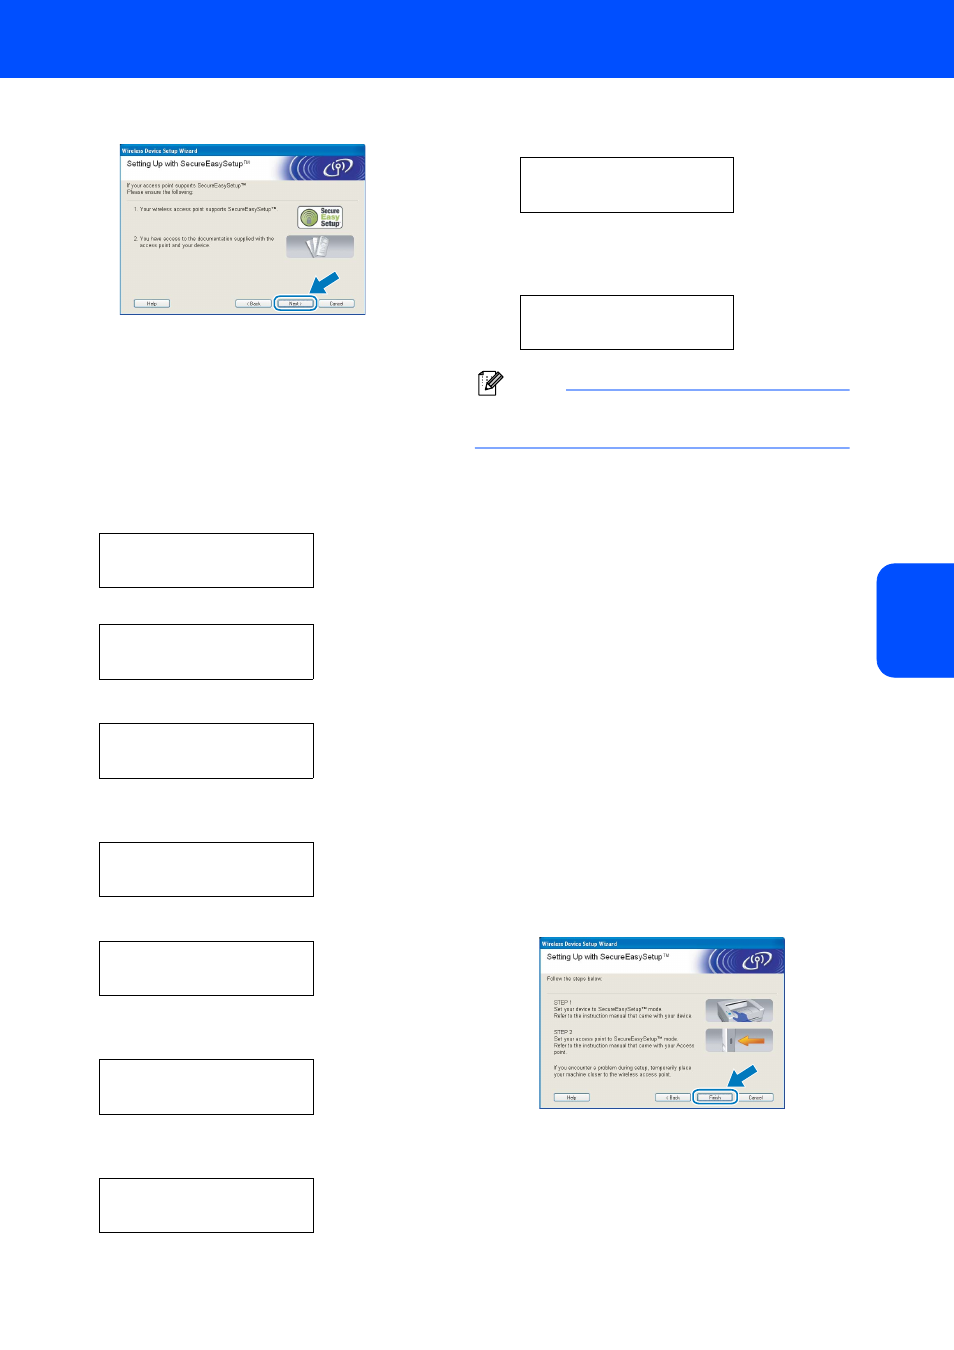
Ensure the on-screen message and click Next.
8
Refer to the instruction manual that came with
your access point to set the
SecureEasySetup™ mode of your access
point.
9
Put the printer in SecureEasySetup™ mode
using the control panel.
1
Press any of the Menu buttons (+, -, OK
or Back) to take the printer offline.
Ready
h
Select
ab or OK
Machine Info.
2
Press the + or - button to select LAN.
Select
ab or OK
LAN
3
Press OK to move to the next menu
level.
LAN
Wired
4
Press the + or - button to select WLAN.
LAN
WLAN
5
Press the + or - button to select
Setup WLAN
in WLAN menu.
WLAN
Setup WLAN
6
Press OK to move to select the next
level.
Setup WLAN
Setup Wizard
7
Press the + or - button to select
SecureEasySetup
.
Setup WLAN
SecureEasySetup
8
Press OK.
If the following message appears, press
OK again.
WLAN Enable?
On
Note
The message above only appears when the
wireless setting is disable.
9
The wireless network connection status
using the SecureEasySetup™ software
will be displayed; Connecting WLAN,
Connected
or Connection NG.
Connecting WLAN
is displayed when
the print server is trying to make
connections to your router or access
point. Wait till either Connected or
Connection NG
is displayed.
Connected
is displayed when the print
server is successfully connected to your
router or access point. You can now use
your printer in a wireless network.
Connection NG
is displayed when the
print server has not successfully
connected to your router or access point.
Try starting from
3 again. If the same
message is displayed again, reset the
print server back to the default factory
settings and try again.
10
Click Finish. Relocate the printer to a location
that is within range of your access point.