Warning – S&S Cycle Big Twin Engines with 3-1/2 and 3-5/8 Bore Crankcases and Special Application (SA) 4 Bore Crankcases User Manual
Page 4
6. Lubricate pinion bearing and pinion shaft bearing boss with
petroleum jelly. Install bearing and secure with pinion shaft
main bearing snap ring. See Picture 6 on previous page.
NOTE - Pinion and sprocket shaft bearings should be correct sizes,
but it is engine builder’s responsibility to confirm flywheel
endplay, connecting rod sideplay, bearing fit, and all clearances
in unassembled engine at time of assembly. It is of particular
importance to check flywheel endplay and install different
Timken
®
bearing spacer if necessary. Refer to Harley-Davidson
®
Service Manual for detailed explanation of required procedure.
NOTE - Harley-Davidson
®
has used different style pinion bearings
in various models, some requiring different snap rings. Snap ring
supplied by S&S
®
or identical replacement must be used with
pinion bearing supplied in S&S engine.
NOTE - Ends of snap ring are rounded on one side, sharp on the
other. Install snap ring with sharp edge out, away from flywheels.
ASSEMBLE CRANKCASE HALVES
Gasoline, lacquer thinner, and many solvents are extremely
flammable. Fumes may be explosive and toxic if inhaled.
Read and follow the manufacturers’ instructions if applicable,
and use these materials only in a well ventilated area away
from sparks and open flame.
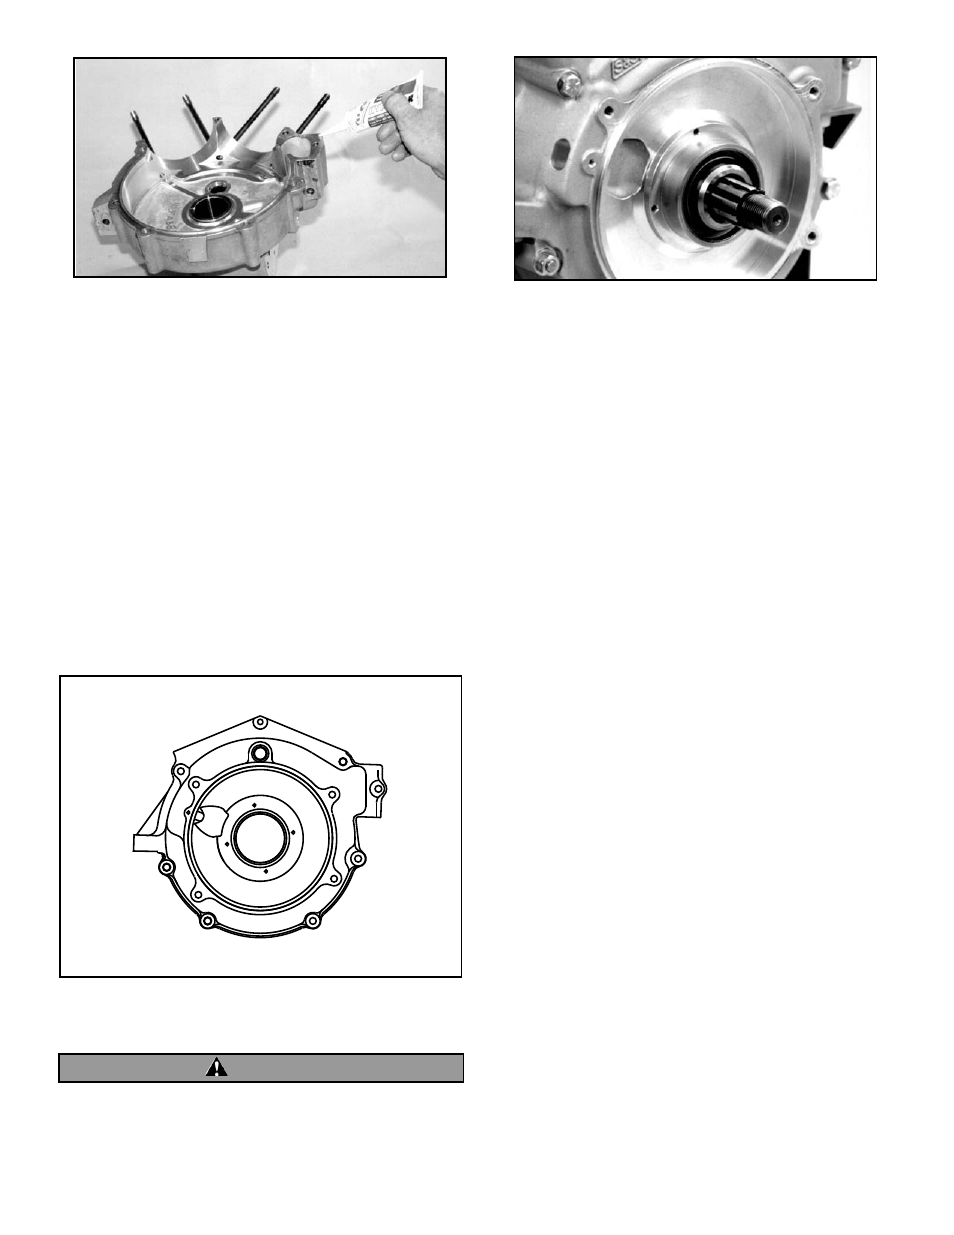
1.
Wipe down mating gasket surfaces of crankcase halves with
lacquer thinner. Remove residue with clean, dry cloth, then
apply sealant of choice to pinion side crankcase. Take care to
avoid breather cavity and other areas where sealant might
reach inside of engine. See Picture7. Coat right main
bearing race with petroleum jelly. If applicable, allow sealant
to cure according to manufacturer’s instructions, then join
left and right crankcase halves.
NOTE - In most instances S&S uses Hylomar
®
or Threebond
®
1104
to seal crankcase. Use any sealant carefully to prevent excess
from entering engine and obstructing oil passages or
contaminating oil supply.
2. Install crankcase studs and washers according to
crankcase instructions.
Note - Alignment studs for S&S generator and alternator
crankcases are in same locations B, E, & G. See Diagram 1. They
must be installed before other studs and bolts. Fit is tight, so
alignment studs must be lubricated with assembly lube, then
tapped through case assembly with plastic mallet.
3. Tighten 5/16” case bolts and studs to 15-18 ft-lbs, 1/4” center
bolt to 10-12 ft-lbs. See Diagram 1 for identification, and
tighten fasteners in following sequence: G-B-E-F-H-D-C-A.
4. Install drive sprocket spacer and sprocket shaft oil seal in
main bearing race of left case.
NOTE - Because of semi-dry primary housing in shovelheads and
sealed, wet primary in big twin models, S&S installs shovelhead
sprocket shaft seals with spring facing inside, big twin seals with
spring out. See Picture 8.
5. Allow crankcase sealant to cure per mfr.’s instructions, then
pour four ounces of motor oil over bearing end of
connecting rod assembly and into flywheel cavity. Rotate
flywheels several times to distribute oil over connecting rod
bearings. Assembly should turn freely and without binding.
4
Picture 7
Picture 8 (Big Twin Models)
Diagram 1
A
B
C
D
E
F
G
H
WARNING