S&S Cycle TÜV Approved Super E Carburetor Kits User Manual
Page 8
8
B. Install carburetor
1. Install the two 3⁄8"-16 socket cap screws through mounting holes in manifold from back side.
2. Install insulator block onto cap screws with O-ring side of block facing manifold.
3. Install noise restrictor onto cap screws with the gasket side facing manifold. See Picture 13.
4. Install carburetor and tighten cap screws.
If noise restrictor is not installed engine damage will result due to lean condition.
•
If insulator block is not installed, lower manifold bolt may damage carburetor bowl causing possible gasoline leak.
•
Gasoline is extremely flammable and explosive under certain conditions. Do not smoke around gasoline. Gasoline fumes are toxic when
inhaled. Any gasoline leak or spill constitutes a health and fire hazard.
C. Adjust throttle cables
1. Turn threaded throttle cable adjusters to remove excessive free play.
2. Test throttle to insure that it opens and closes freely. Turn handlebars to extreme left and open and close throttle, then turn bars to
extreme right and open and close throttle. If throttle binds, loosen cable adjusters to put more free play in cables. Tighten adjusting
screw locknuts after making final adjustments.
NOTE: Throttle must not bind and must snap shut to fully closed position when released.
If throttle does not return to fully closed position when released, it may inadvertently stick open, causing possible loss of control of
motorcycle and personal injury to operator or others.
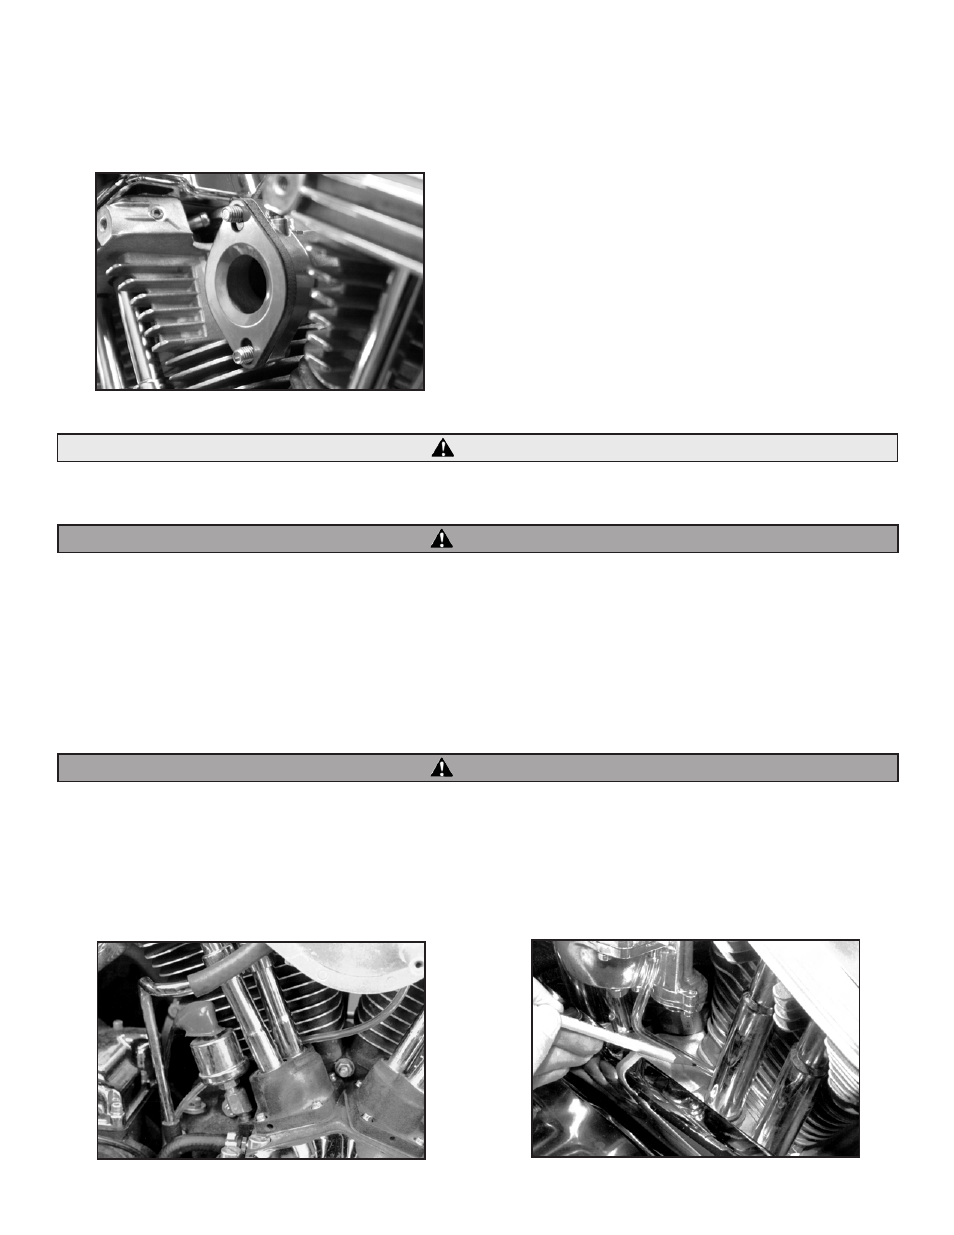
D. Install Overflow Hose
1. Slip fuel overflow hose onto fitting on carburetor bowl and neatly route behind pushrod tubes. On a big twin model, hose should go
toward back of engine. On a Harley-Davidson® Sportster® model, hose should go toward front of engine. Exit end of overflow hose must
extend down below engine and away from exhaust pipes. See Pictures 14 and 15.
Picture 13
CAUTION
WARNING
WARNING
Picture 14
Picture 15