S&S Cycle TÜV Approved Super E Carburetor Kits User Manual
Page 11
11
CAUTION
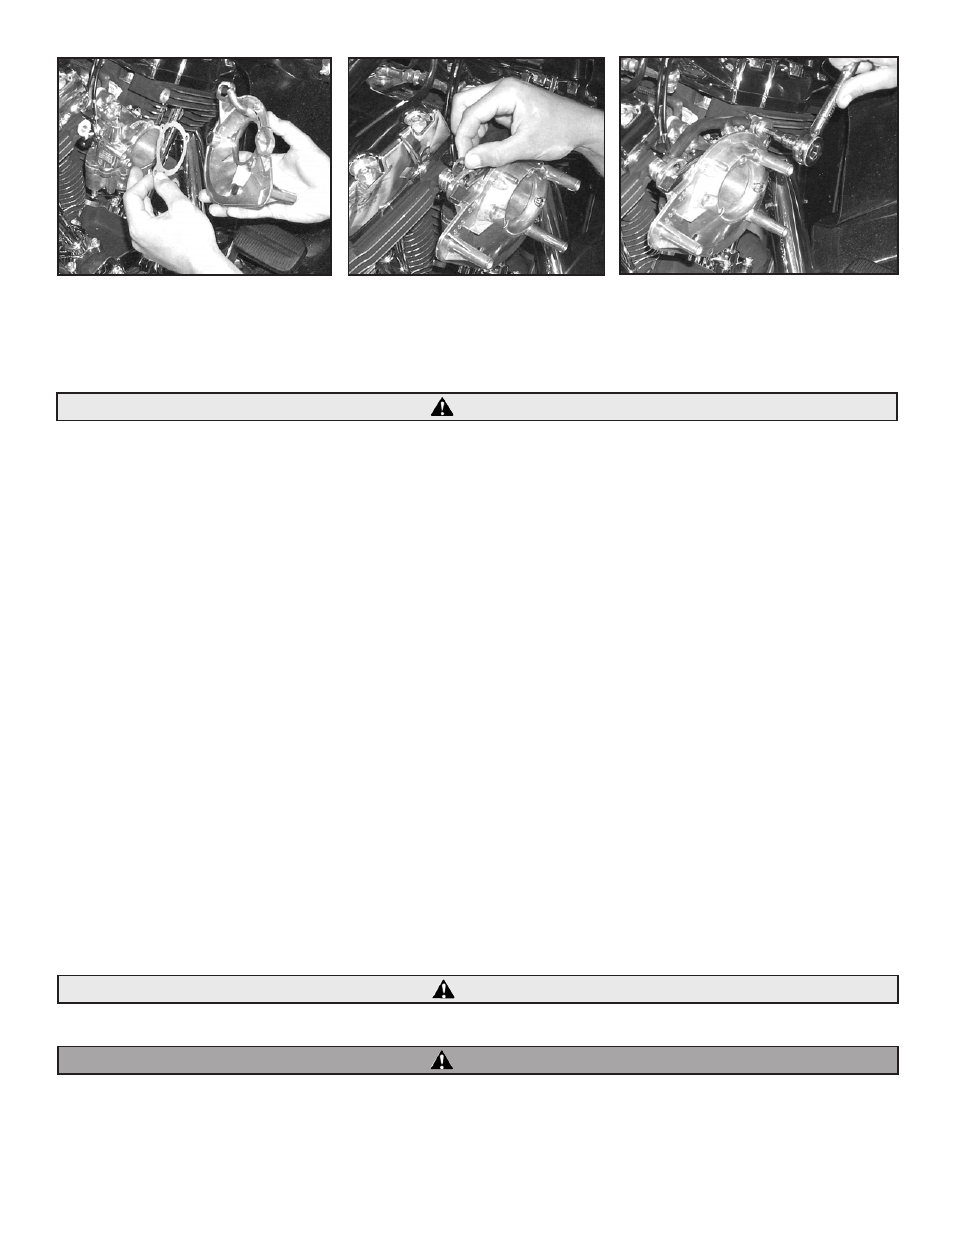
Picture 23
Picture 24
Picture 25
NOTE: Backplate screws supplied with kit have pre-applied thread locking compound on threads. If screw without thread locking compound is used, a
thread locking compound such as Loctite® 242 must be applied to threads, and screws properly tightened. If screws are removed in future, Loctite 242 or
equivalent must be applied before reinstallation.
Failure to apply thread locking compound or properly tighten screws may cause screws to loosen and fall into engine, resulting in engine
damage not covered under warranty.
7. Final assembly and checks.
A. Check carburetor to manifold mounting bolts.
B. Check carburetor to air cleaner backplate mounting screws.
C. Check each of following that is applicable:
1. Carburetor mounting bracket to head bolts.
2. Mounting bracket to air cleaner backplate.
3. Mounting bracket to center case stud.
4. Mounting bracket to tappet guide bolt.
5. Mounting bracket to head breather vent fitting.
6. Air cleaner backplate to head mounting bolts.
D. Check fuel line connections and routing. Avoid hot surfaces.
E. Check vacuum operated ignition advance connections if applicable.
F. Check crankcase to backplate vent hose connections if applicable.
G. Check fuel overflow hose routing. Avoid hot surfaces.
H. Test throttle to be sure it opens and closes freely. Turn handlebars to extreme left and open and close throttle, then turn bars to extreme
right and check throttle. When released, throttle should snap closed in all positions.
I. Reassemble components that were removed or disassembled for carburetor installation. Consult authorized Harley-Davidson® service
manual for installation procedure for stock parts not covered in S&S® carburetor instructions.
J. Check fuel needle and seat assembly. Fill gas tank with just enough fuel to test system. Lean motorcycle over towards carburetor side, turn
on fuel petcock and wait 20 seconds. If gas runs out end of carburetor or out overflow hose, turn off petcock and check needle and seat.
See "General Information."
K. Check fuel inlet fitting and fuel line connections for leaks. Hose clamps must be tight.
NOTE: Fuel needle and seat assembly must completely shut off fuel supply to carburetor bowl. Fuel inlet fittings and fuel line connections must not leak.
Gasoline leaking past inlet needle may flood engine causing contamination of oil supply and damage to engine.
Any gasoline leak represents a health and fire hazard.
CAUTION
WARNING