Flow ng, Gas2 off, Purge – RKI Instruments SDM-2012 Standalone Configuration User Manual
Page 66
61 • Bump Testing a Gas Tracer
NOTE:
Do not use a 4-gas cylinder or any cylinder that includes H
2
S when
bump testing a Gas Tracer. H
2
S adversely affects the ppm combustible
sensor.
11. Press and hold the BUMP
T
button until the BUMP
T
LED turns on (about
one second) then release it. During the bump test, the BUMP
T
LED will flash
amber indicating that a bump test is in progress.
If you wish to cancel the bump test, press and hold the BUMP
T
button for at
least one second until CANCEL appears on the screen.
12. If at any point during the bump test the gas flow to the instrument becomes too
low, the bump test will be aborted and the screen will indicate a flow failure.
If a flow failure occurs, confirm all tubing connections are correct and that all
lines are clear.
•
To return to the home screen, press and hold the EDIT ENTER button for
about 3 seconds.
•
To start another bump test, press and release the BUMP
T
button.
•
To perform a calibration, press and release the CAL
S
button.
13. If a bump test or calibration has already been performed by the SDM-2012 on
a GX-2012 or a Gas Tracer with a %volume sensor installed, and if the GAS
menu item in Edit Mode is set to ALL, the docking station will perform a purge
before beginning the bump test. The purge ensures that any %volume
calibration gas does not come in contact with the ppm sensor and affect its
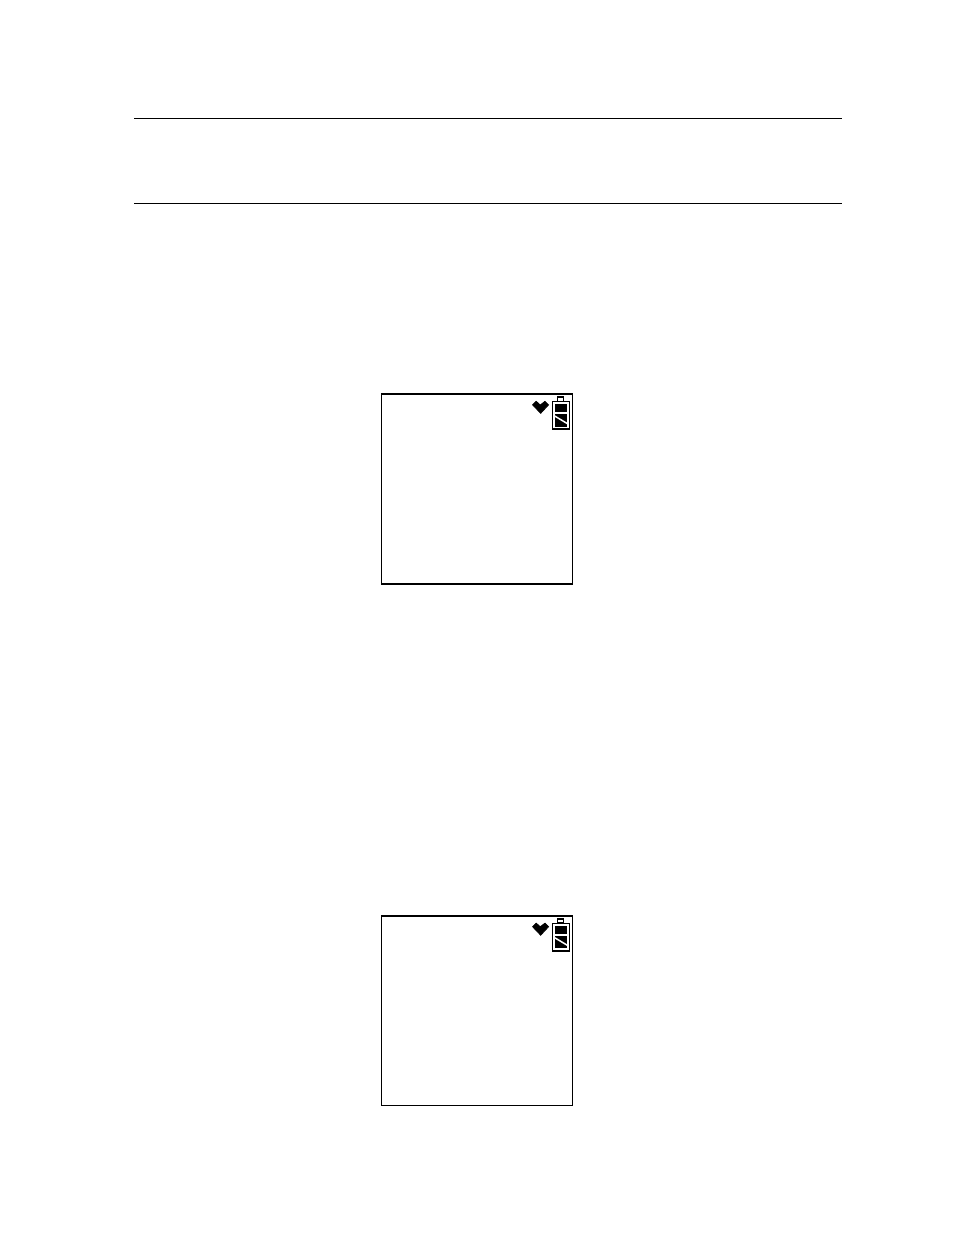
readings. The screen will indicate that you need to remove the gas cylinder
from the GAS 2 fitting on the back of the SDM-2012.
- - -
- - -
- - -
%LEL
%
ppm
CH
4
O
2
FLOW NG
CO
GAS2
OFF
PURGE