Working with the disc mill, 4 adjusting the gap width – Retsch DM 400 User Manual
Page 32
Working with the disc mill
32
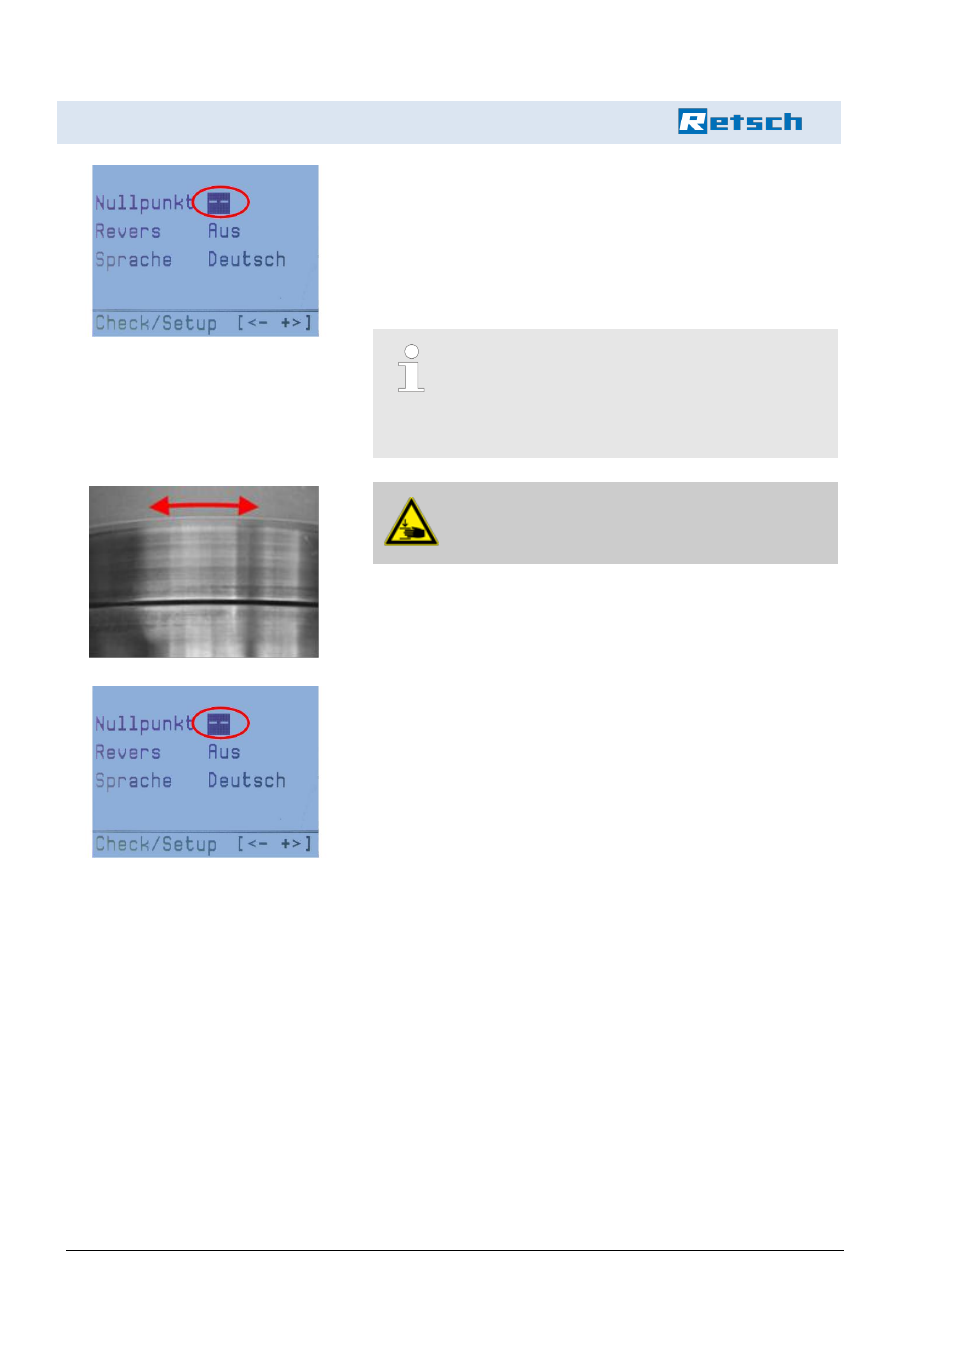
3. To change the grinding gap to adjust the zero point, the zero
point line must be selected in the Check / Setup menu using the
arrow buttons (c, d).
4. Remove the suction flange lid (11). Check both grinding discs
while they are moving together through this opening. It should
only be possible to see a minimal light gap between the two
discs.
During the process of setting the zero point, no gap
information is shown on the display. You can hear a
mechanical noise of the servomotor and see how
the moving grinding disc (6) is aligned through the
suction flange (11)!
5.
CAUTION!
Risk of crushing between the grinding discs!
To check while adjusting the zero point, rotate the moving grind-
ing disc by hand through the opening of the sample material con-
tainer. While rotating, reduce the gap using the
– button (b) until
slight rubbing of the two discs can be felt and heard!
6. As soon as the smallest gap width has been set and a minimum
rubbing of the discs is registered, this may be defined as zero
point. Only when the zero point is highlighted in black can the
zero point be fixed by simultaneously pressing the stop (f) and +
(a) buttons.
7. Reinsert the sample material container.
5.4 Adjusting the gap width
The adjustment of the gap width takes place automatically using the
Parameter menu item. The zero point must be set first (see chapter
“Specifying the zero point) to prevent damage to the grinding discs.
The gap width is adjusted as follows: