C. configuring the wixels, Wixel shield app, Making your own compatible apps – Pololu Wixel Shield for Arduino User Manual
Page 9
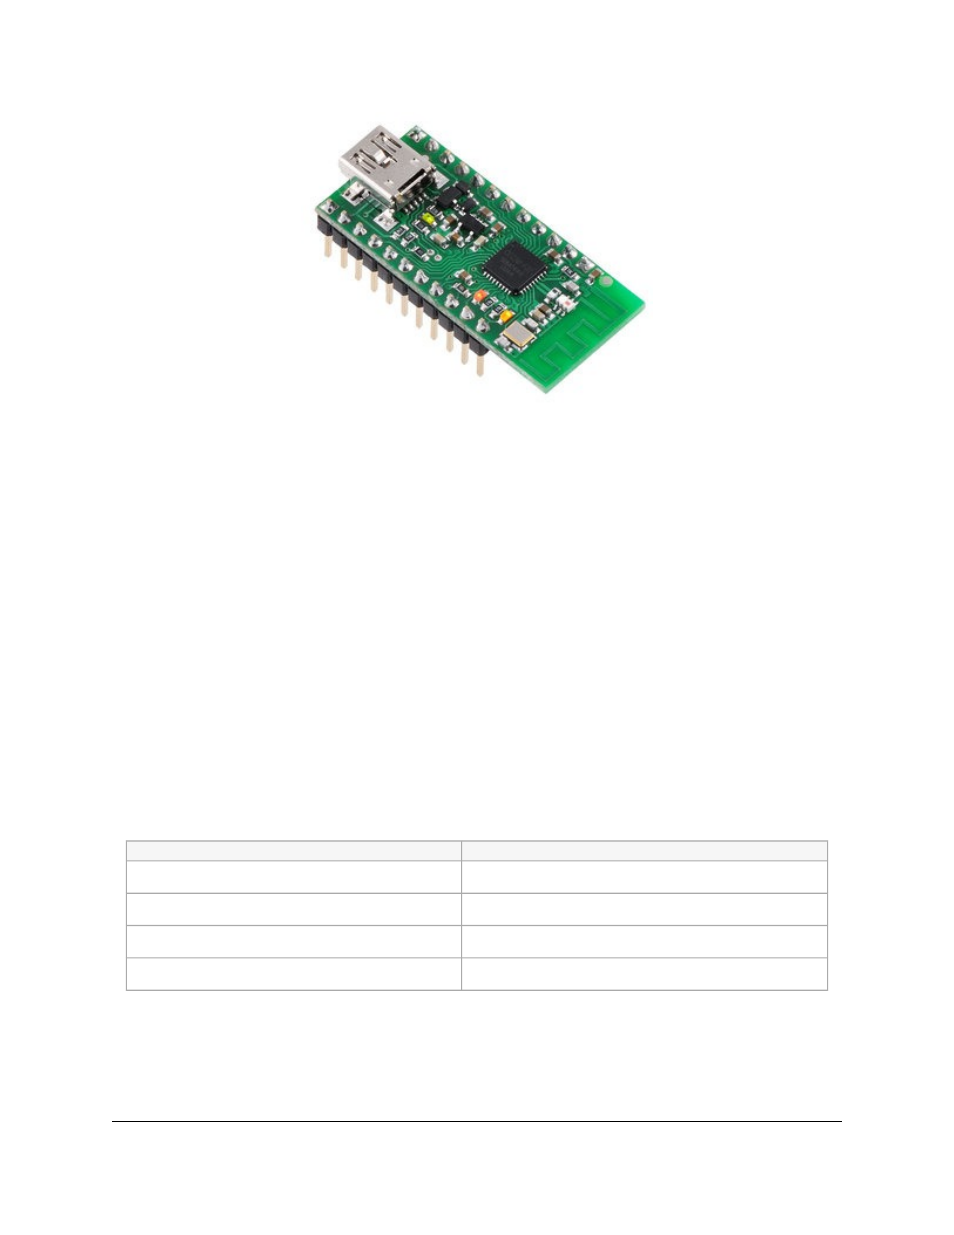
Once the male header pins are installed, the Wixel can be plugged into the female socket on the Wixel shield. You can
skip this step if you purchased a
.
2.c. Configuring the Wixels
Before your Wixels will work with the Wixel Shield for Arduino, they need to be programmed with a compatible
app. The Wixels do not ship with an app on them, so you will need to configure them using the Wixel Configuration
Utility on a Windows computer. The
contains instructions for
downloading, installing, and using the Wixel Configuraiton Utility.
Wixel Shield App
The quickest way to get started with your Wixel shield is to load both Wixels with our open-source
(25k wxl). This special version of the
Wireless Serial app, which is
in the Wixel User’s Guide, creates a
wireless serial link between two Wixels and enables wireless Arduino sketch uploading (using the standard Arduino
computer software) in addition to general-purpose wireless communication.
The app has two configuration parameters: radio_channel and baud_rate. Both Wixels need to use the same
radio_channel, and the baud_rate needs to be set to the specific upload speed/bootloader baud rate for your Arduino,
as shown in the table below. (Other baud rates will work for serial communication, but they will not work for wireless
Arduino programming.)
Arduino board name
Upload speed/baud_rate
Arduino Uno
115200
Arduino Duemilanove w/ ATmega328
57600
Arduino Diecimila or Duemilanove w/ ATmega168
19200
Other
Use upload.speed parameter in Arduino
boards.txt
file
Making Your Own Compatible Apps
Compatible apps, at a minimum, must do two things: relay serial communication and reset the Arduino when the
Arduino software signals a reset. To accomplish this, they should use the following three Wixel pins:
Pololu Wixel Shield for Arduino User's Guide
© 2001–2014 Pololu Corporation
2. Getting Started
Page 9 of 12