D. connecting the shield, E. using the arduino software – Pololu Wixel Shield for Arduino User Manual
Page 10
• P0_0 – the Arduino is held reset while this pin is high
• P1_6 – Wixel TX/Arduino RX
• P1_7 – Wixel RX/Arduino TX
The other 12 general-purpose I/O pins including 5 analog inputs are free to be used by your app to interface with the
Arduino or other electronics.
A good starting point for making your own compatible app is to modify the source code for the
which is available in the
and included
as part of the
The Wixel User’s Guide has more
information on making your own Wixel apps in
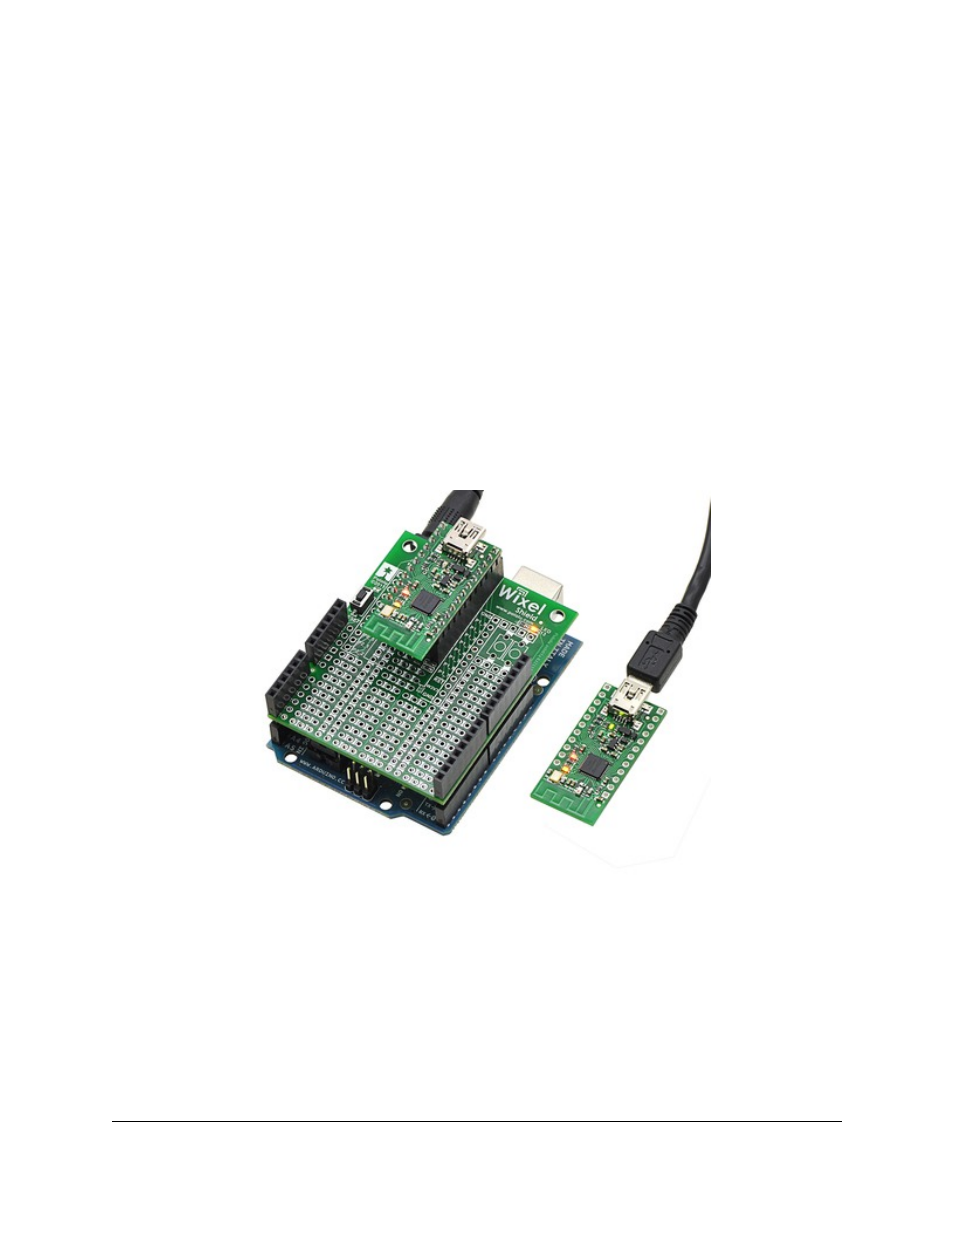
2.d. Connecting the Shield
As with most electronics, it is good to avoid making connections while circuits are energized. Therefore, we
recommend that your Arduino be unpowered and disconnected from USB when plugging or unplugging the shield
from it. The same goes for the socketed Wixel. After all of the connections between the Wixel, shield, and Arduino
are secure, the Arduino can safely be powered through the power jack or USB. It is safe to connect the socketed Wixel
to your computer through USB, but the Arduino will not receive power through that connection.
2.e. Using the Arduino Software
Using the Arduino software with the Wixel shield for Arduino is not any different than using it normally, except that
you will be programming on the COM port associated with a Wixel rather than one associated with your Arduino. In
the Arduino IDE, select your Arduino board using
Tools->Board
and select the the COM port that corresponds to the
Wixel connected to your computer using
Tools->Serial Port
. The upload button and the serial monitor will now
work exactly like they do when your Arduino is directly connected to your computer via USB.
Pololu Wixel Shield for Arduino User's Guide
© 2001–2014 Pololu Corporation
2. Getting Started
Page 10 of 12