Connecting and configuring your n1 vision, Se ct io n – Belkin Vision Wireless Router N1 User Manual
Page 21
17
16
17
16
Connecting and Configuring your N1 Vision
se
ct
io
n
1
9
2
3
4
5
6
7
8
10
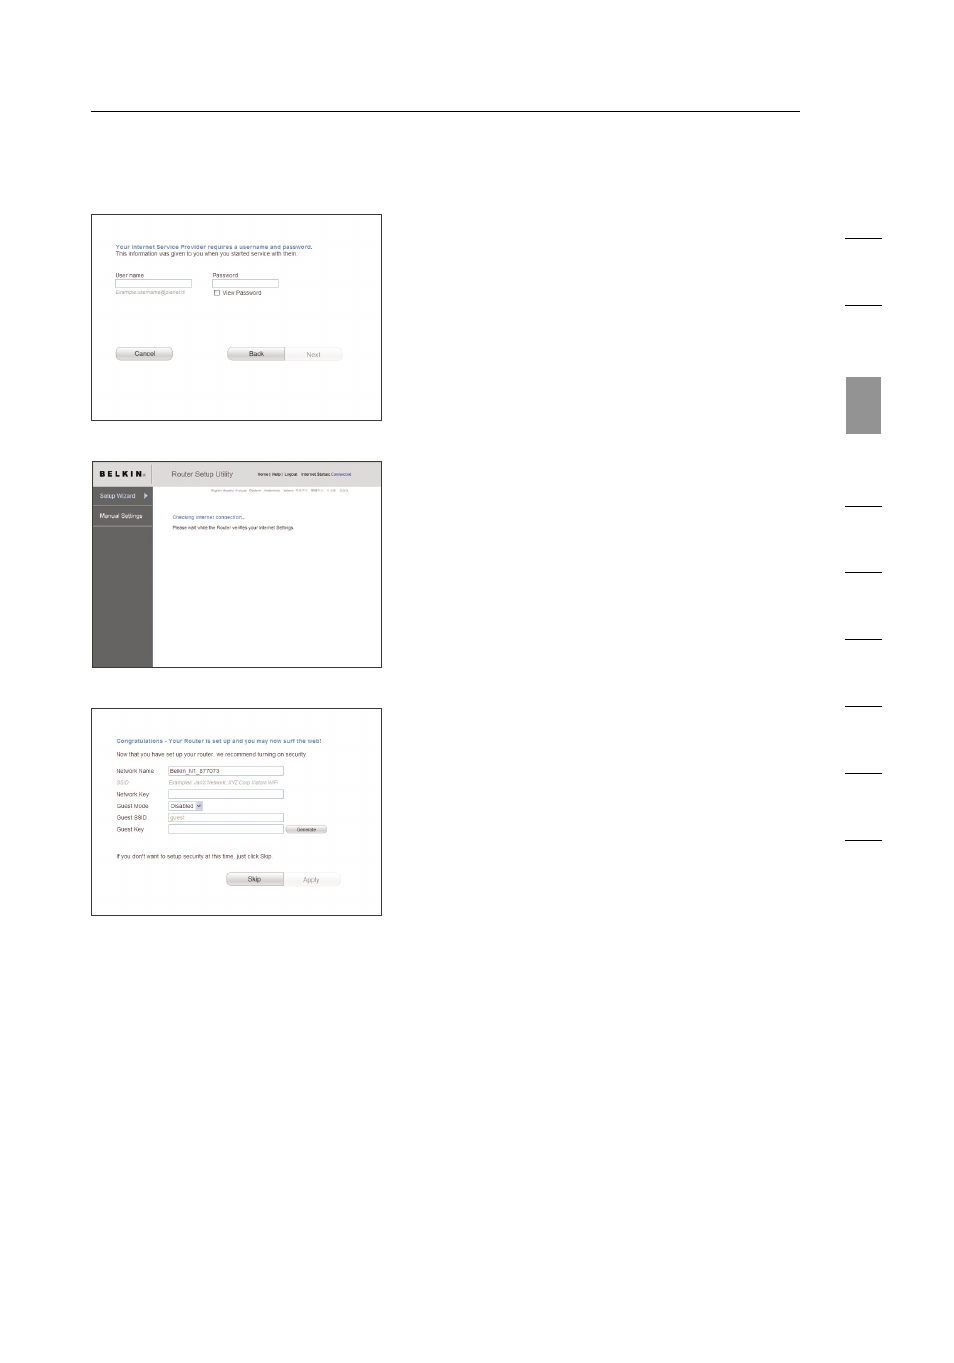
F.
The N1 Vision will now check for
your Internet connection.
G.
You will see the Congratulations
screen when your N1 Vision can
connect to the Internet. You have
finished installing your new Belkin
N1 Vision and can begin surfing
by opening another browser
and going to any website. You
may also choose to change your
network name, set up a wireless
security key, or enable the guest
mode from this screen.
E.
If your Internet account requires
a user name and password, you
will be taken to the screen below
to enter this information. Click
“Next” to save and continue.
Options
1.
Network Name – This is the name of the N1 Vision.
2.
Network Key Create a wireless security WPA key by typing any 8
to 63 alphanumeric characters in length. Any wireless devices will
need this key to connect to the N1 Vision.
3.
Guest Mode – When enabled, this mode will create a new
network to which guest users can connect that will separate them
from access to your other network and connected devices.