English, Set up instructions – Klein Tools DTL302 User Manual
Page 6
6
ENGLISH
SET UP INSTRUCTIONS
A.
Before Operating
• Plug the thermocouple(s) into the input terminal(s).
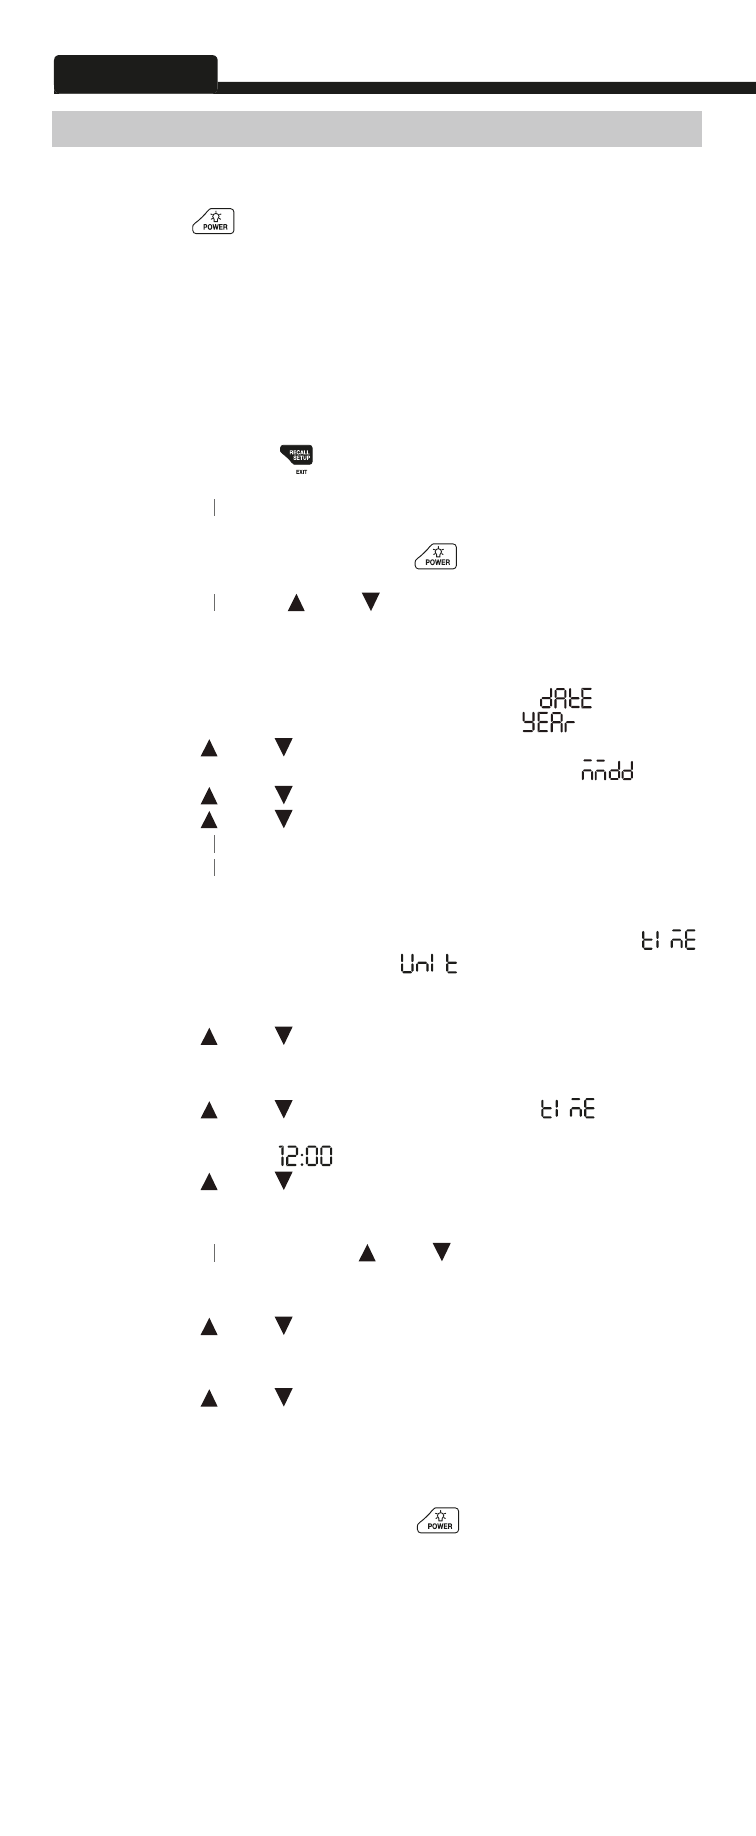
• Press “
” to turn the instrument on. After 1 second,
the thermometer displays the fi rst reading and its internal
temperature. If no thermocouple is plugged into the selected input
or the thermocouple is “OPEN”, the display shows “----”.
B.
Set Up Mode
• Use “SETUP” to reset the thermometer or change the date
settings, time units, time settings, thermocouple type, Auto-
Power-Off mode, logging interval, and offset.
• When the thermometer is in “SETUP” mode, the display always
shows “SETUP”.
• Press and Hold “
” for more than 1 second to start or exit
“SETUP” mode.
NOTE: The meter must be in normal operation mode.
NOTE:
NOTE:
(Not logging or displaying Min/Max/Avg values)
• Press “EXIT” or Press and Hold “
” for more than 1 second
to exit “SETUP”.
NOTE: Press
NOTE:
NOTE:
“ ” or “
” to scroll to the setup option you
want to change and then press “ENTER” to accept the selected
setup option.
C. Date
• Entering Setup will show the first option of “
”
• Press “ENTER” and the display will show “
”
• Press “ ” or “
” to select the correct year. Press “ENTER”
• Next the meter will indicate month and day with “
”.
• Press “ ” or “
” to select the correct day. Press “ENTER”
• Press “ ” or “
” to select the correct month. Press “ENTER”
NOTE: date and time must be set during the same session.
NOTE:
NOTE:
NOTE: Both the date and time must be set in order to use the
NOTE:
NOTE:
logging feature.
D.
Time Unit
• While in “SETUP” mode, scroll until the display shows “
“ in the primary display and “
“ in the secondary display.
• Press “ENTER” to indicate you want to set the time units. The
display shows “h:m” blinking.
• Press “ ” or “
” to select the time units you want to
display, and press “ENTER” to store the time units in memory.
E. Time
• Press “ ” or “
” until the display shows “
”.
• Press “ENTER” to indicate you want to set the time. The
display shows “
” blinking.
• Press “ ” or “
” until the display shows the correct hour
(24-hour format), and the press “ENTER” to store the time in
memory.
NOTE: Holding down “
NOTE:
NOTE:
” or “ ” causes the number to
change more quickly.
F.
Thermocouple Type
• Press “ ” or “
” until the display shows “ TYPE ”.
• Press “ENTER” to display the thermocouple type choices (K, J,
E or T). The selected thermocouple type blinks.
• Press “ ” or “
” to scroll to the desired type appears on the
display, and press “ENTER” to store the thermocouple type in
memory.
G.
Changing Auto-Power Off Time
• The thermometer enters Auto-Power-Off mode if no button is
pressed for 30 minutes. Press “
” to turn the thermometer
on. You can enable or disable Auto-Power-Off mode and also
you can select the Auto-Power-Off mode and also you can
select the Auto-Power-Off time (in minutes) among the 9
choices below:
1.
00:10 h:m
2.
00:20 h:m
3.
00:30 h:m
4.
00:40 h:m
5.
00:50 h:m
6.
00:60 h:m
7.
00:70 h:m
8.
00:80 h:m
9.
00:90 h:m
Default >