Gast 1534 Series Oilless Vacuum Pumps and Compressors User Manual
Page 4
Gast will NOT guarantee field-rebuilt product
performance. For performance guarantee, the
product must be returned to a Gast Authorized
Service Facility.
Service Kit contents vary. Most contain vanes, gaskets
and filter parts.
SERVICE KIT INSTALLATION
SHUTDOWN PROCEDURES
It is your responsibility to follow proper shutdown
procedures to prevent product damage.
NEVER ADD OIL TO THIS OIL-LESS PUMP.
Proper shutdown procedures must be followed to
prevent pump damage. Failure to do so may result in
premature pump failure. The Gast Manufacturing
Rotary Vane Oil-Less Vacuum Pumps and Compressors
are constructed of ferrous metals or aluminum which
are subject to rust and corrosion when pumping
condensable vapors such as water. Follow the steps
below to assure correct storage and shutdown between
operating periods.
1. Disconnect plumbing.
2. Operate product for at least five minutes without
plumbing.
3. Run at maximum vacuum for 10 to 15 minutes.
4. Repeat step 2.
5. Disconnect power supply.
6. Plug open ports to prevent dirt or other
contaminants from entering product.
Do Not attempt to remove the rotor. It is held in
place by Loctite and can only be serviced by a Gast
Authorized Service Facility.
Do Not loosen or adjust motor thru-bolts to prevent
misalignment and damage to the pump.
1. Remove the retainer plate screws (3 screws on the 31
and 33 Series and 8 on the 32 and 34 Series).
2. Remove the retainer plate and insert plate located
behind the retainer plate by lightly tapping on them
with a small hammer. Do Not use a screwdriver to
remove these plates to avoid damage to the plates.
3. Before removing the old vanes, check the direction of
the bevel edge so the new vanes are installed in the
same manner.
4. Spray body bore and rotor with recommended
flushing solvent or any other non-petroleum based
flushing solvent.
5. Use a clean dry cloth to remove flushing solvent
from parts.
6. Place new vanes in rotor slots in the proper
beveled edge direction.
7. Place a sheet of emery cloth on a smooth flat surface
and rub both sides of the insert plate located
behind the retainer plate to remove any burrs. Use a
clean dry cloth to remove any dust from the insert
plate. Reinstall the insert plate placing the unused
side facing the pump.
8. Repeat step 7 with the face of the metal retainer
plate. Use a clean dry cloth to remove any dust
from the metal retainer plate and reinstall.
9. Replace the retainer plate screws and tighten to
28 - 36 in. lbs.
Check that all external accessories such as relief
valves and gauges are attached to cover and are not
damaged before re-operating product.
If pump still does not produce proper vacuum or
pressure, send unit to a Gast Authorized Service
Facility for repair.
4
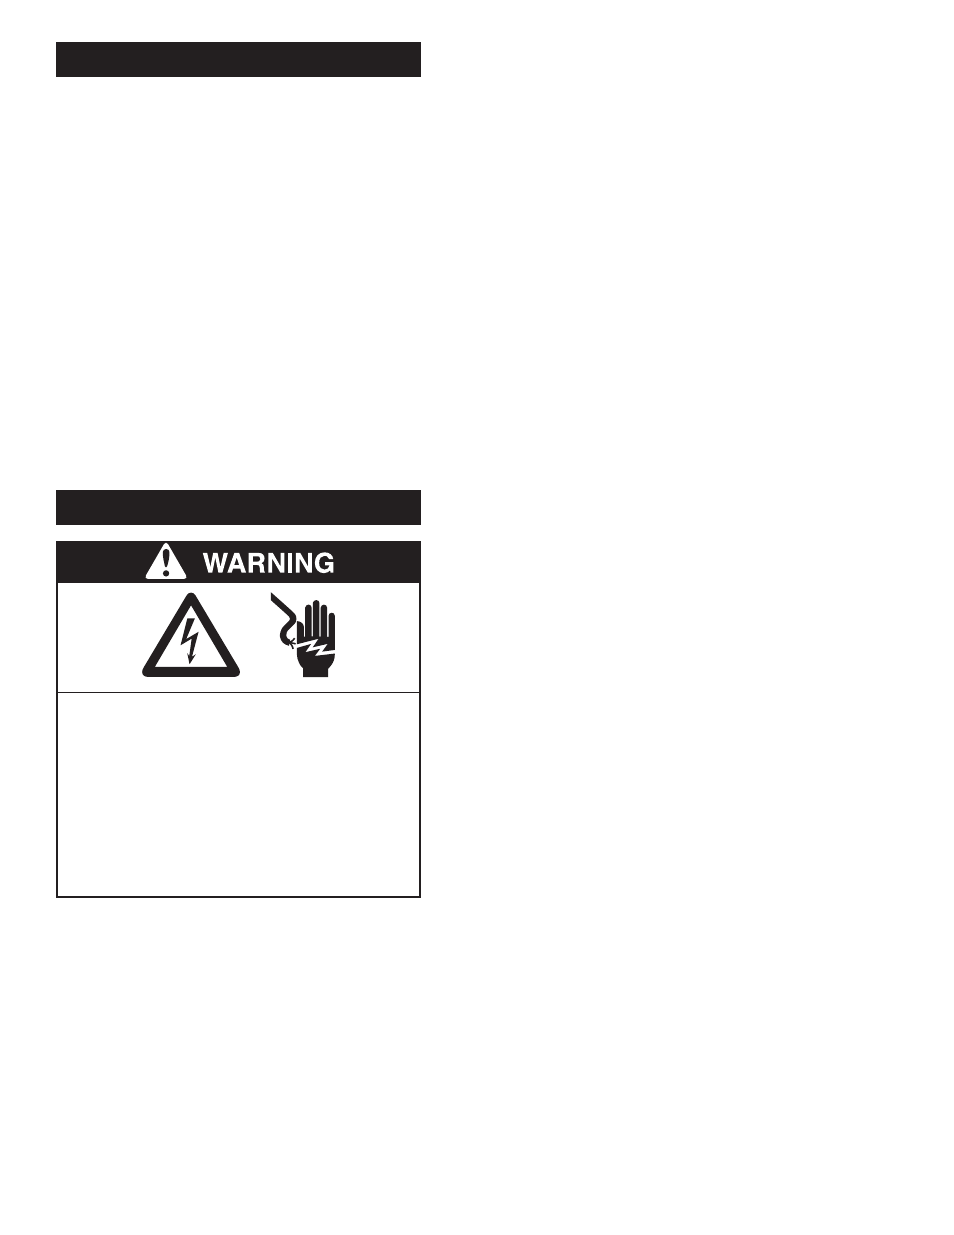
Electrical Shock Hazard
Disconnect electrical power supply cord before
installing service kit.
If product is hard wired into system, disconnect
electrical power at the circuit breaker or fuse
box
before installing service kit.
Vent all air lines to release pressure or vacuum.
Failure to follow these instructions can result in
death, fire or electrical shock.
- 1034 Series Oilless Vacuum Pumps and Compressors 1033 Series Oilless Vacuum Pumps and Compressors 0533 Series Oilless Vacuum Pumps and Compressors 3032 Series Oilless Vacuum Pumps and Compressors 2032 Series Oilless Vacuum Pumps and Compressors 1532 Series Oilless Vacuum Pumps and Compressors 1032 Series Oilless Vacuum Pumps and Compressors 1531 Series Oilless Vacuum Pumps and Compressors