Brother DR-250 User Manual
Page 8
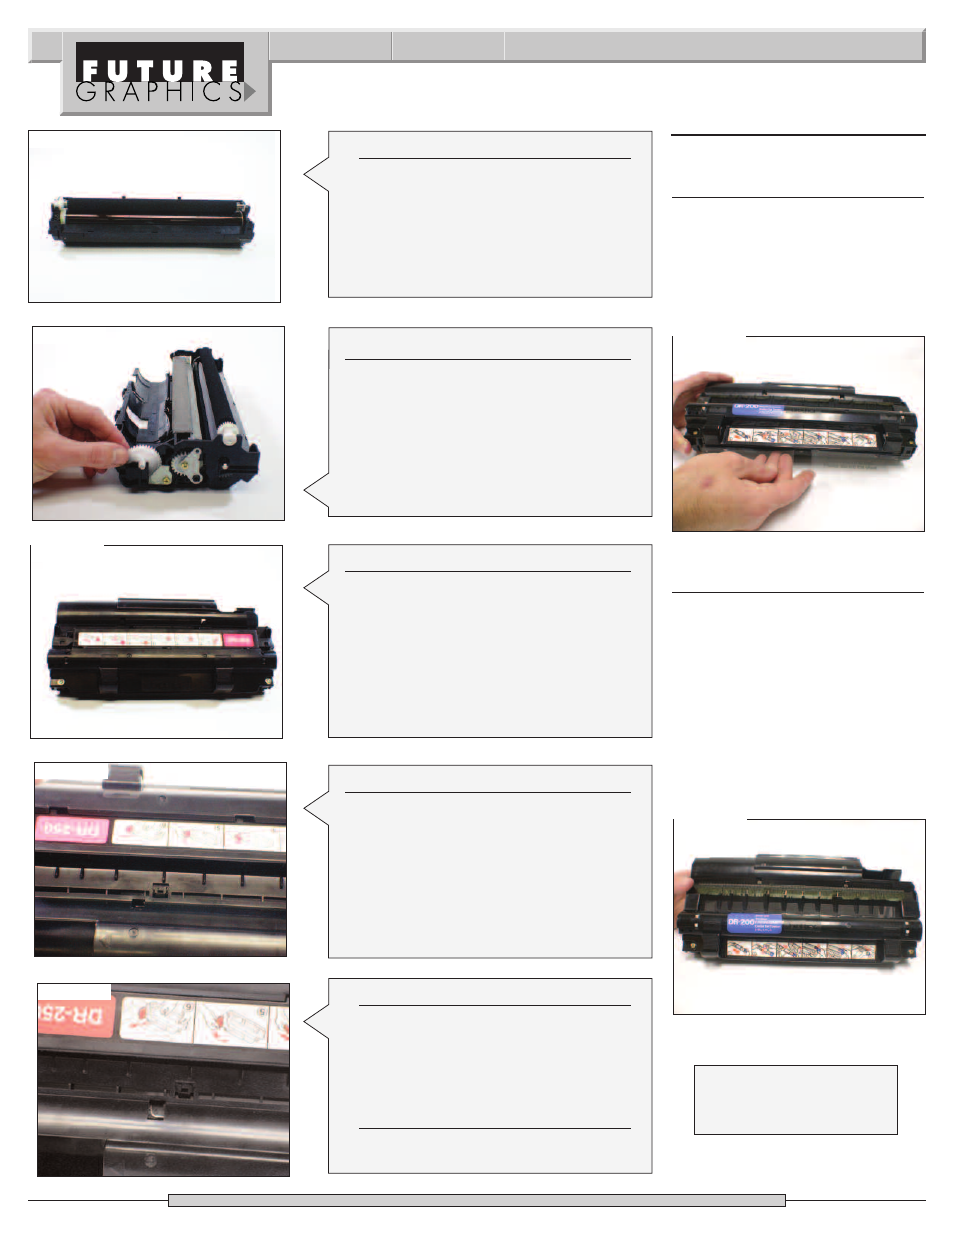
Photo 35
Photo 36
Photo 37
Photo 38
Photo 39
Need help with a particular remanu-
facturing problem?
Call the Technical Resource Center from
8am - 5pm PST: 800 394.9900
Step 1
Install the jagged end of the clear
reset sheet into the cartridge
between the drum and transfer
roller.
(See Photo 1)
Step 2
Rotate the drum so the reset sheet
is fed into the cartridge and the end
of the sheet is flush with the end of
the cartridge with the jagged end
of the sheet sticking out the top of
the cartridge. (See Photo 2)
N
NO
OT
TE
E:: Once the sheet is fed
through the printer, the machine
will reset the drum counter.
Photo 1
Photo 2
R
RE
ES
SE
ET
TT
TIIN
NG
G T
TH
HE
E D
DR
RU
UM
M C
CO
OU
UN
NT
TE
ER
R
8
Brother DR-250 Technical Instructions
Step 33
Place the toner agitator gear onto the
cartridge.
(See Photo 36)
Step 32
Install the white transfer roller saddle
onto the contact side of the cartridge.
Place the transfer roller into position,
atop of the drum.
(See Photo 35)
Step 34
Place the top of the section of the
cartridge onto the bottom. Press down
till the top of the cartridge snaps into
place. Install the two screws that hold the
lid in place.
(See Photo 37)
Step 35
Install the two inserts into the two lock-
ing taps on top of the cartridge.
(See Photo 38)
N
NO
OT
TE
E:: The two legs on the inserts will
face up away from the locking tabs.
Step 36
Slide the toner fill cover plate up so the
top of the plate covers the guide tads
on the top section of the cartridge.
(See Photo 39)
Step 37
Insert toner cartridge and test.