Known thickness, One point calibration – Dakota Ultrasonics CMX User Manual
Page 78

Dakota Ultrasonics
74
Known Thickness
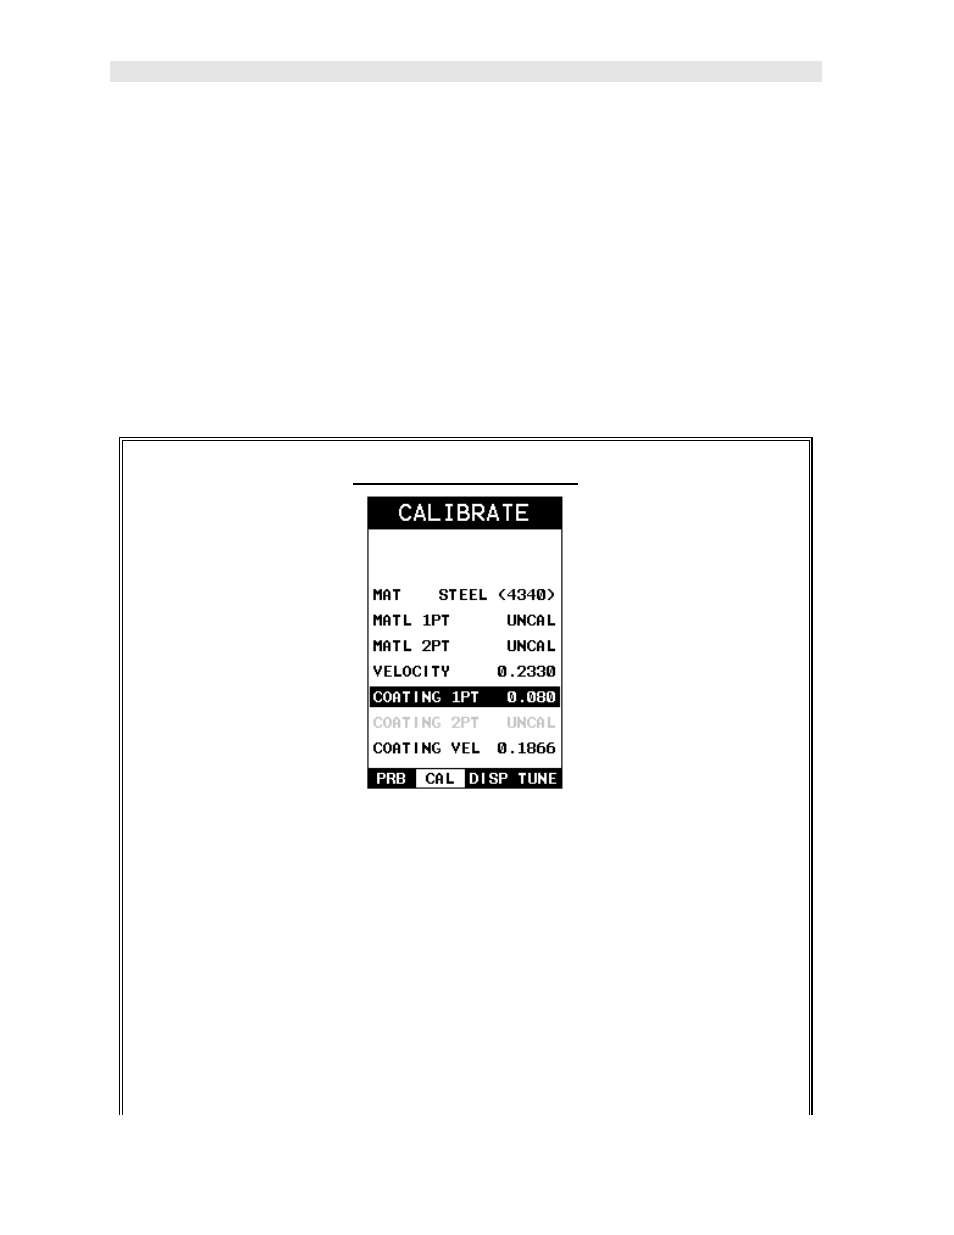
Sometimes the sound velocity of a coating material is unknown. In this case a
sample with a known thickness can be used to determine the sound velocity of the
coating. As previously discussed, the CMX offers a one point calibration option for
coating in PECT measurement mode. It is also import to reiterate that the coating
sample must be coupled to a metallic material in order to perform the calibration.
The calibration should also consider calibrating on high side of the intended
measurement range, when using the one point option, minimize overall error. For
example, if the measurement range of the coating will be from .040” - .080” (1.0mm
2.3mm), a coating closest to .080 (2.0mm) should be used. Note: It’s always handy
to carry a set of mechanical calipers to use in conjunction with the CMX for
calibration in the field:
One Point Calibration
Note: Be sure that the probe zero procedure has been performed prior to
performing this calibration procedure.
1) Physically measure an exact sample of the coating using a set of calipers or
a digital micrometer.
Note: The coating sample must be coupled to a metallic material in order to be
calibrated.
2) Apply a drop of couplant on a piece of metal and place the coating sample
on the metal over the couplant. Apply a drop of couplant on the transducer
