Condux Winch Line Blower System User Manual
Page 11
CONDUX WINCH LINE BLOWER
9
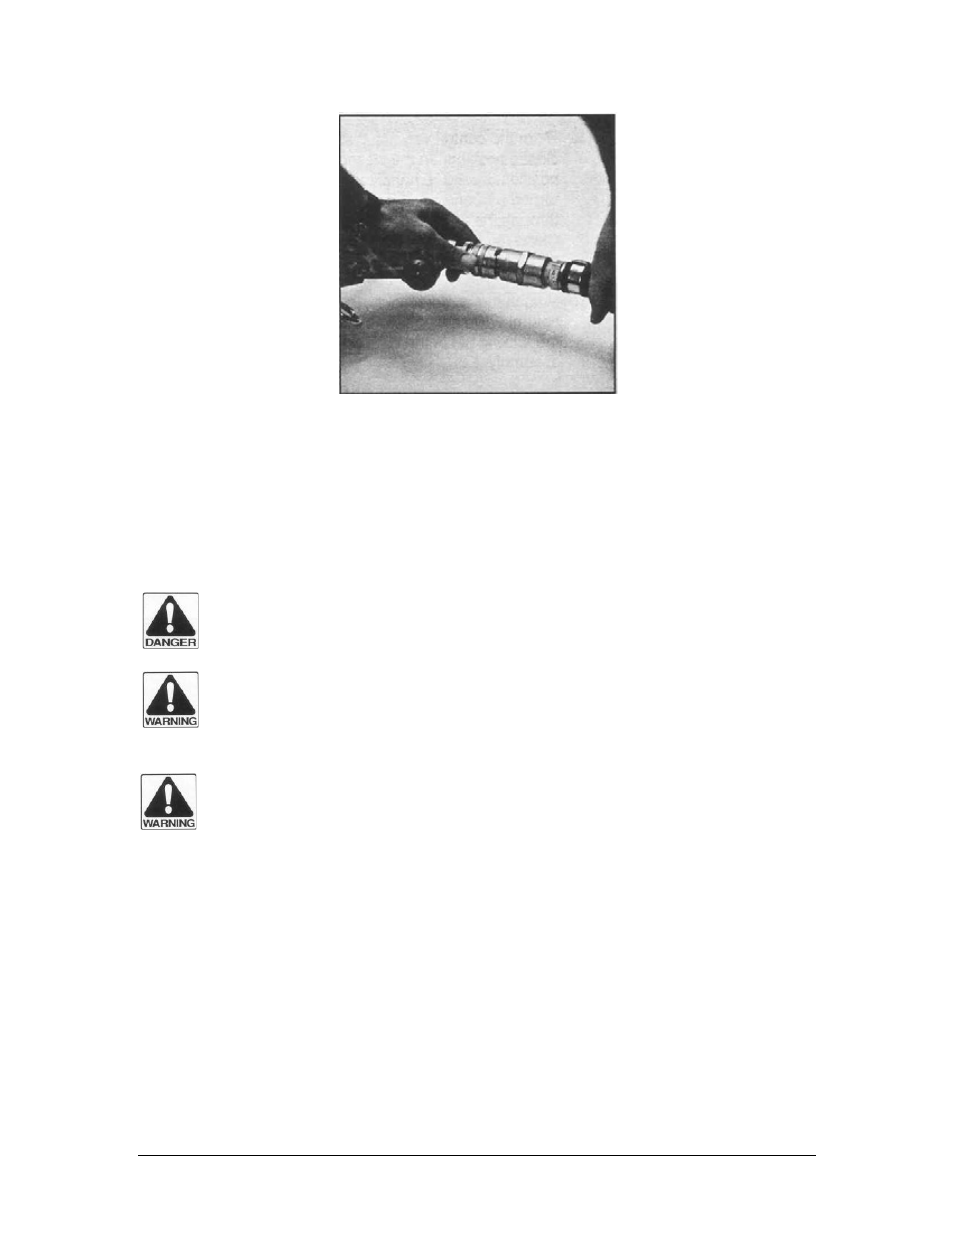
Figure 9: Attach Air Hose
9.
Attach the air hose to the seal-off body assembly and tighten the locking ring on the
air connector. Rotate the 45° angle fitting away from the winch line channel and the
winch line to prevent tangling and wear of the air hose or connectors. See Figure 9
10.
Run the air hose out of the utility service access vault, attach to the Control Valve
assembly, and tighten the locking ring on the air connector.
!DANGER: NEVER REMAIN IN EITHER START OR EXIT OF UTILITY SERVICE
ACCESS VAULTS DURING THE BLOWING PROCEDURE. SEVERE PERSONAL
INJURY OR DEATH COULD RESULT.
!WARNING: Do not attempt to operate the winch line blower with a different
control valve than what is supplied with the winch line blower kit. The seal-off
could blow out of the conduit or the conduit itself could rupture.
!WARNING: Check that all air hose connections are securely attached, and that
the locking ring is in place and tight.
11.
Turn the control valve to the closed position (see Figure 10). In the closed position,
the valve handle will be turned perpendicular to the air flow through the fitting. Close
the outlet valve on the air compressor.