B. configuring sata controller mode in bios setup, Step 2: save changes and exit bios setup. figure 1 – chiliGREEN GA-A75M-UD2H User Manual
Page 74
Appendix
- 74 -
The BIOS Setup menus described in this section may differ from the exact settings for your moth-
erboard. The actual BIOS Setup menu options you will see shall depend on the motherboard you
have and the BIOS version.
Item Help
Menu Level
Step 2:
Save changes and exit BIOS Setup.
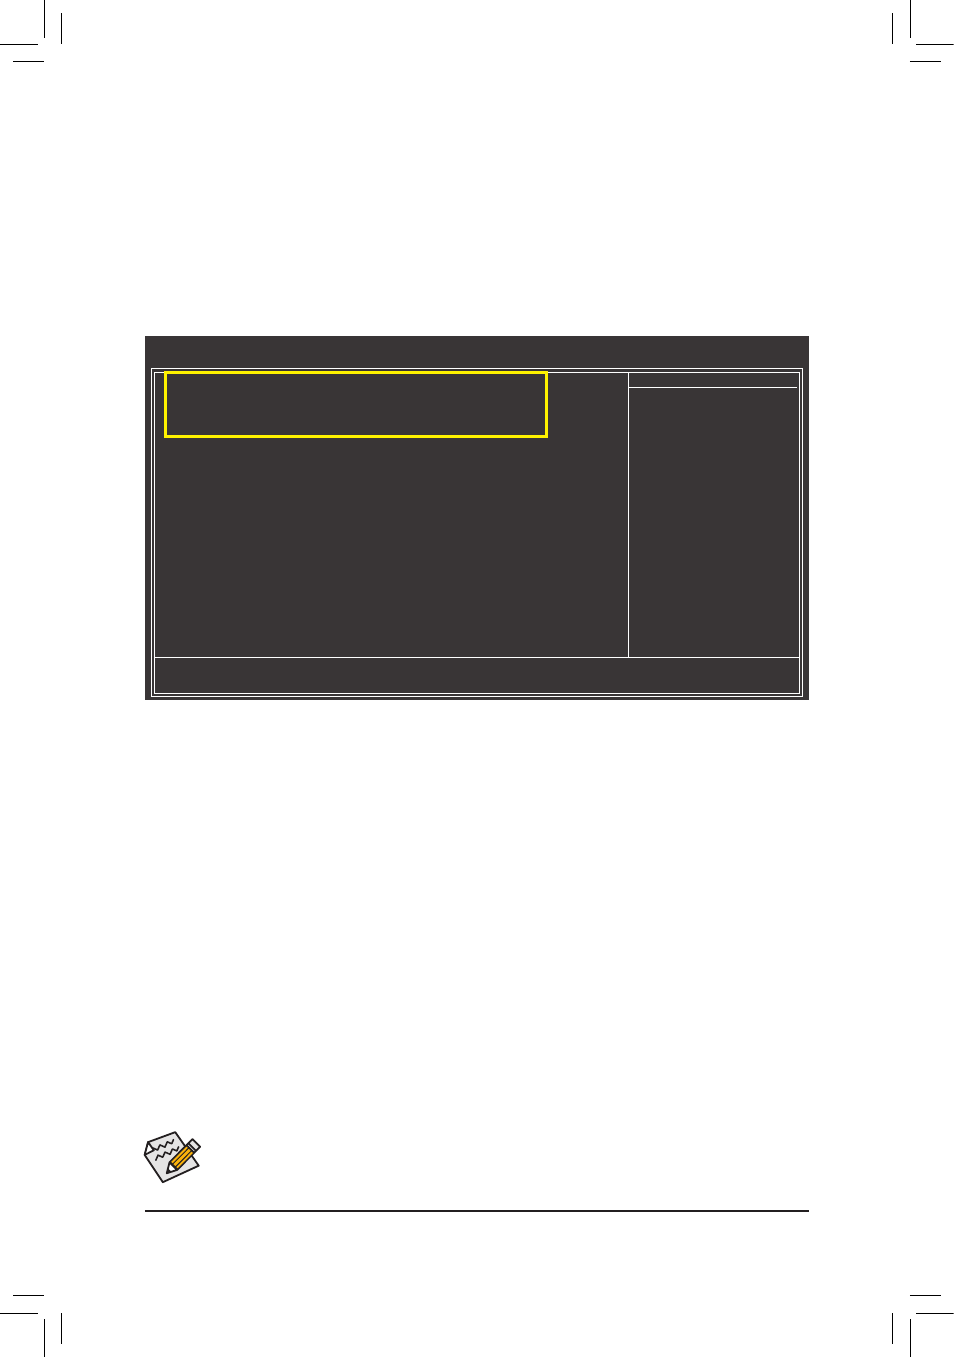
Figure 1
B. Configuring SATA controller mode in BIOS Setup
Make sure to configure the SATA controller mode correctly in system BIOS Setup.
Step 1:
Turn on your computer and press
Make sure OnChip SATA Controller is enabled. To enable RAID for the SATA3_0/1/2/3 connectors, set On-
Chip SATA Type to RAID. To enable RAID for the SATA3_4/eSATA connectors, set OnChip SATA Type to
RAID and set OnChip SATA Port4/5 Type to As SATA Type (Figure 1).
CMOS Setup Utility-Copyright (C) 1984-2011 Award Software
Integrated Peripherals
OnChip SATA Controller
[Enabled]
OnChip SATA Type
[RAID]
OnChip SATA Port4/5 Type
[As SATA Type]
x OnChip SATA Port as ESP
Press Enter
Onboard LAN Function
[Enabled]
Onboard LAN Boot ROM
[Disabled]
SMART LAN
[Press Enter]
Onboard Audio Function
[Enabled]
Onboard 1394 Function
[Enabled]
USB Controllers
[Enabled]
USB Legacy Function
[Enabled]
USB Storage Function
[Enabled]
Onboard Serial Port 1
[3F8/IRQ4]
Onboard Parallel Port
[378/IRQ7]
Parallel Port Mode
[SPP]
x ECP Mode Use DMA
3
higf
: Move
Enter: Select
+/-/PU/PD: Value
F10: Save
ESC: Exit
F1: General Help
F5: Previous Values
F6: Fail-Safe Defaults
F7: Optimized Defaults
Item Help
Menu Level