BASELINE 225 User Manual
Page 15
Important: Always read and follow instructions.
• 11
Wheel Data Entry (W, D, A)
1.
Press
. The machine is ready to receive the
WIDTH (W) measurement (the corresponding LED will
light).
2.
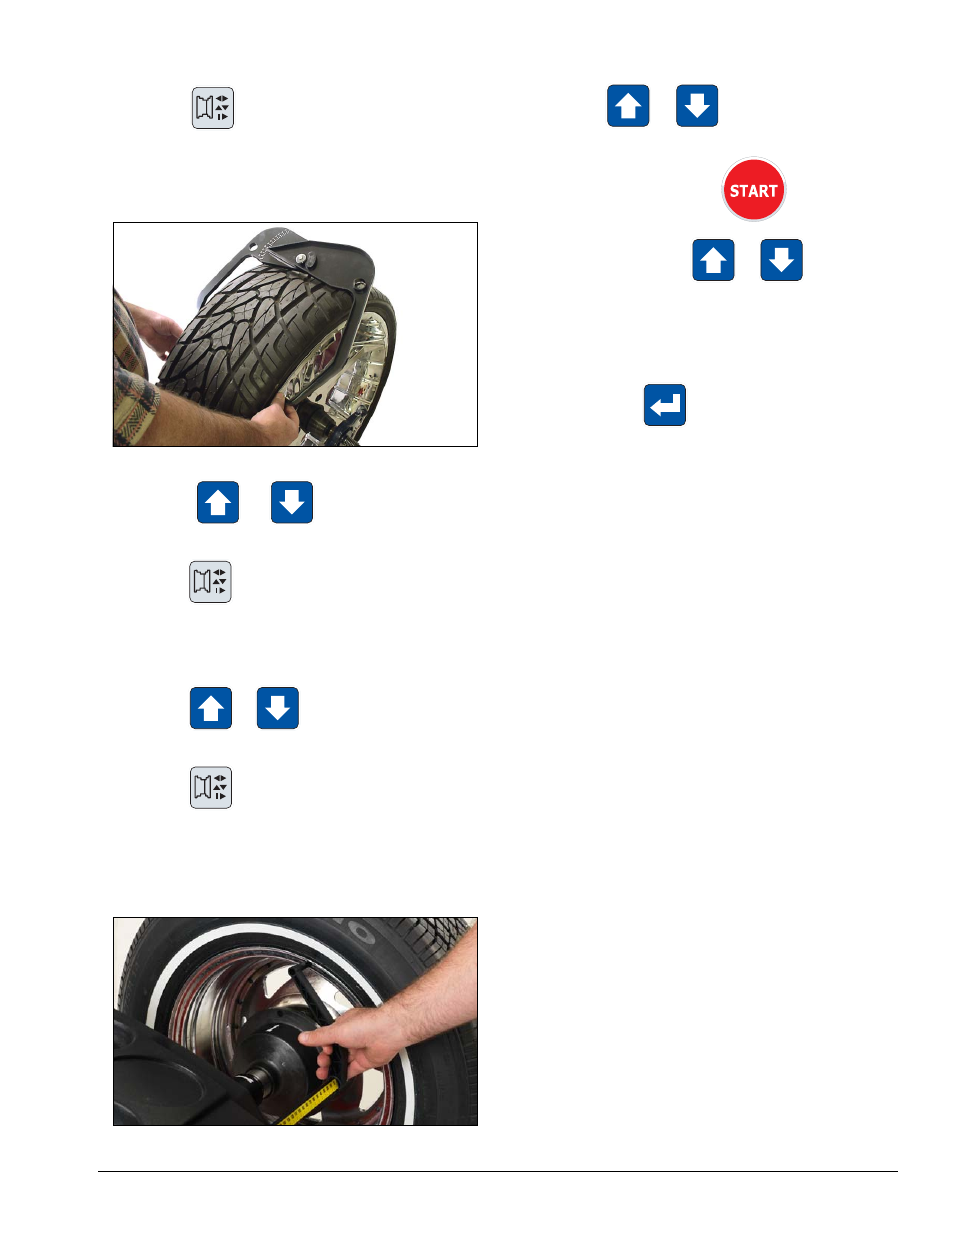
Measure rim width using the caliper provided with
the balancer (figure 12).
Figure 12 - Caliper Placement On Wheel
3.
Press
or
until the correct WIDTH
number is set in the right display window.
4.
Press
to confirm the W input and set up the
machine to receive the DIAMETER (D) measurement
(the corresponding LED will light).
5.
Read the diameter that is printed on the tire.
6.
Press
or
until the correct DIAMETER
number is set in the right display window.
7.
Press
to confirm the D input and set up the
machine to receive the OFFSET (A) measurement (the
corresponding LED will light).
8.
Move the offset arm until it touches the edge of
the inside rim flange as shown figure 13 according to
the different terminal available on the gauge.
Figure 13 - Offset Arm at Clip-on Weight Location
9.
Read the machine/rim distance on the gauge.
10.
Press
or
until the correct OFFSET
number is set in the right display window.
11.
Lower hood and press
to spin wheel.
Note: If you hold down
or
the numbers
will spool up or down quickly making data input all the
more rapid.
Note: DIM inputs can be converted between inches
and millimeters.
To do this press
to toggle between an inch or
millimeter measurement display. A LED on the panel
will light to identify the current unit of measurement
(mm or inch).
Note: When in static mode, you only need to input the
DIAMETER wheel measurement.