2 ata login, 3 using cli command to configure the ata, 1 cli command list as below – AirLive VoIP-120A User Manual
Page 41: Ata login, Using cli command to configure the ata
4.2
ATA Login
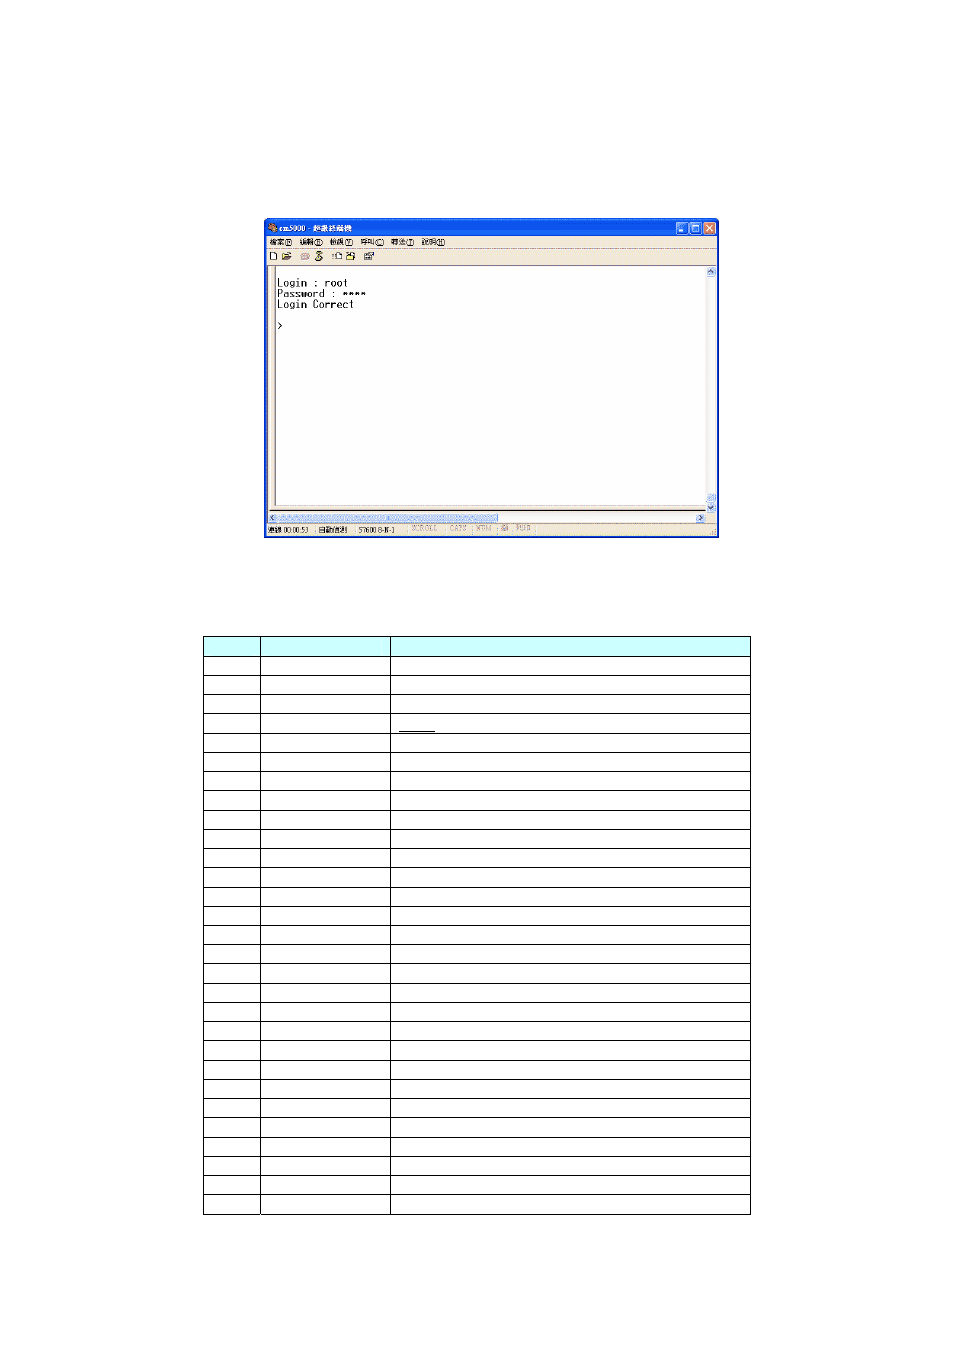
After finishing the setting, click the “Connect” button (looks like a telephone icon). Then the hyper
terminal is ready to connect to the ATA. Press “Enter” and the hyper terminal will show the “Login: “.
Input “root” and press the “Enter” button. Then hyper terminal will show the “Password: “. Input “test”
and press the “Enter” button. Now you have logged into the ATA. Please follow the CLI command list
to configure the ATA with proper instruction and value.
Figure 38. Console Screen
4.3
Using CLI command to configure the ATA
4.3.1
CLI command list as below:
Index
Command
Description
1
?
Show CLI Command
2 arp
ARP
Configuration
3 ipconfig
Interface
Configuration
4 save
Save to flash
5 reboot
Reboot
6 exit
Exit
7 debugmode Enter
Debug
Mode
8
update
Update Flash Code/RAM
9
auth
Change User Name and Password
10 nat
NAT
Configuration
11 dns
DNS
Configuration
12
ping
ping [-lN] [IP-addr|host-name]
13 sip
SIP
Configuartion
14 ddns
DDNS
Configuartion
15 sntp
SNTP
Configuartion
16 vlan
VLAN
Configuartion
17 time
Get
System
Time
18
mactab
Show MAC Learning Table
19 dump
Read/Write
Memory
20
book
Edit phone book
21
reload
Reload Factory Setting
22 watchdog
WatchDog
Function
23 phone
Phone
Setting
24 weblogo
Change
Web's
logo
25
dsp
Show dsp type
26
addport
Add Nat Port Mapping
27
cid
Select slic Cid
28
slic
read or write slic registers
29 ver
Firmware
Version
37
AirLive VoIP-111A / 120A User’s Manual