3 inserting tubes and plates, 4 tempering, 1 basic temperature control – Eppendorf ThermoStat plus User Manual
Page 18: 3 inserting tubes and plates 5.4 tempering, 5 operation
5 Operation
20
ThermoStat plus — Operating Manual
5.3 Inserting tubes and plates
1. Select a suitable exchangeable thermoblock and mount it (see Inserting exchangeable
2. Place the tubes or plate on the thermoblock.
For optimum temperature control transfer the micro test tubes to the exchangeable
thermoblocks using IsoRacks. The IsoRack reduces the heat exchange of the thermoblock
with the environment. If necessary close the IsoRack lid.
3. If using the MTP thermoblock: put the lid on.
5.4 Tempering
After being switched on, the device is in simple tempering mode.
On the display, the target temperature is displayed on the left and the actual temperature on the
right. The target temperature is the last set target value. Until the device reaches the target value
"°C" flashes next to the actual temperature.
5.4.1
Basic temperature control
WARNING!
Caution! Microplates melt at extremely high temperatures.
Only heat microplates made of polystyrene to a maximum 70 °C.
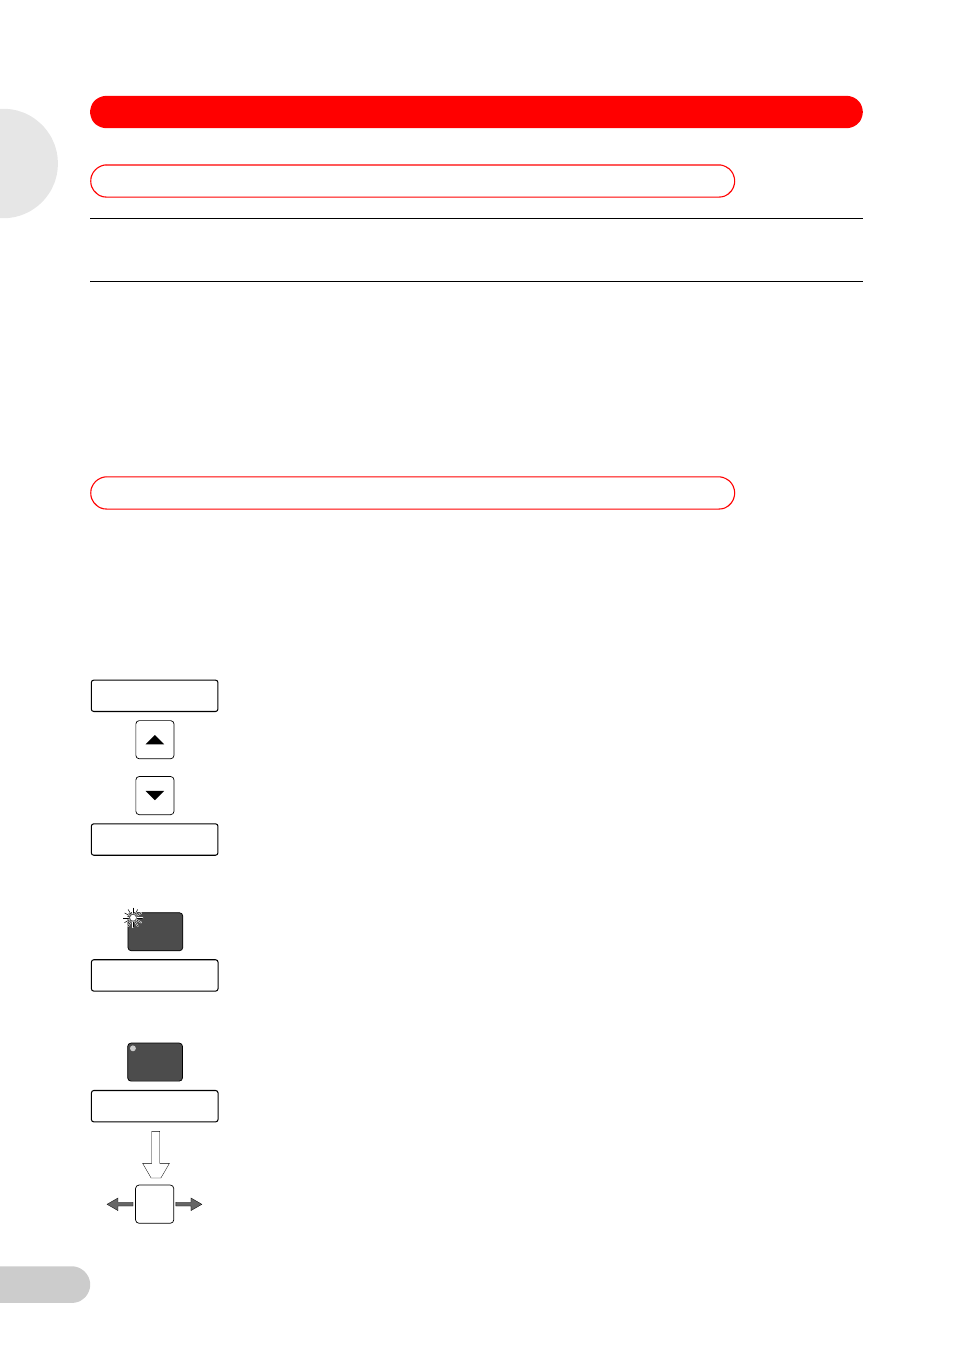
1. Set the temperature using the "Temp." arrow keys.
The temperature between –5 °C and 99 °C is
immediately readjusted. Additionally you can switch
on the timer.
2. To start the timer press the "Start/Stop" key.
The control lamp illuminates in green. The tempering
duration ("--h : --m") is displayed.
3. To stop the timer press the "Start/Stop" key.
The timer is no longer shown in the display and the
control lamp goes out. Tempering continues with the
target value set. The values are retained even after
the device has been switched off.
20° C 20° C
37° C 26° C
Temp.
37° C
00h: 12m
37° C
Start/Stop
37° C 37° C
Progr.
Start/Stop
EN
Operating Manual