Warning – Snorkel TB85J User Manual
Page 56
Chapter 8 – Operation
52
TB80/TB85J – 0112477
Four Wheel Drive
The machine may be equipped with a four wheel drive
system. This system operates full time and requires no
action by the operator.
Four wheel drive machines have a “4x4” decal on each
side of the machine and all four of the wheel hubs are
drive hubs and look the same.
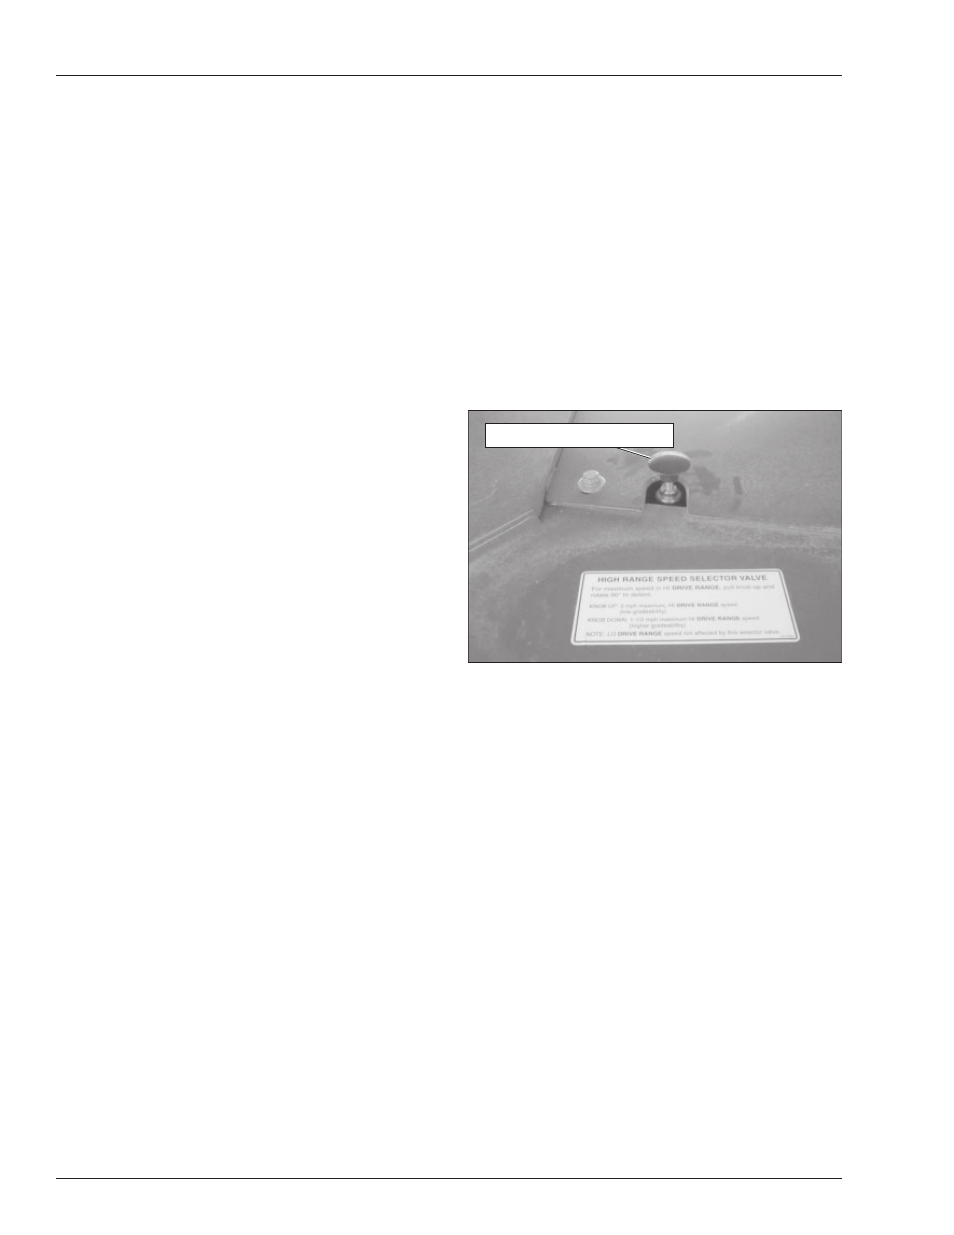
High Range Speed Selector
The high range speed selector (refer to Figure 8.8), on
four-wheel drive machines, works in conjunction with the
drive range switch to determine the maximum drive speed
when the drive range selector is in the HI position. LO
drive range speed is not affected by the high range speed
selector.
Figure 8.8 – Top of Chassis
For maximum drive speed, 3.0 mph (4.8 km/h) with low
gradeability, pull the knob upward and rotate it 90 de-
grees to lock it in position.
For slower drive speed, 1.5 mph (2.4 km/h) with higher
gradeability, pull the knob upward and rotate it 90 de-
grees to lock it in position.
Electrical Power Outlet
The electrical outlet at the platform has 2, 3-prong, 125
volt AC electrical connectors. Their combined output is
limited by a 15 amp circuit breaker.
Power may be supplied to the outlet using an external
power source or by operating the optional AC generator.
To use the outlet, plug a source of power into the power-
input connector on the left side of the wiring box (refer to
Figure 8.9). Unplug the source of power before moving
the aerial platform.
• Use low range for driving on loading ramps or other
steep grades and when safety considerations de-
mand slow deliberate machine movement. Low
range is for low speed, high torque operation.
2. Step down on the platform foot switch.
3. Push the drive joystick forward to move the chassis
forward, the direction of the blue arrow. Pull the joy-
stick backward to move the chassis backward, the
direction of the yellow arrow. The drive speed is pro-
portional to the joystick position.
4. To stop drive motion, return the joystick to neutral.
5. Push the drive joystick to the right to steer to the
right, the direction of the yellow arrow. Push the joy-
stick to the left to steer to the left, the direction of the
blue arrow.
Note
The steering wheels are not self-centering. Set the steer-
ing wheels straight ahead after completing a turn.
6. After driving to the desired location, release the foot
switch, or push the emergency stop button to apply
the parking brakes.
Drive Speeds
The drive speed is proportional to the joystick position.
The farther the joystick is moved, the faster the travel
speed.
Always slow down and shift the drive system to low range
before traveling over rough terrain or any sloped surface.
Drive speed ranges are interlocked through a limit switch
that senses the main boom position. When the boom is
elevated, only the slowest drive speed will work regard-
less of the drive range switch position. To avoid a sudden
speed change from high to low elevated boom speed,
always bring the machine to a stop before raising the
booms from the stowed position.
A
Warning
The potential for an accident increases when safety
devices do not function properly. Death or serious
injury can result from such accidents. Do not alter,
disable, or override any safety device.
Do not use the aerial platform if it drives faster than 0.75
miles per hour (33 feet in 30 seconds) when the booms
are elevated from the stowed position.
Motion Warning Alarm
The motion warning alarm sounds loud intermittent beeps
when the drive joystick is in the forward or reverse posi-
tion.
High Range Speed Selector