Smittybilt 17191 6 Fender Flares User Manual
Smittybilt For the car
Included in this Kit
: (2) Front Flares
(2) Rear Flares
(2) Mud Guard
Hardware Bag
: (28) Snap bases, (28) Snap Covers, (40) Rubber Spacers,(4) #8 x 1-1/2” Screw
(28) #12 x 1-1/4” Screw (20’) Rubber Fender Trim
Prior to installation
: Pre-fit all flares before you attempt to install. If you plan on painting your
Fender Flares it must be done prior to installation. All surfaces must be cleaned using a scouring pad
such as Scotch Brite and prepped using an adhesion promoter. Follow all specifications required by the
paint manufacturer. As you remove factory parts set them aside safely for later use.
Installation Instructions
IMPORTANT: If you are planning to install 33” Tires or larger on you Jeep
®,
Please proceed to
Trimming Jeep
®
Fenders before proceeding with the installation.
Step One: Remove the Factory Flares from vehicle
1. Start with the rear fender flare.
2. Locate and remove the bolts holding the factory flares on the vehicle.
3. Repeat on the other side of vehicle.
4. Proceed to the front and remove the marker lights on the factory flare. Set aside for later
use. Locate and remove the bolts holding the factory flare on the vehicle.
5. Repeat on the other side of vehicle.
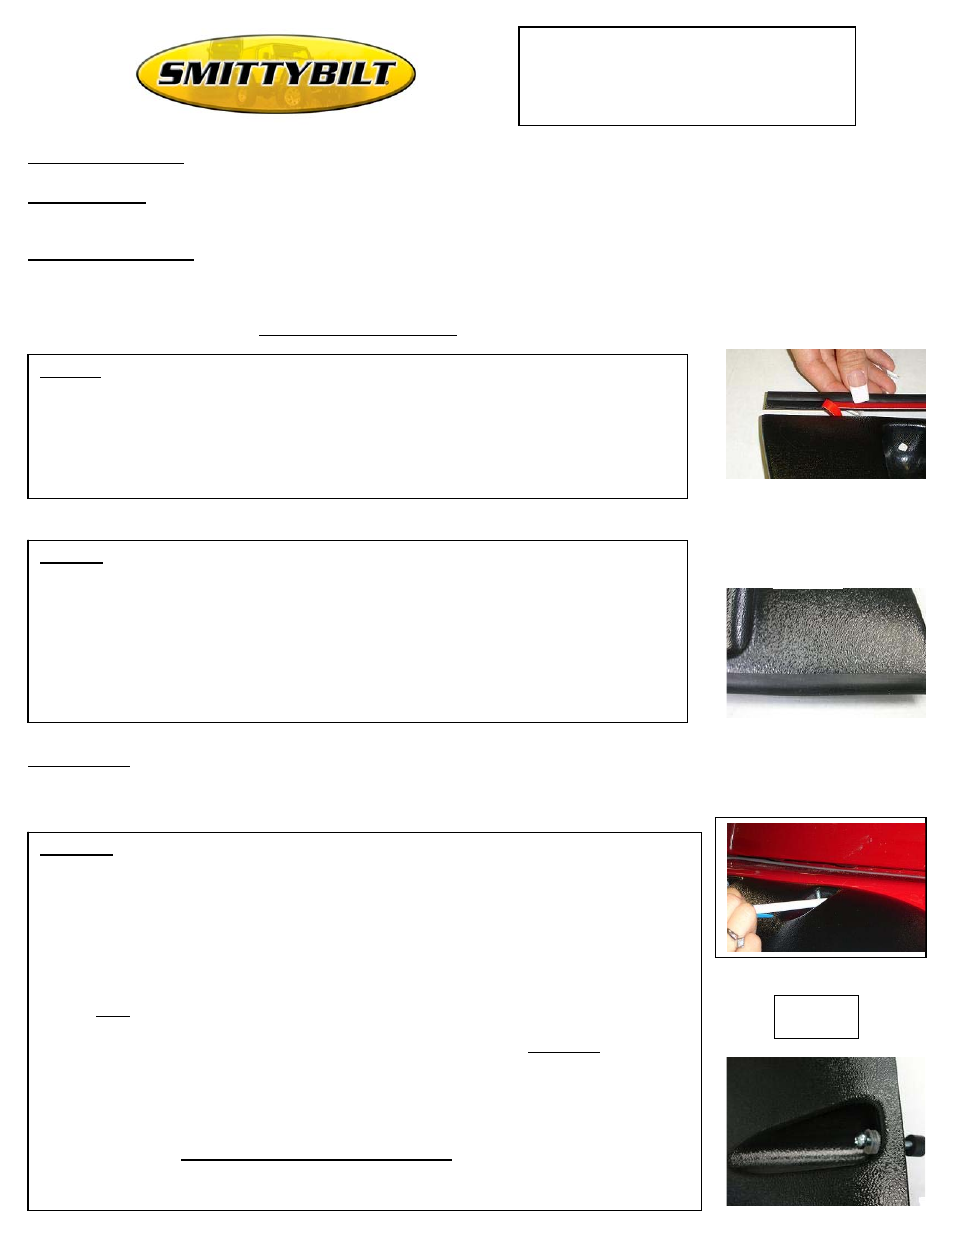
Step Two: Install Rubber Trim
1. Locate the supplied rubber trim. Peel back approximately 1” of the backing away from the
edge of the rubber trim. Starting at one end of the flare, push the trim onto the outer edge of
the flare (See: Fig A)
2. Continue pressing the rubber trim onto the flare. Push on approximately 4” then hold in
place. (See: Fig B) Pull away the backing from backside. (See: Fig C) Continue on in this
manner until you have gone completely around the flare. This will take some time but once
you master the technique it will proceed quickly. Cut rubber trim to length as installed.
3. Repeat this process for the remaining flares.
Step Three: Install Flares and Mud Guards
1. Attach the new Mud Guards to the vehicle using the factor screws removed in step 1. (TJ
ONLY: Discard Mud Guards for CJ7 and Scrambler Jeeps)
2. Align the front fender flares on the vehicle. The cut a hole in the turn signal area must align
with the hole in the new Flare. Mark mounting holes using fender flares as a guide (See: Fig
C)
3. Center punch all marked areas and proceed to drill using a 5/32 drill bit.
4. Attach the flares using the supplied screws. Place screws over the snap cap base, through
flares and then place (2) rubber spacers over the screw and attach the flares to the vehicle. Do
NOT over tighten the screws. Reinstall the factory marker light into flare, using the supplied
(4) #8 x 1- 1/2” screws.
5. Align the rear flare with the rear vertical seam of the factory fender. YJ ONLY Align the
other end of the flare with the bottom edge of the bodywork. ALL MODELS Mark the
mounting holes using the flare as a guide. (See: Fig C)
6. Center punch all marked areas and proceed to drill using a 5/32 drill bit.
7. Attach the flares using the supplied screws. Place screws over the snap cap base, through
flares and then place (1) rubber spacer over the screw and attach the flares to the vehicle.
(See: Fig D) CAUTION DO NOT over tighten screws
8. Place the snap cap cover over the mounting screws and cap base and press firmly into place.
Repeat process for the remaining caps.
Fig A
Fig B
Fig C
Fig D
Installation Instructions
6” Fender Flares (#17191)
1987-1995 Jeep Wranglers