Smittybilt 4433 Grille Saver License Plate User Manual
Installation instructions, Part # 4433
WWW.SMITTYBILT.COM
For Technical Support/Warranty Information please call 310-762-9944
Smittybilt, 400 West Artesia Blvd, Compton, CA 90220
Installation Instructions
Grille Saver License Plate
Relocation Bracket
Part # 4433
Parts Included Qty
Tools Required
Bracket 1
Allen Wrench
Foam Pads 2
#2 Phillips Screwdriver
6 mm x 20mm Screw 2
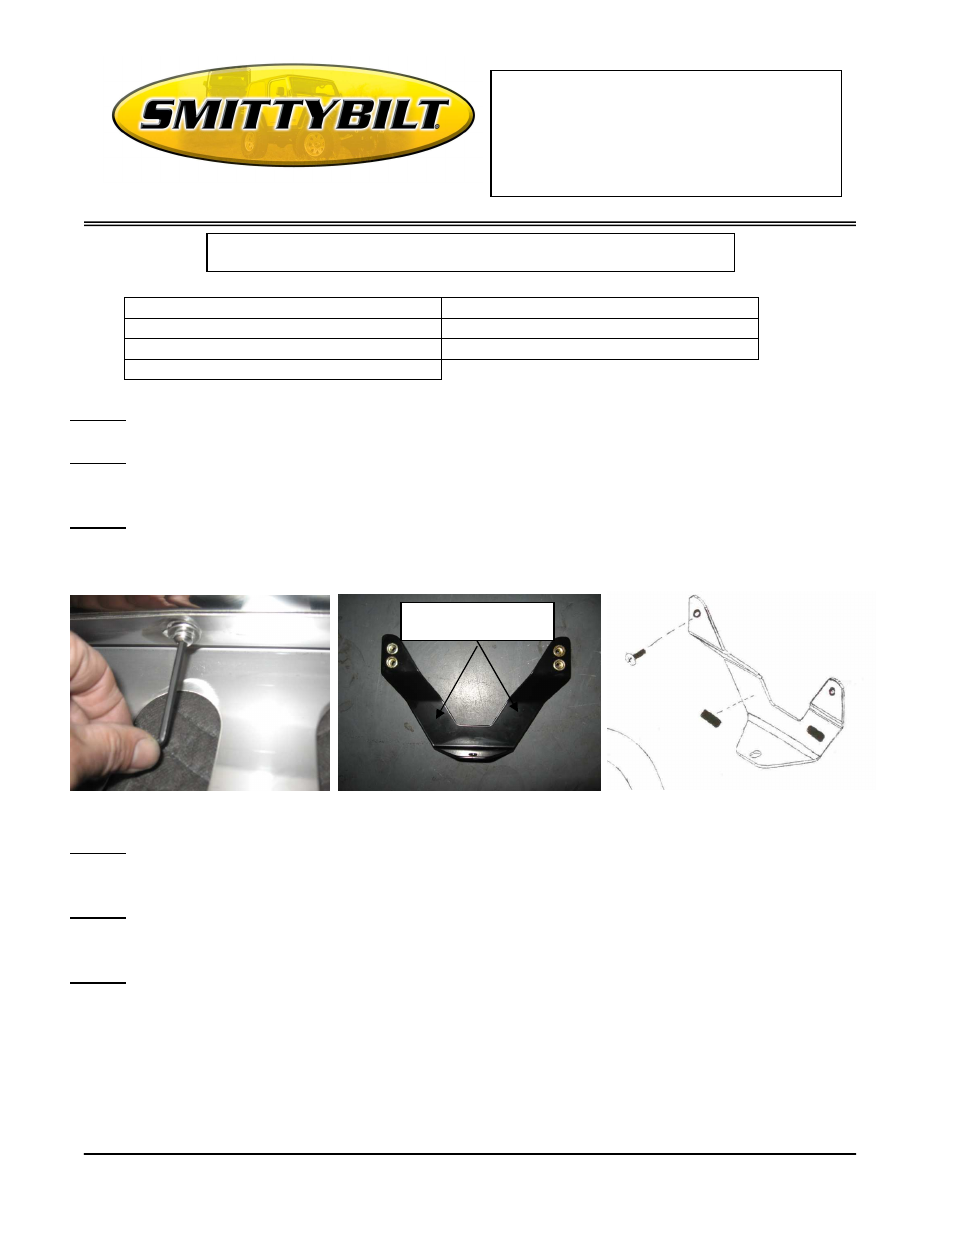
Step 1: Remove center screw from the bottom of the center tube on the back of the Grille Saver. (Fig 1)
Step 2: Loosely attach bracket on grille saver; note where the bracket comes into contact with the
Grille Saver.
Step 3: Remove bracket and adhere foam padding to noted area from Step 2 on bracket. This will help
protect the grille saver and reduce vibration. (Fig B,C)
(Fig A)
(Fig B) (Fig C)
Step 4: Reinstall bracket on Grille Saver and secure completely. (Fig D, E)
Step 5: Install Grille Saver on vehicle per manufacturers’ instructions.
Step 6: Determine the best mounting holes to use to attach your license plate. Attach license plate to
bracket using the included hardware. (Fig F)
Note: Read instructions entirely before installing this accessory.
Adhere foam padding in
the optimal location here