Synergy 5102-0X - Jeep JK Louvered Hood Panel User Manual
Page 12
19) The following covers extreme cutting and maximum airflow. Some structural
hood integrity is lost, However, it is regained with the hood louver stiffness.
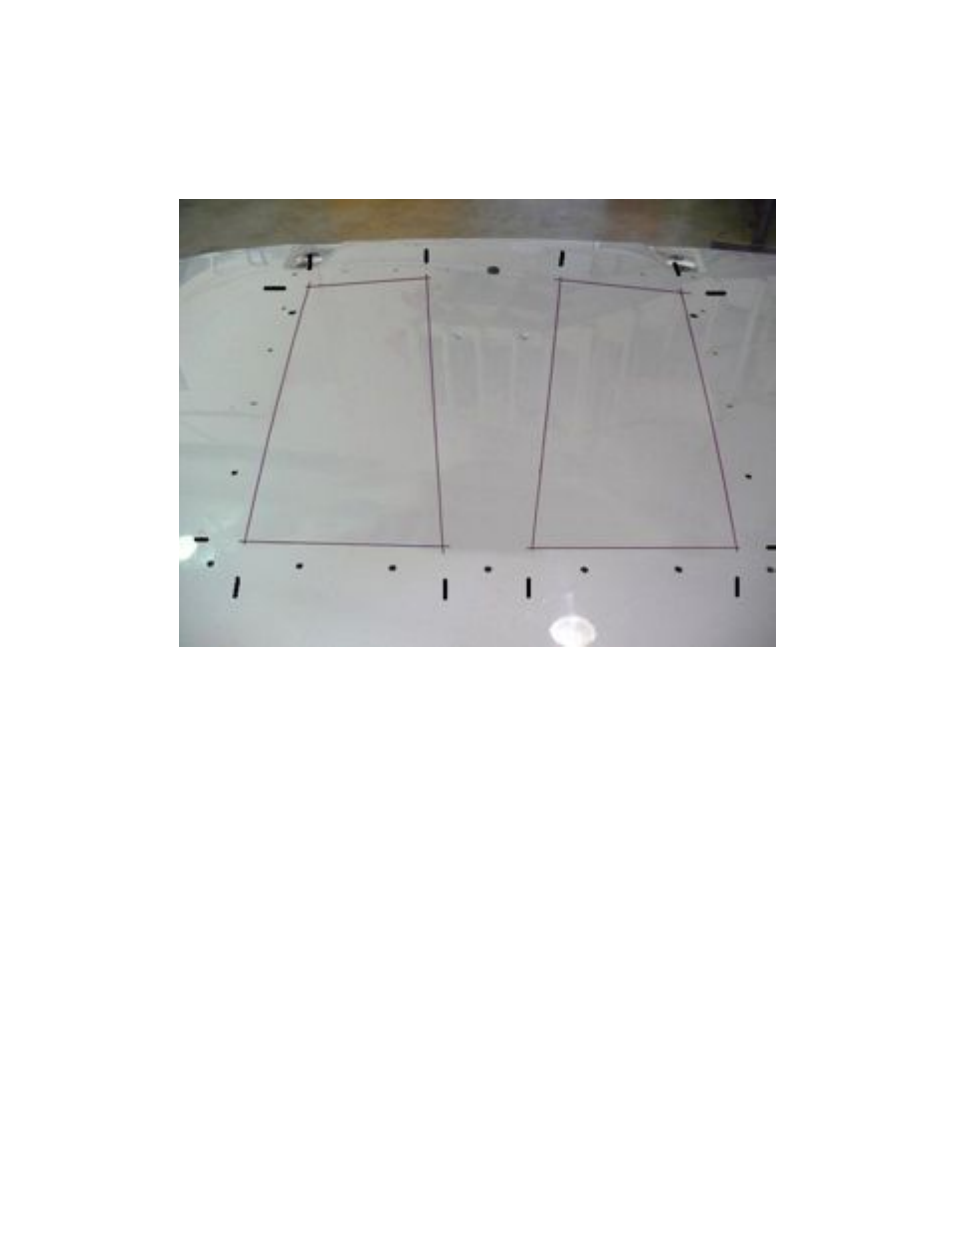
20) With the hood louver panel sitting in place on the top of the hood, mark the outer
edges of the louverd sections. See the dashed black lines in the image below.
21) Using the marks as a guide, trace out a rectangle within the lines. These are your
cut lines for optimal cooling.
22) Once cut, clean up edges with a sanding disc, sandpaper or good metal file.
23) Remove any marks left over from the install process and thoroughly clean the
surface of the hood.
24) Install the hood louver panel.
Drop the ¼-20 UNC buttonhead cap screws in from the top and
place a nylock flange nut on the underside. Start all bolts prior to
tightening.
Once all bolts have been installed and flange nuts started, snug
down hardware in a crisscross pattern across the hood. Start in the
centers and work your way out towards the edges. DO NOT
OVERTIGHTEN!! As stated earlier, the JK hood is very thin and
over tightening of hardware could cause distortion. Simply snug
down all hardware.
25) Once all hardware has been tightened. Reinstall the hood on the vehicle.
Reconnect all items removed in step 2. If under hood insulation is still desired,
we recommend trimming around the cutouts made for the additional cooling.