Rock-Slide Engineering TJ YJ LJ STEP SLIDER User Manual
Page 7
Installation Instruction RSEI 123
10.
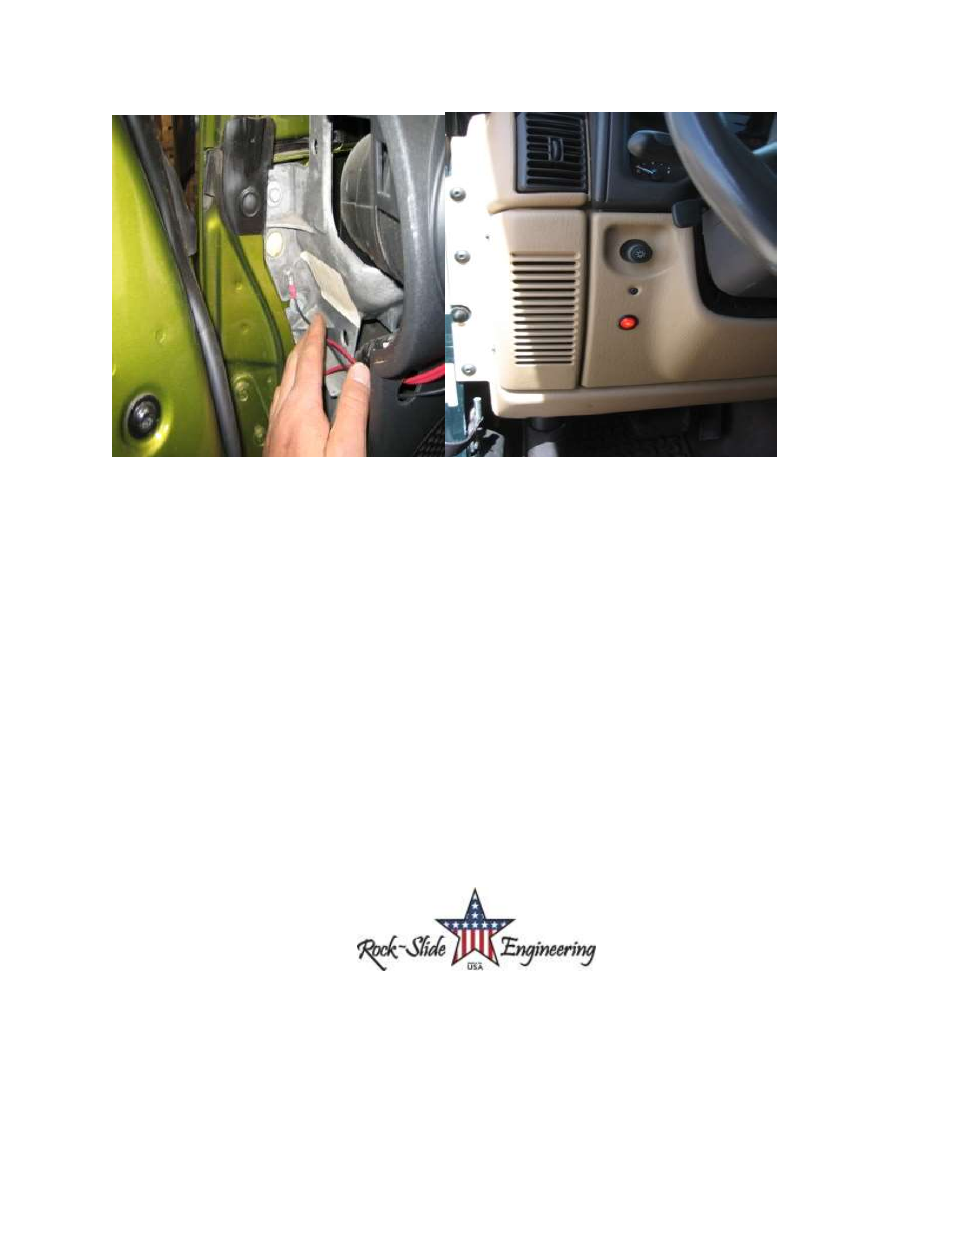
Route the
POS+
and NEG- wires through the firewall on the driver side. Make sure not to interfere
with any of the pedal linkage under the dash.
11. R
oute wires along the firewall securing the 2 wires to the harness across the firewall.
12.
Remove fuse and hook the NEG- to the NEG-side of the battery.
POS+
to the
POS+
side of the
battery.
13.
Position door sensor magnet on the catch side of each door. Make sure the magnet is in line with
the sensor both on top and fore and aft. Make sure no to allow the magnet and sensor to come
into direct contact, this will cause permanent damage to the sensor rendering it unusable.
14.
Plug in all connectors; check all wires to make sure that it is completely secure and free from coming
in contact with any moving parts and to prevent system damage due to a cut wire.
15.
Close all doors.
16.
Insert the fuse into the holder on the
POS+
side of the battery.
17.
Check each door to ensure the proper alignment of the magnet in relation to the sensor. Once that
proper placement is achieved we recommend using a permanent marker to outline the magnet on
the door.
18.
Reinstall all internal plastic and carpet that were removed. Make sure that all wires are tucked back
and out of heavy traffic areas on the floor. Routing them toward the furthest back area underneath
the rear seat.