Figure 2, See figure 2) – Hyline Offroad TJ/YJ STANDARD REAR BUMPER User Manual
Page 3
Step 3 – Some TJ Models may have eight mounting holes in the rear cross member, but most will only have
four. All YJ Models should have eight mounting holes in the rear cross member. Our rear bumper
allows for installation of bolts through all eight mounting holes if applicable. For YJ Models you will not
be installing the Frame Tie-in Brackets.
For TJ’s you will install two bolts on each side using supplied
7/16-20 x 1-3/4” Bolts. Install parts in the following order:
Bolt, Flat Washer, Lock Washer, Tie-in Bracket, & Spacer Shim.
(SEE FIGURE 2)
Re-install the two bolts you took out of from the
bottom of the stock bumper. BE CAREFUL NOT TO CROSS THREAD
THE 7/16-20 x 1-3/4” BOLTS WHEN THREADING INTO THE BUMPER.
For YJ’s you will install four bolts on each side using supplied
7/16-20 x 1-3/4” Bolts. You will not be installing the Frame Tie-in
Brackets on the YJ Model.
Step 4 – Tighten all bolts and torque to 75-78 ft/lbs. After about 50-100 miles of driving re-check all bolts and
torque to proper settings.
Send your OFFROAD pictures to
. If we choose any one of your pictures to be used on
our website, We send you a FREE Hyline Offroad T-Shirt.
C:\Users\RHerd\AppData\Local\Temp\TJ-YJ-20SRB InstallationInstructions.doc
Page 3 of 3
REV 1 9/4/2009
Installation instructions provided must be read and followed exactly when installing
product. Failure to do so could potentially result in injury or death of any occupants
in the vehicle. WEAR SEAT BELTS AT ALL TIMES WHEN DRIVING!
Though our products are rugged, they are primarily designed and built to enhance the appearance of the
vehicle and will not protect from death or injury in the event of an accident. Adhere to all vehicle
manufacturers specifications
Attention
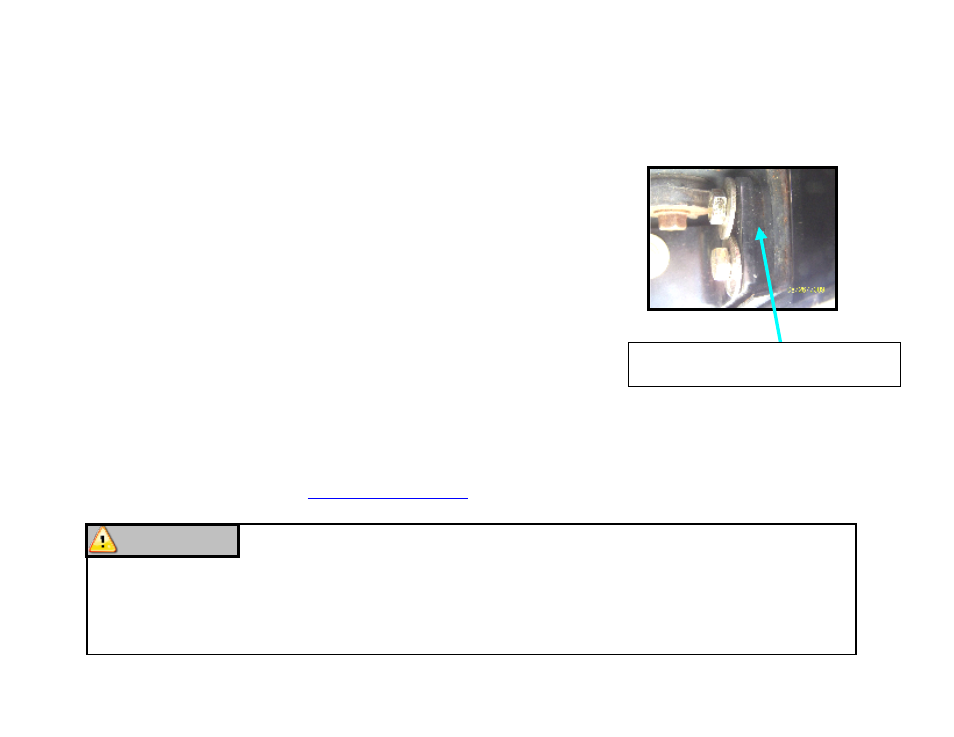
Figure 2
Install Spacer Shim in between rear cross
member and Frame Tie-in Bracket.