Disc settings – Philips DVDR150099 User Manual
Page 55
English
MANAGING DISC CONTENT 55
Disc Settings
You can change disc settings from the Disc Information
Screen.
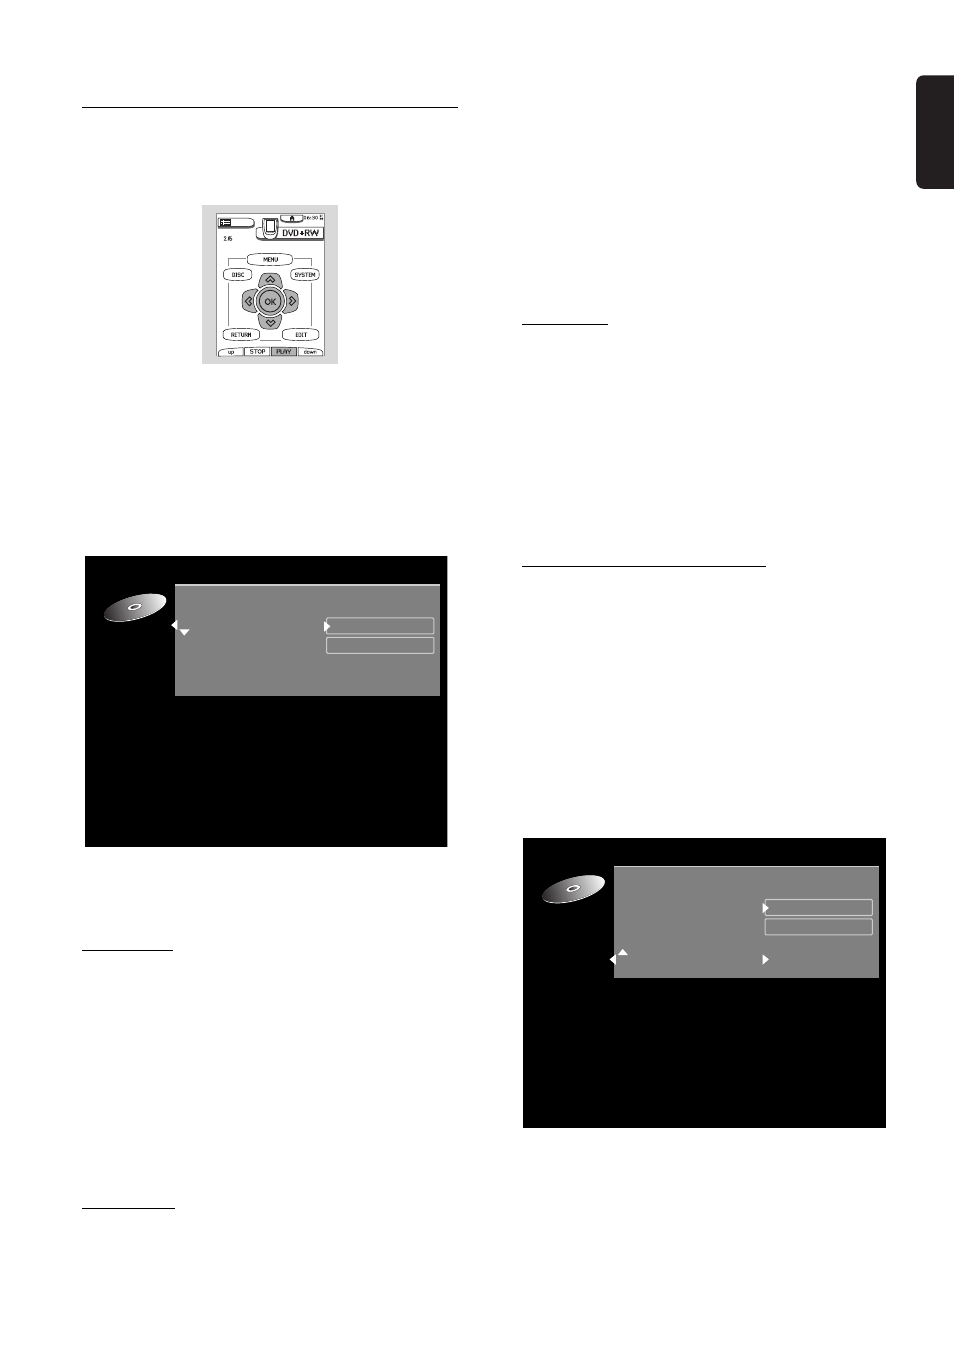
1
When in the Index Picture Screen, press 9 STOP
or press and hold J PREVIOUS for about two
seconds.
‰ This selects the first title on the DVD+RW.
2
Press v (up cursor).
‰ You enter the Disc Information Screen.
3
In the Disc Information Screen, press u (right
cursor.)
‰ You will enter the ‘Settings’ menu.
4
Use w/v (down or up cursor) to select the item
you wish to change, then follow the steps below for
each item.
Disc name
5
Press u (right cursor) to select ‘
Disc name’.
6
Enter the new name. A name may contain a
maximum of 64 characters.
Use t/u (left or right cursor) for the position of the
characters. Use w/v (down or up cursor) to change
characters.
l
Use SELECT to toggle between capitals and lower
case characters.
7
Confirm the name by pressing OK when you are
finished.
Protection
6
Select
Protection. Press u (right cursor) to select
Protection.
7
Select ‘
Protected’ with w/v (down or up cursor.)
8
Press OK.
‰ No further changes can be made to the disc
including recording. ‘Disc Locked’ will appear on the
TV screen if you attempt recording.
It will also disable most title/disc manipulation screen
entries, as well as the complete edit menu.
‰ Future editing or recording is only possible after
resetting the Protection feature to ‘
Unprotected’
again.
Erase disc
6
With ‘
Erase disc’ selected and press OK.
‰ The message '
This will erase all titles’ is
displayed. Press OK to confirm.
l
Press OK to confirm and begin erasing or press t
(left cursor) to cancel.
‰ ‘
Erasing disc’ is shown until the action is
completed.
‰ After the disc has been erased the Index Picture
Screen will show the free space on the disc.
Make edits DVD-compatible
If titles have been edited (See ‘Favorite Scene Selection’),
the edits will play on your DVD Recorder. However a
DVD player may show the original versions instead of
the edits. You can prepare your discs so that a DVD
player will also play the edited version.
1
If the Disc Information Screen shows the option
‘
Make edits DVD-compatible’, press u (right
cursor) to select this option. If the menu does not
show this option, your disc is already compatible.
No conversion is needed.
2
Press OK.
‰ The messages ‘
This will take ...’ and ‘Press OK
to confirm’ will appear to indicate how long the
action will take.
3
Press OK.
‰ ‘
Working...’ and a progress bar are shown until
the action is completed.
Settings for Summer holiday
S u m m e r h o l i d a y
D i s c n a m e
P r o t e c t i o n
E r a s e d i s c
Make edits DVD compatible
U n p r o t e c t e d
P r e s s O K
Settings for Summer holiday
S u m m e r h o l i d a y
D i s c n a m e
P r o t e c t i o n
E r a s e d i s c
M a k e d i s c c o m p a t i b l e
U n p r o t e c t e d