Olympus E-520 User Manual
Page 99
Pr
int
ing
10
99
EN
5
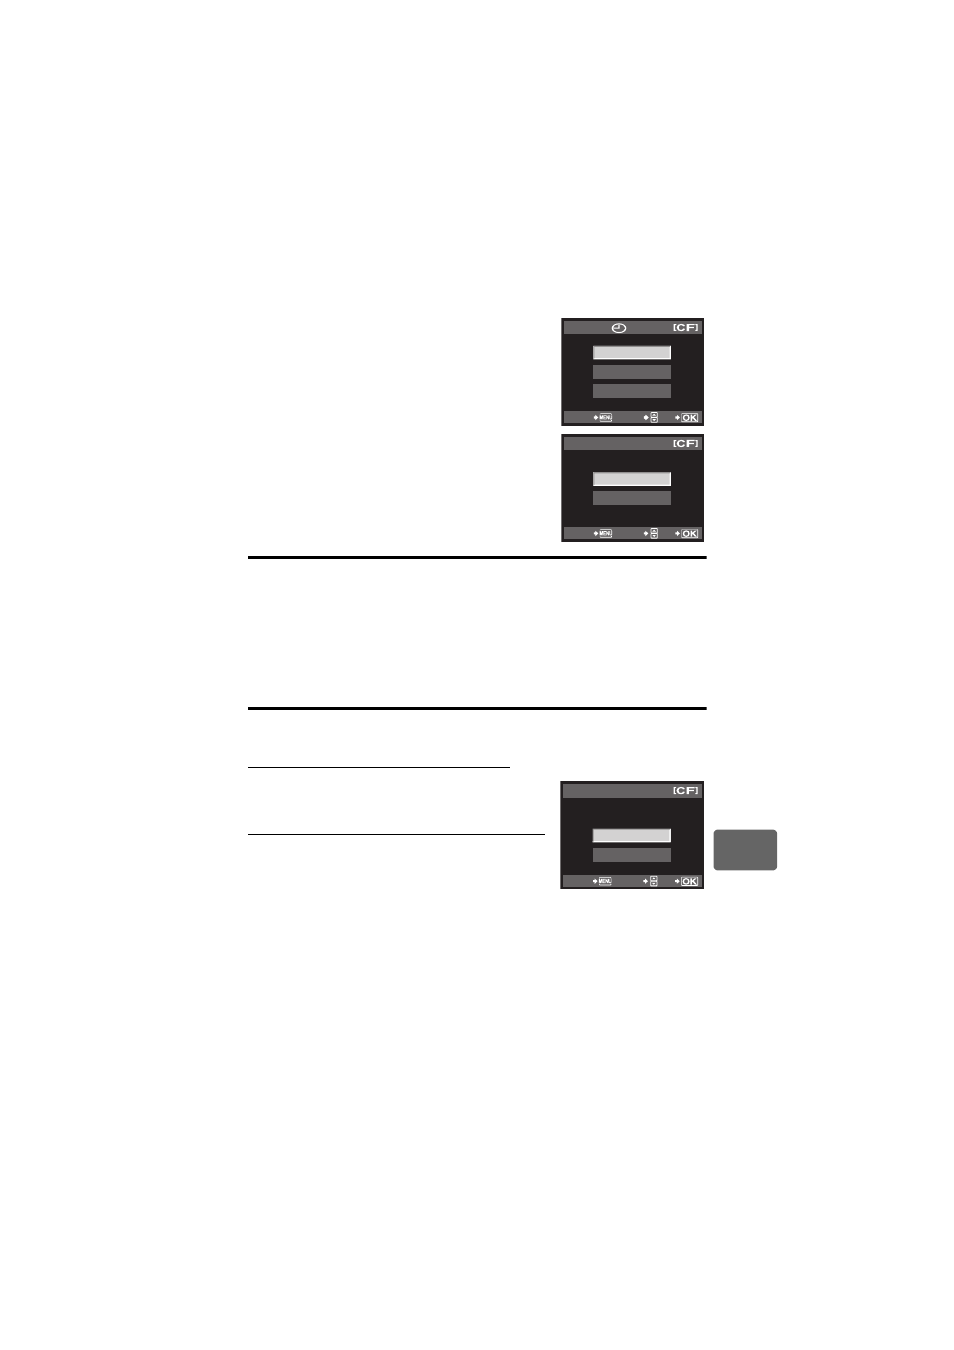
Select the date and time format and press the
i
button.
[NO]
The pictures are printed without the date and time.
[DATE] The pictures are printed with the shooting date.
[TIME] The pictures are printed with the shooting time.
6
Select [SET] and press the
i button.
All-frame reservation
Applies print reservation to all the pictures stored in the card. The number of prints is fixed at 1.
1
MENU[q][<]
2
Select [
U] and press the i button.
3
Select the date and time format and press the
i button.
[NO]
The pictures are printed without the date and time.
[DATE] The pictures are printed with the shooting date.
[TIME] The pictures are printed with the shooting time.
4
Select [SET] and press the
i button.
Resetting the print reservation data
You can reset all print reservation data or just the data for selected pictures.
1
MENU[q][<]
Resetting the print reservation data for all pictures
2
Select [
<] or [U] and press the i button.
3
Select [RESET] and press the
i button.
Resetting the print reservation data for a selected picture
2
Select [
<] and press the i button.
3
Select [KEEP] and press the
i button.
4
Use
bd to select the frame with print reservation
data you want to reset, then press
c to set the
number of prints to 0.
5
Press the
i button when you have finished.
6
Select the date and time format and press the
i button.
• This setting is applied to all frames with print reservation data.
7
Select [SET] and press the
i button.
NO
DATE
TIME
CANCEL
SELECT
GO
SET
CANCEL
CANCEL
SELECT
GO
PRINT ORDER SETTING
RESET
KEEP
PRINT ORDERED
PRINT ORDER SETTING
CANCEL
SELECT
GO