Olympus E-520 User Manual
Page 101
Pr
int
ing
10
101
EN
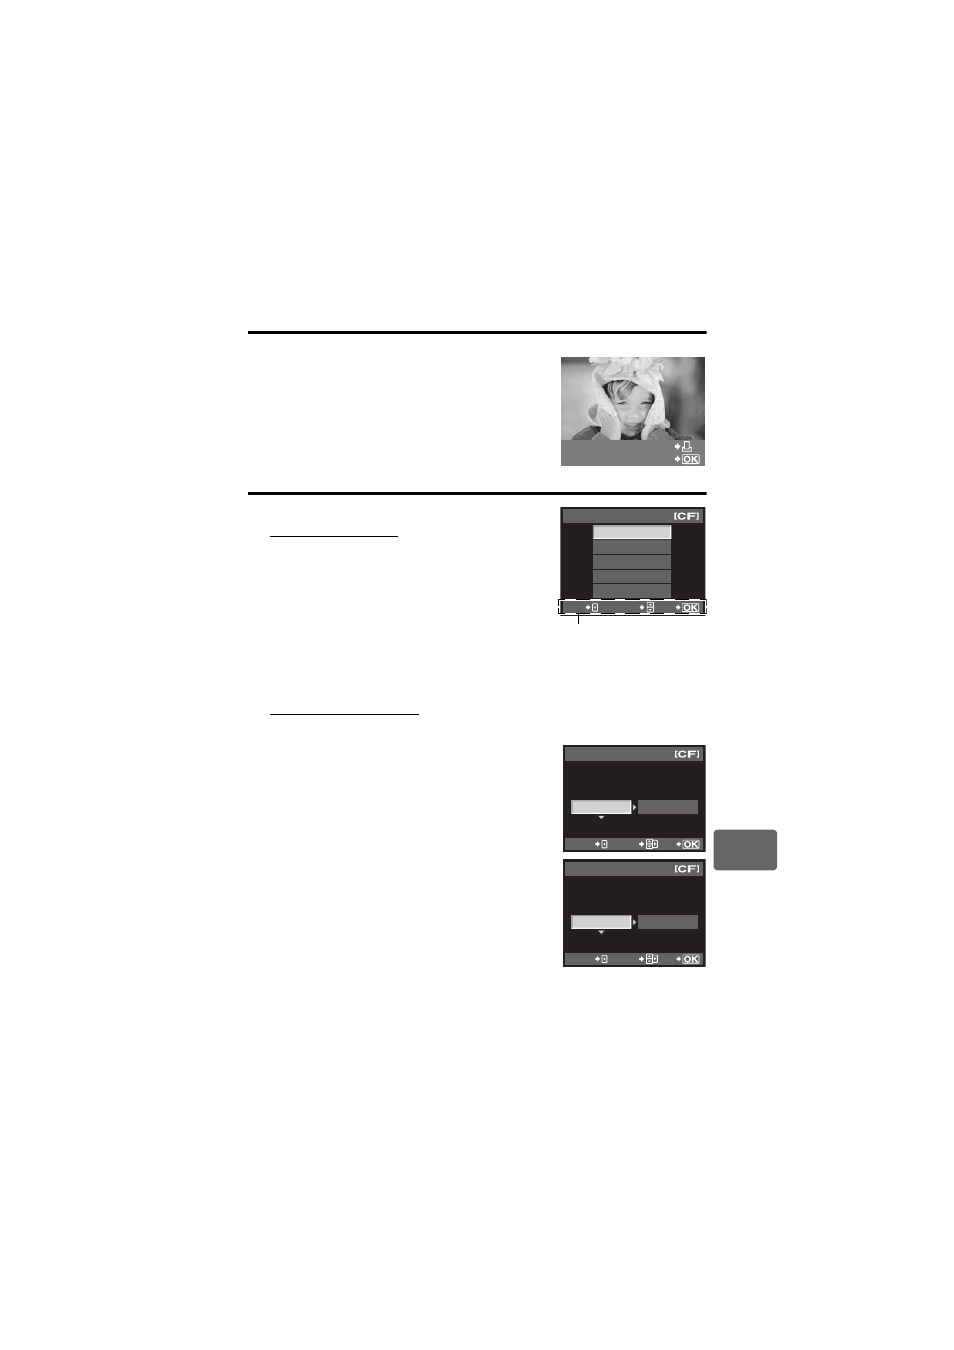
Easy printing
1
Use
bd to display the pictures you want to print on the camera.
• Display the image you want to print on the camera and
connect the camera with a printer using a USB cable.
The screen on the right appears shortly.
2
Press the
< (print) button.
• The picture selection screen appears when printing is
completed. To print another picture, use
bd to select the
image and press the
< button.
• To exit, unplug the USB cable from the camera while the
picture selection screen is displayed.
Custom printing
1
Follow the operation guide to set a print option.
Selecting the print mode
Select the type of printing (print mode). The available print
modes are as shown below.
[PRINT]
Prints selected pictures.
[ALL PRINT]
Prints all the pictures stored in the card
and makes one print for each picture.
[MULTI PRINT]
Prints multiple copies of one image in
separate frames on a single sheet.
[ALL INDEX]
Prints an index of all the pictures stored
in the card.
[PRINT ORDER]
Prints according to the print reservation
you made. If there is no picture with print
reservation, this is not available.
(
gP. 98)
Setting the print paper items
This setting varies with the type of printer. If only the printer’s STANDARD setting is available, you
cannot change the setting.
[SIZE]
Sets the paper size that the printer
supports.
[BORDERLESS]
Selects whether the picture is printed on
the entire page or inside a blank frame.
[PICS / SHEET]
Selects the number of pictures per sheet.
Displayed when you have selected
[MULTI PRINT].
PC / CUSTOM PRINT
EASY PRINT START
ALL PRINT
MULTI PRINT
ALL INDEX
PRINT ORDER
PRINT MODE SELECT
EXIT
SELECT
GO
Follow the operation guide
displayed here.
PRINTPAPER
STANDARD
STANDARD
SIZE
BORDERLESS
CANCEL
SELECT
GO
16
PRINTPAPER
STANDARD
SIZE
PICS/SHEET
CANCEL
SELECT
GO