Olympus IR-300 User Manual
Page 125
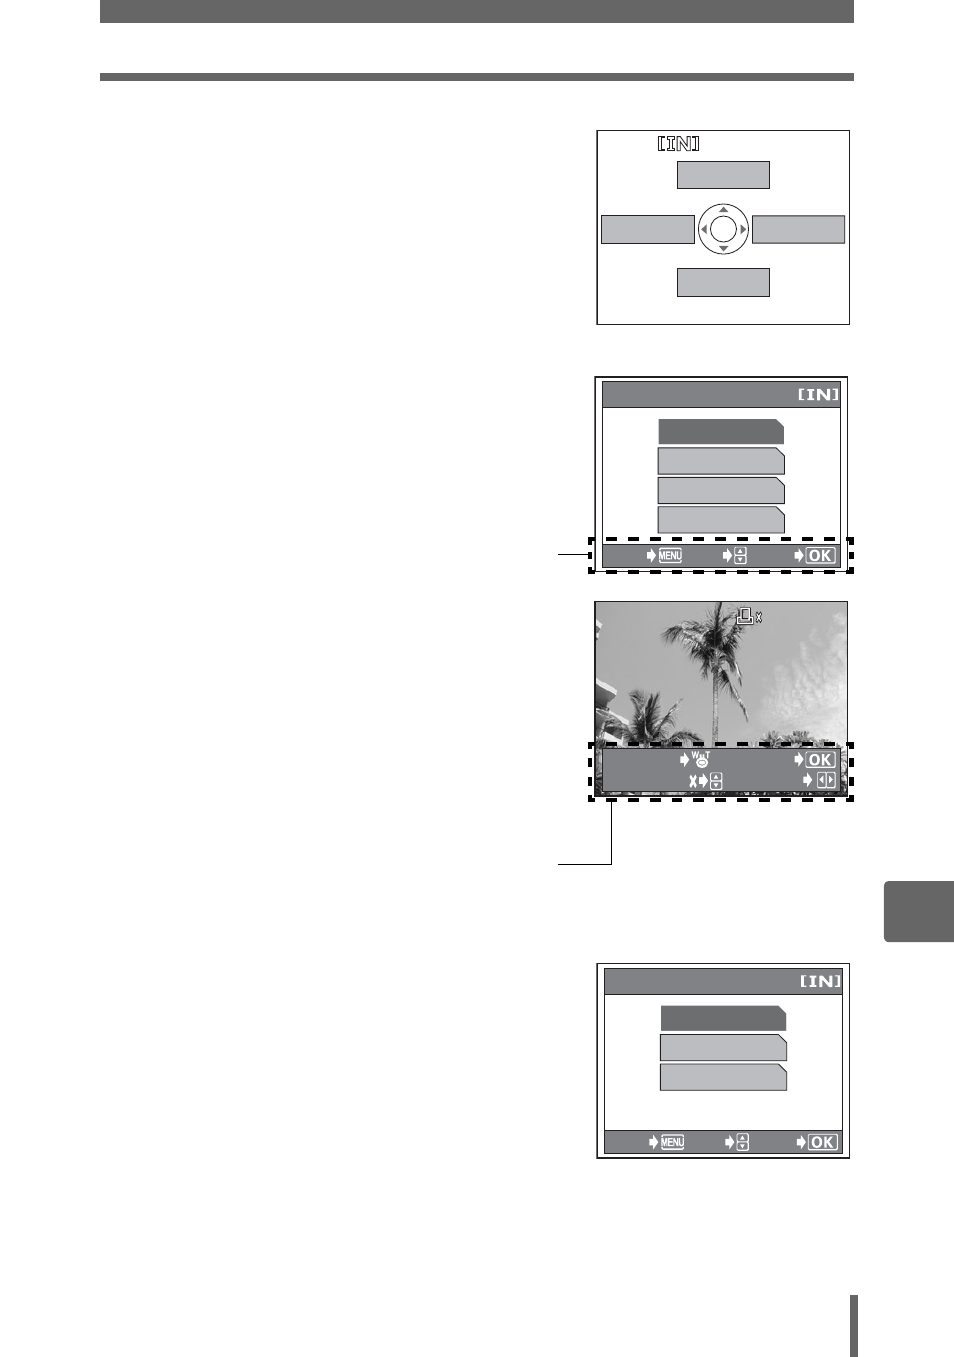
Print settings (DPOF)
125
10
P
rin
ting
p
ict
ur
es
2
Select [
<].
• If data is already stored on the card, the
screen appears, giving you the choice of
resetting the data or keeping it.
• For details on [FIX IMAGE] and
[COMPOSE IMAGE], see “Using a
Dock&Done printer” (P. 112).
• For details on [PRINT IMAGE], see
“Direct printing (PictBridge)” (P. 116).
3
Select [
<], and press i.
• If you want to make print reservations
for an album, select [ALBUM], and
select [
<] or [U].
4
Follow the operation guide and
press
^] to select the frames
for print reservations, and then
press
[\ to set the number of
prints.
• You cannot make print reservations for
pictures with
n.
• Repeat Step 4 to make print
reservations for other pictures.
5
When you are finished making print reservations, press
i.
6
Select [NO], [DATE] or [TIME],
and press
i.
NO
The pictures are printed without
the date and time.
DATE The selected pictures are printed
with the shooting date.
TIME
The selected pictures are printed
with the shooting time.
<
FIX IMAGE
COMPOSE IMAGE
PRINT IMAGE
U
<
<
GO
CANCEL
SELECT
ALBUM
CHECK/CANCEL
Operation guide
GO
'05.06.02.12:30
'05.06.02.12:30
5
1
1
SELECT
INDEX
<
Operation guide
X
GO
CANCEL
SELECT
NO
DATE
TIME
Single-frame reservation
screen