43 en, Rotating images [ rotating images [ y y – Olympus Tough TG-1 iHS User Manual
Page 43
43
EN
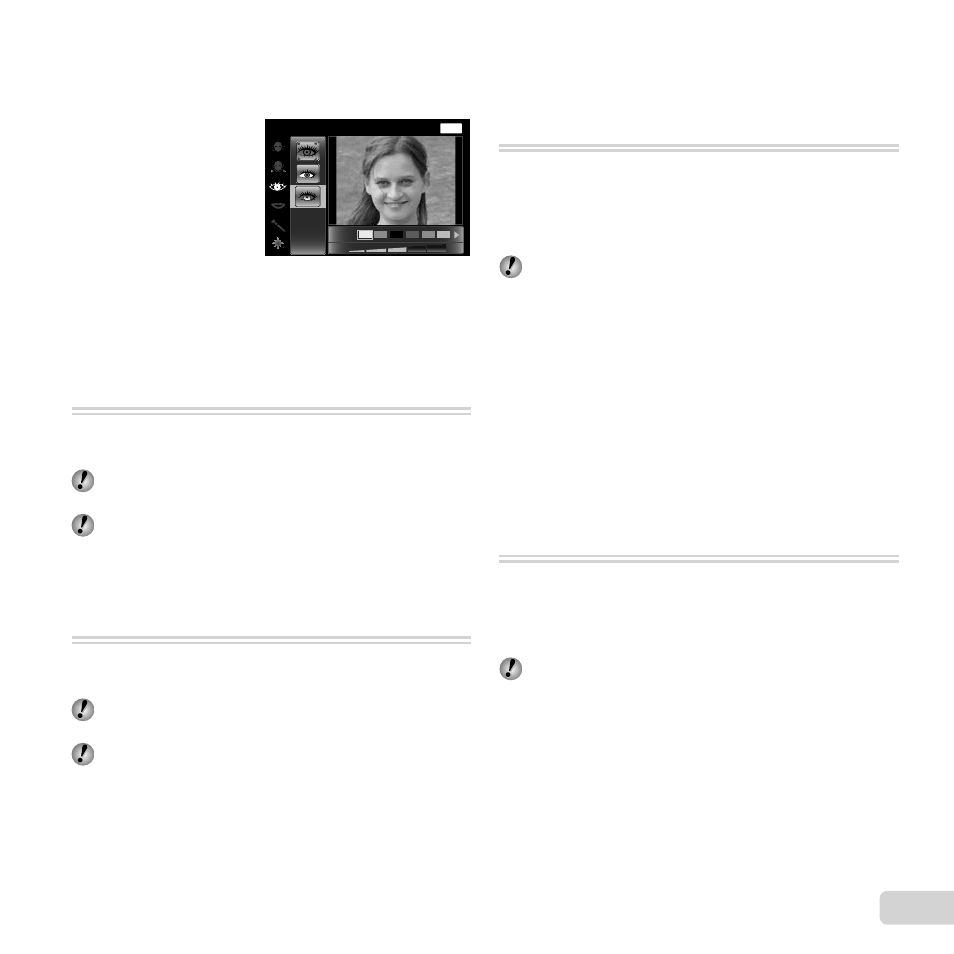
Beauty Fix
1
Select a retouching item, and press the
Q button.
MENU
Off
Eye Color
Back
2
Press the
Q button on the review screen.
Brightening areas that are dark
Brightening areas that are dark
due to backlight or other reasons
due to backlight or other reasons
[Shadow Adj]
[Shadow Adj]
q (Playback Menu) Edit Shadow Adj
1
Use
HI to select an image, and press the
A button.
●
The edited image is saved as a separate image.
Depending on the picture, the editing may not be
effective.
The retouching process may lower the image resolution.
Retouching red eyes in fl ash shooting
Retouching red eyes in fl ash shooting
[Redeye Fix]
[Redeye Fix]
q (Playback Menu) Edit Redeye Fix
1
Use
HI to select an image, and press the
A button.
●
The edited image is saved as a separate image.
Depending on the picture, the editing may not be
effective.
The retouching process may lower the image
resolution.
Changing the landmark information
Changing the landmark information
recorded on the images [Landmark]
recorded on the images [Landmark]
q (Playback Menu) Edit Landmark
You can change the landmark information (such as place
names and names of buildings) recorded on the images
when they were shot using the GPS function to different
landmark information registered near the place where you
shot the images.
Refer to “Recording the shooting location and time
information on the images shot [GPS Settings]” (p. 54).
1
Select the image using
HI, and press the
A button.
●
If the target landmark is at a distance from the
position recorded on the images, it may not be
displayed.
●
A list of the landmarks registered near the position
recorded on the images are displayed.
2
Select the new landmark to be recorded on the image
using
FG, and press the
A button.
3
Select [OK] using
FG, and press the
A button.
Rotating images [
Rotating images [y
y]]
q (Playback Menu) Edit y
1
Use
HI to select an image.
2
Press the
A button to rotate the image.
3
If necessary, repeat Steps 1 and 2 to make settings
for other images, and press the
button.
The new picture orientations will be saved even after
the power is turned off.