Installing or removing the rear wi-fi antenna, Installing the rear wi-fi antenna, Removing the rear wi-fi antenna – Lenovo ThinkStation P300 User Manual
Page 133
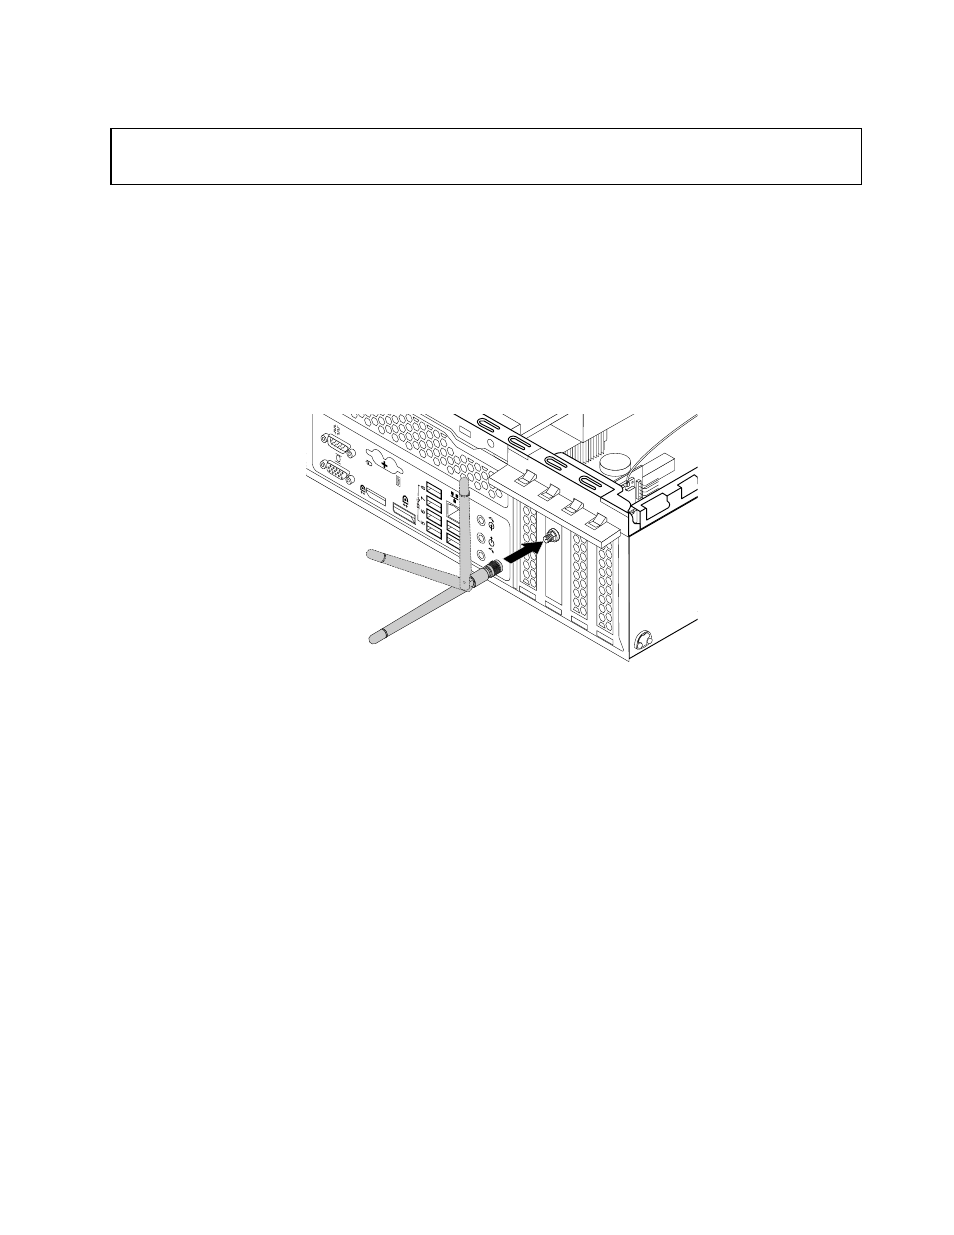
Installing or removing the rear Wi-Fi antenna
Attention:
Do not open your computer or attempt any repair before reading and understanding the “Read this first: Important
safety information” on page v.
This section provides instructions on how to install or remove the rear Wi-Fi antenna.
Installing the rear Wi-Fi antenna
To install the rear Wi-Fi antenna, do the following:
1. Turn off the computer and disconnect all power cords from electrical outlets.
2. Install the rear Wi-Fi antenna to the rear Wi-Fi antenna cable connector attached on the rear of the
computer.
3. Adjust the angle of the rear antenna to lower the risk of breaking the antenna by accident.
3
4
5
6
7
8
Figure 82. Installing the rear Wi-Fi antenna
What to do next:
• To work with another piece of hardware, go to the appropriate section.
• To complete the installation or replacement, go to “Completing the parts replacement” on page 123.
Removing the rear Wi-Fi antenna
To remove the rear Wi-Fi antenna, do the following:
1. Turn off the computer and disconnect all power cords from electrical outlets.
2. Straighten the rear Wi-Fi antenna so that it can be more easily twisted.
.
Installing or replacing hardware
121