Vollrath SU412 User Manual
Page 17
11
3.9 SANITIZING
Sanitizing must be done after the machine is clean and
just before the machine is fi lled with mix. Sanitizing the
night before is not effective. However, you should always
clean the machine and parts after using it.
NOTE
The United States Department of Agriculture and
the Food and Drug Administration require that all
cleaning and sanitizing solutions used with food
processing equipment be certifi ed for this use.
When sanitizing the machine, refer to local sanitary regu-
lations for applicable codes and recommended sanitizing
products and procedures. The frequency of sanitizing
must comply with local health regulations. Mix sanitizer
according to manufacturer’s instructions to provide a 100
parts per million strength solution. Mix sanitizer in quanti-
ties of no less than 2 gallons of 90°F to 110°F (32°C to
43°C) water. Allow sanitizer to contact the surfaces to be
sanitized for 5 minutes. Any sanitizer must be used only
in accordance with the manufacturer’s instructions.
CAUTION
Risk of Product Damage
Avoid prolonged contact of sanitizer with machine
parts. Sanitizer may cause corrosion of stainless
steel parts if there is prolonged contact.
A.
Prepare 3 gallons of sanitizing solution following
the manufacturer’s instructions. Pour it into a
clean container and place the container into the
cabinet.
H.
Insert the air bleed valve into the back of the front
door. Install the compression spring onto the air
bleed valve then screw the knob on fi nger tight.
I
Install the spigot through the bottom of the front
door.
J.
Apply a thin fi lm of sanitary lubricant to the door
seal o-ring, and fi t it into the groove on the rear
of the front door.
K.
Apply a thin fi lm of sanitary lubricant to the inside
and outside of the front auger support bushing,
then place it into the front door.
L.
Place the front door assembly on the mounting
studs and the push front door against the machine
carefully.
M.
Place the blender assembly onto the front door
studs.
N.
Secure the front door and the blender assembly
to the machine by placing the knobs on the studs
and alternately tightening opposite corners until
fi nger tight. Do not overtighten. Proper o-ring seal
can be observed through the transparent front
door.
O.
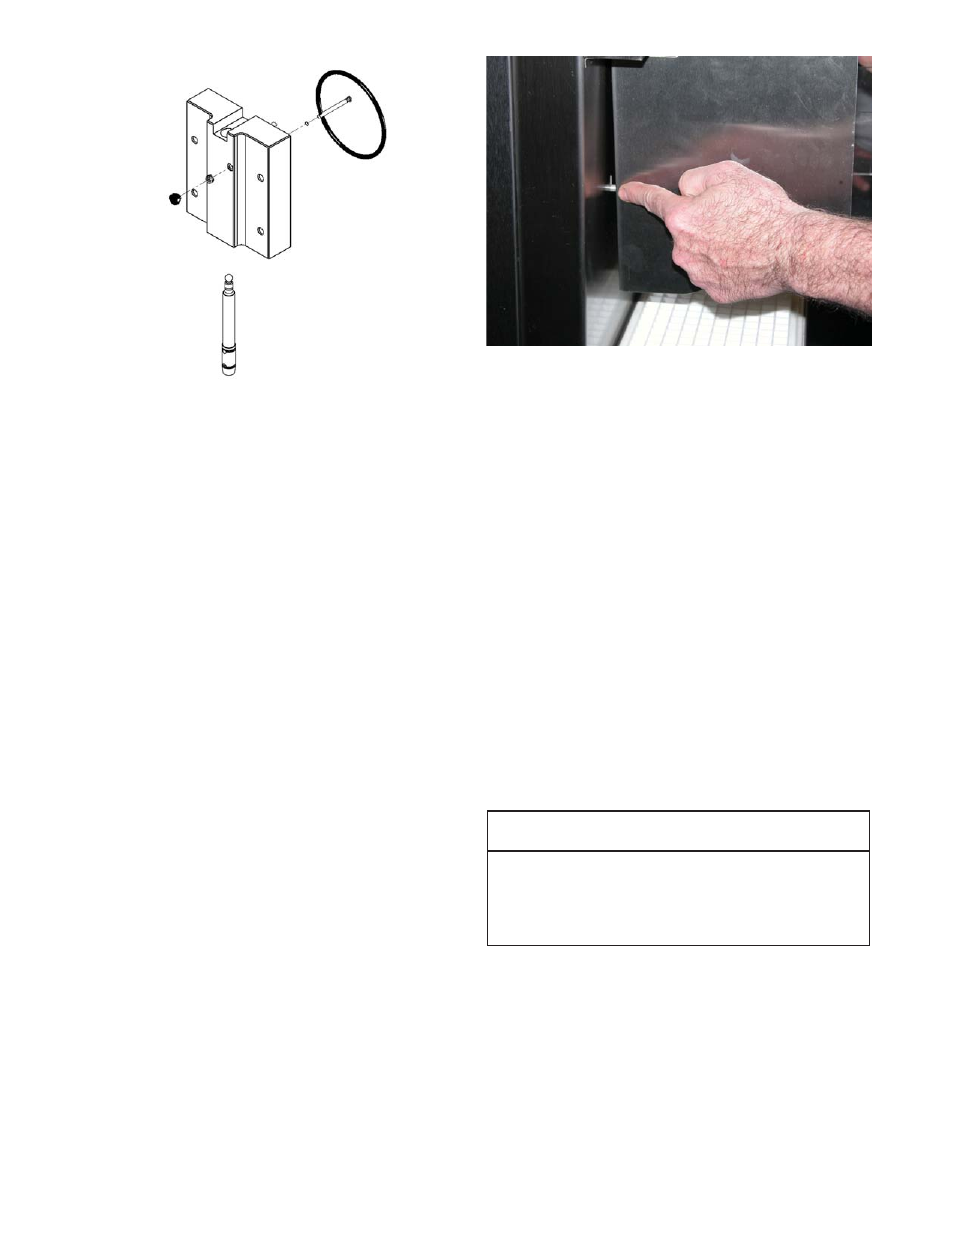
On SU412 model, attach the blender shroud to
the blender assembly. The blender shroud has
a pin that needs to be properly aligned with the
machine safety switch (Fig. 3-7).
Figure 3-6 Front Door Assembly
Figure 3-7 Blender Shroud Pin Alignment