Vollrath O231 Water Cooled User Manual
Page 26
20
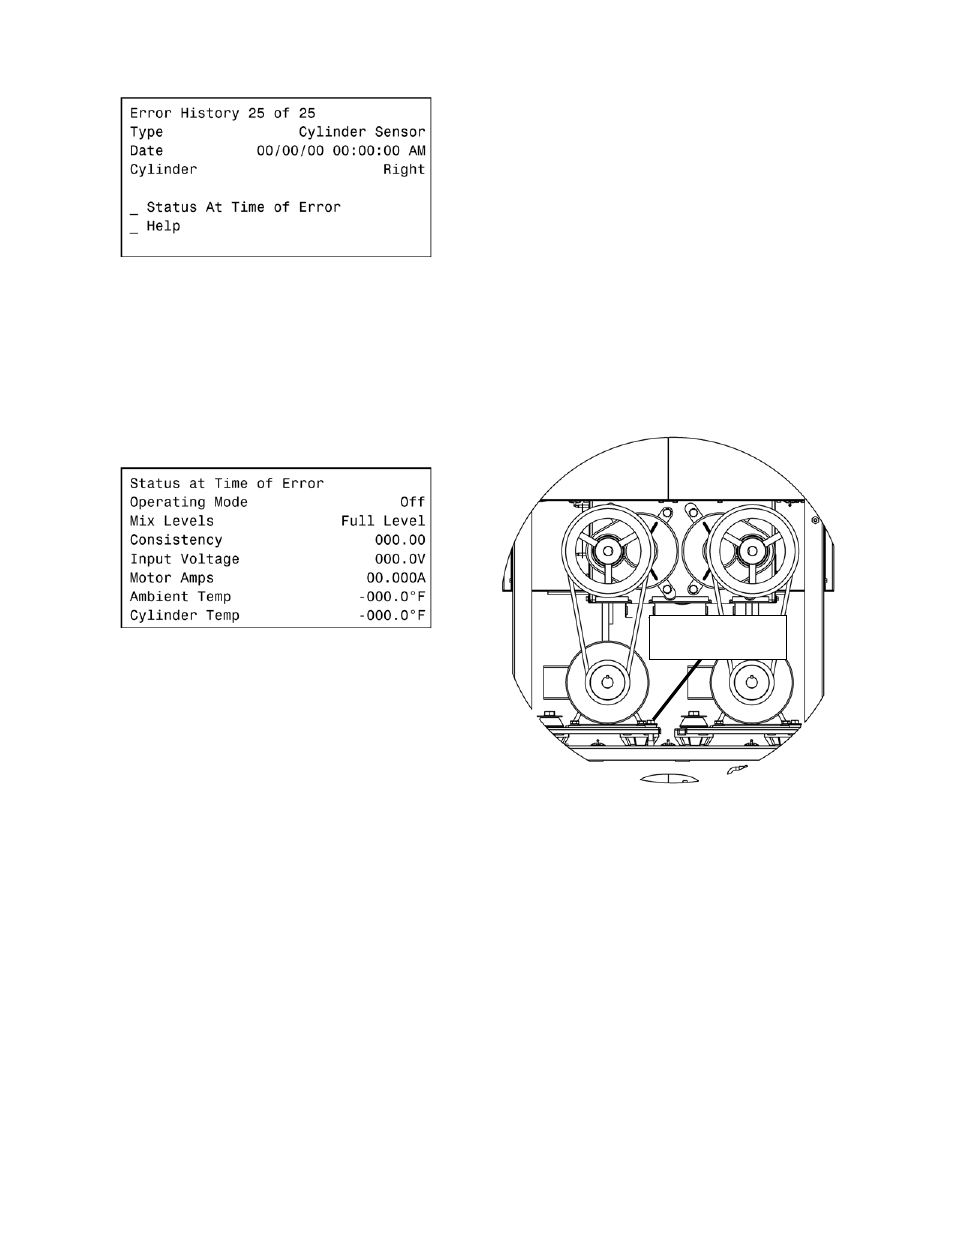
K. Error History
The Error History screen shows the last error that occurred.
The screen shows the type of error, the time and date and
the cylinder that had the error. Up to 25 errors are stored.
Press the up or down arrow to scroll through the errors.
Select the Status at Time of Error option to view data for the
time the error occurred. The Help option explains the error
and provides quick troubleshooting tips.
L. Status at Time of Error
The Status at Time of Error screen gives data for the time
the error occurred.
4.8
UPDATING FIRMWARE
Updating the firmware on the IntelliTec2 is simple. Any USB
flash drive will work. Download the .rom file onto the top level
of the USB drive (don't put the file in a folder) and follow the
instructions below.
A.
Unplug the machine from electrical power.
B.
Remove the header panel and locate the USB
connector on the display module.
C.
Connect the USB flash drive to the display module.
D.
Connect power to the machine.
E.
The display should say "Restoring Factory Defaults"
in a large font and a bar will be shown at the bottom
that fills up as the process nears completion.
NOTE
If the display does not show the "Restoring Factory
Defaults" text, make sure the .rom file is in the top
level of the USB flash drive. The .rom file cannot be
in any folders within the flash drive.
4.9
DRIVE BELT TENSION ADJUSTMENT
To check belt tension, refer to Figure 4-4 and follow the
steps below:
A.
Remove the back panel.
B.
Use a Burroughs Belt Tension Gauge to set the
tension for the drive belt. Set the belt tension to 45-
55 lbs.
C.
If an adjustment is necessary, loosen the four
motor plate retaining nuts, adjust belt tension then
retighten the four nuts.
D.
Using a straightedge, check that the drive motor
pulley is aligned with the speed reducer pulley.
Align the pulley if necessary.
NOTE
Belt life will be increased if new drive belts are tight-
ened after two or three weeks of operation.
Figure 4-1 Belt Tension Adjustment
Tension
Adjustment Nut