Vogels PFW 6851 User Manual
Page 6
Page 6
Installation Instructions
PFW 6851
Do NOT over-tighten lag bolts when
attaching the mount to the wall. Improper
installation may result in personal injury or
damage to property.
Step 10. Re-level the PFW 6851.
Step 11. Using a 1/2” socket wrench, completely
tighten the two (2) upper lag bolts.
If the studs are 12” (304.8mm) apart, use three 3” (76.2mm) lag bolts for the upper mounting channel and three 3” (76.2mm)
lag bolts for the lower mounting channel. If the studs are 16”(406.4mm), 18” (457.2mm) or 24”(609.6mm) apart, use two 3”
lag bolts for the upper mounting channel and two 3” lag bolts for the lower mounting channel.
There will be a total of four (4) mounting
points (2 for the upper mounting channel and
2 for the lower mounting channel).
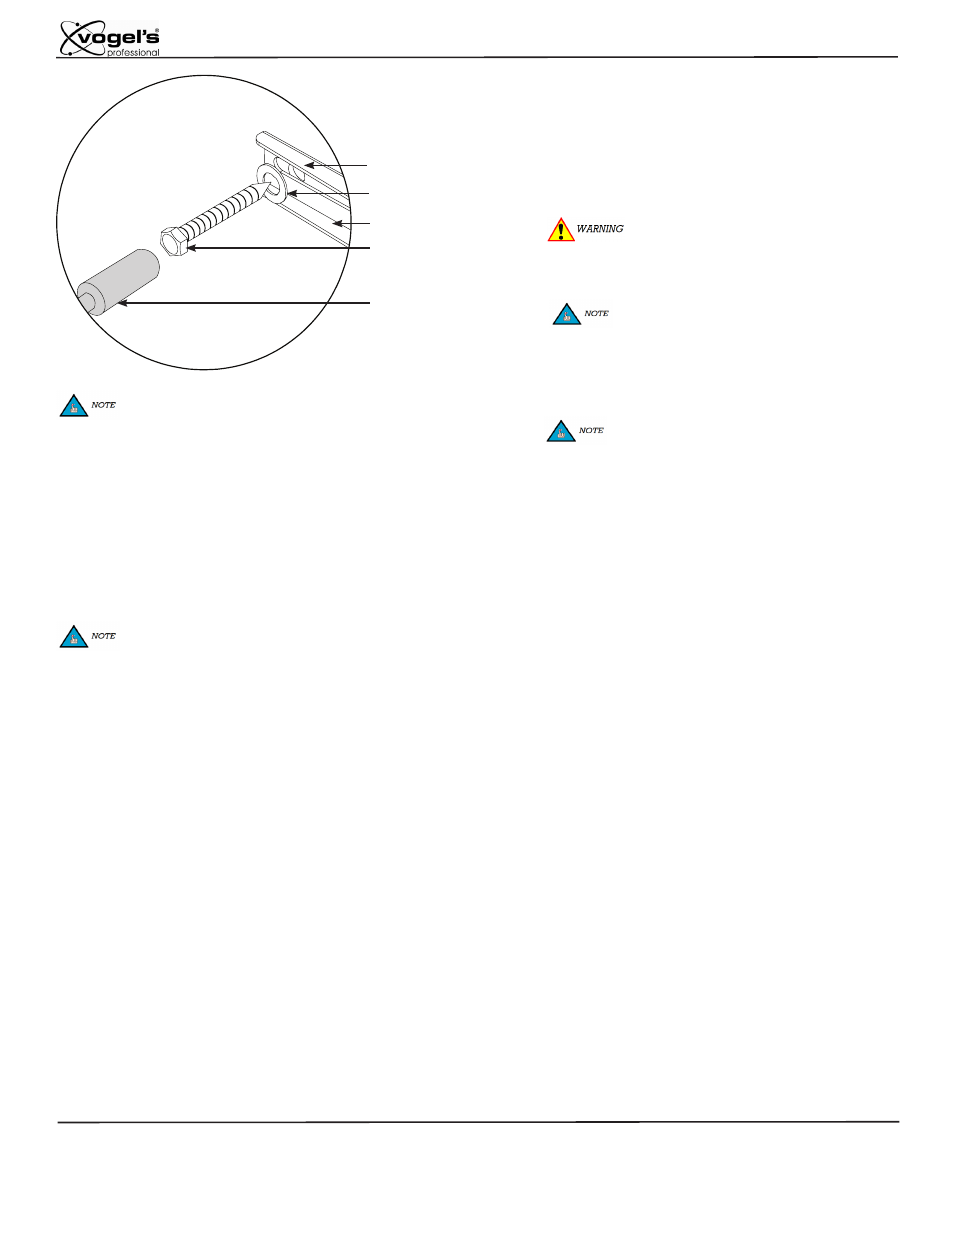
Upper Mounting Channel
Mounting Slot
Flat Washer
5/16” Lag Bolt
1/2” Socket
Wrench
Before drilling the second mounting hole,
re-level the mount.
Step 7. Drill a pilot hole at the marked location using a
power drill and a 1/4” drill bit.
Step 8. Align the mounting slot with the drilled hole.
Step 9. Insert and tighten one (1) 5/16” x 3” lag bolt and
flat washer. Tighten using a 1/2” socket
wrench. Do not completely tighten the lag bolt
at this time.
Repeat these steps to secure the lower mounting channel
to the wall.
A minimum of two (2) wall studs must be
used in the installation of this product.